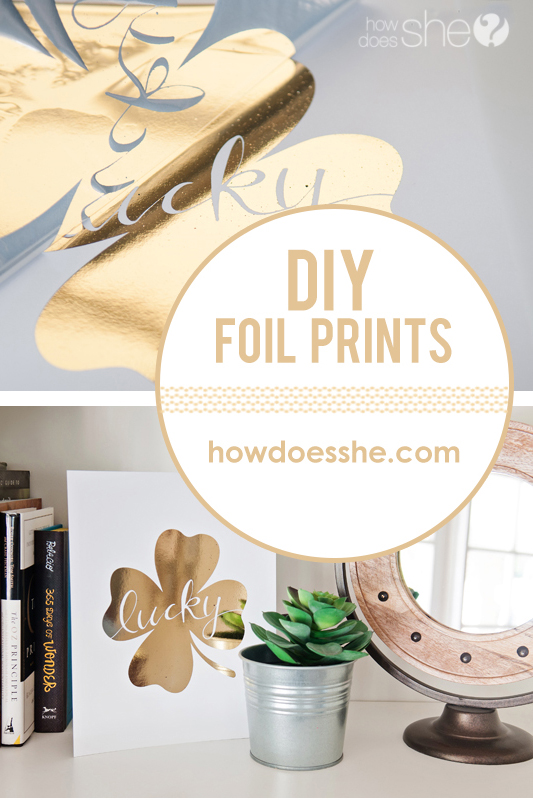
Easy DIY Gold Foil Prints
Gold foil prints are in and they are easier to create than I could have imagined. You only need three things to complete this simple project: A laser print, toner reactive foil and a laminator.
First, create your black and white graphic (or download our lucky shamrock) and print on a laser printer (which uses toner). We have an ink jet printer so I sent the file to my local print shop (Kinkos, Staples) and spent 14¢ to have it printed on card stock. Little tip – save yourself another trip and print 2 or 3 just in case you mess up!)
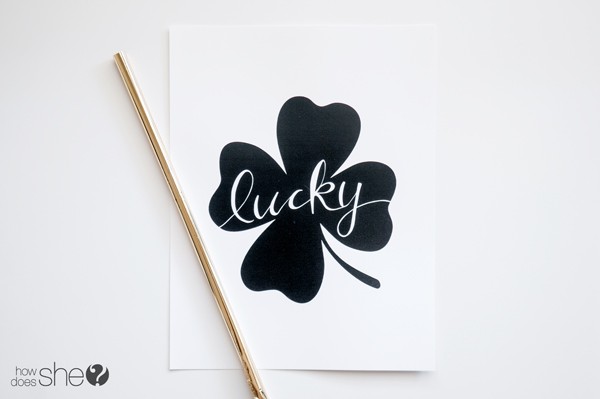
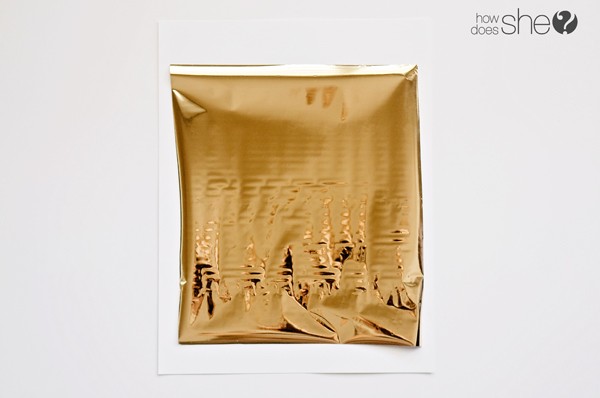
Make sure your print is free from any dust or fibers (it will make it so the foil doesn’t stick in those areas.) Carefully roll out your toner reactive foil to completely cover your black and white image, gold side up.
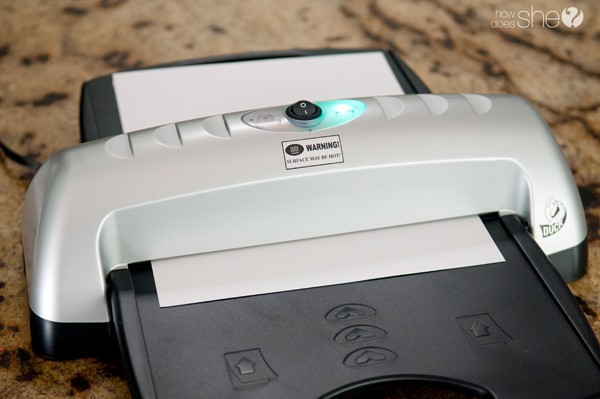
Place a piece of plain printer paper over the top and carefully send it through your laminator. In order for this to work properly, the foil must get hot enough to bind to the black toner. I originally sent it through the laminator with card stock over the top and it didn’t work. My laminator also came with a laminating envelope which was too thick as well for the foil to get hot enough.
 Once it comes out of the laminator and cools, you’ll see how the gold is stuck to the toner.
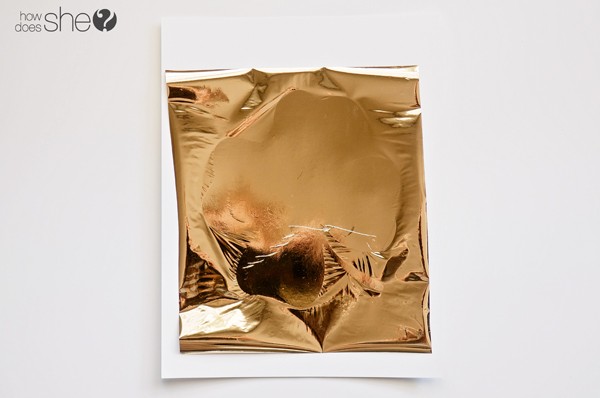 The only thing left to do is slowly pull the gold foil back and you’re done.

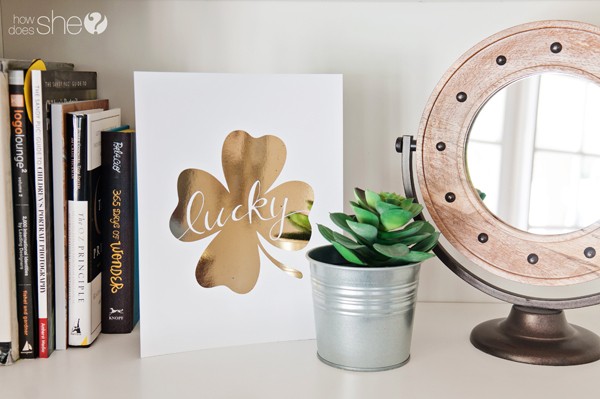
Isn’t this gorgeous?
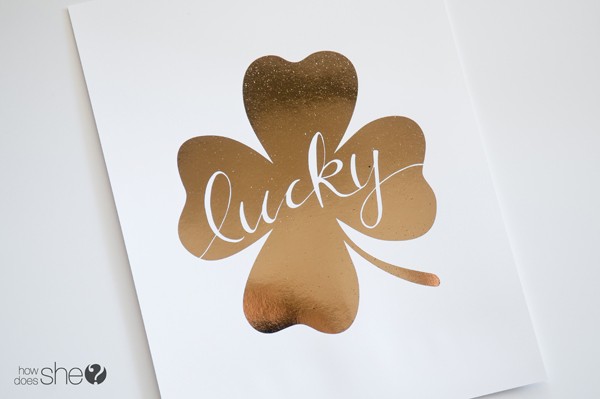 Quotes, holiday prints, cards…go crazy. Gold foil everything. You know you want to try it!
See more of my adventures and projects at www.lifewithfingerprints.com
Now that you are feeling like a crafting genius, why not try out some of these fun crafting/home decor projects?
Did you know it was this easy to create your own DIY Marquee Letters? So hot right now, too!
Have a laundry hamper like no other with this quick and EASY tutorial!
Or try your hand at recycling some old pallets with these 18 project ideas!





Foil lover says
thank you for putting this easy to follow DIY foil print! What type of laminater did you use/where can we buy one? Thanks so much!!!
Kara says
I just have a basic laminator from Target. I bet Amazon would have a better selection. Good luck!
kanchipuram sarees says
asdada faafafafasf asf
I just have a basic laminator from Target. I bet Amazon would have a better selection. Good luck!
Jessica says
Thanks for this great DIY foil process! I actually tried it and I don’t think my laminator is hot enough because the foil didn’t stick to the black toner at all. Would you happen to know the maximum temperature of your laminator?
Kara says
My laminator doesn’t have a temperature setting, so I’m not sure how hot it gets. Make sure you’re not using the folder that you traditionally send through the laminator. I use the card stock with the print – the gold leafing – and then a single piece of copy paper on top. Also make sure that it’s toner and not ink jet. Hope this helps!
Sarah Rainey says
Will this work when printing on dark paper as well? I am trying to do bridesmaid proposals and ink just will not show up on my navy paper! Wondering if this is an option for that.
Fahreen says
Did you use regular printer paper? I’m not getting a clean finish when I peal the gold off.
Sandy says
Fahreen, I am having the same problem. I have tried different types of cardstock but each time I peel off the foil the results are very disappointing. I have a new laser printer and am using a laminator. I am getting so discouraged! I hope someone responds to your question — it might help get me back on track!
Kara says
When I was experimenting with this project I noticed there were a couple variables that affected the foil. First the ink has to be toner ink. I’m not sure if you’re printer uses toner – mine doesn’t and I had to find a copy shop. Also- not all copy shops were equal in their quality of toner and I saw a variety of results. I found the copy shop that produced the best results and I’m sticking with them. Next – Your laminator must get hot enough for the foil to react with the toner. My laminator came with a little folder that I send through the laminator – I can’t use it with the foil – it won’t get hot enough. Instead I use the printed paper, piece of foil and then a single sheet of paper on top of it. Hopefully this gives you some better results!
Kara says
Yes – I was using regular printer paper. When I was experimenting with this project I noticed there were a couple variables that affected the foil. First the ink has to be toner ink. I’m not sure if you’re printer uses toner – mine doesn’t and I had to find a copy shop. Also- not all copy shops were equal in their quality of toner and I saw a variety of results. I found the copy shop that produced the best results and I’m sticking with them. Next – Your laminator must get hot enough for the foil to react with the toner. My laminator came with a little folder that I send through the laminator – I can’t use it with the foil – it won’t get hot enough. Instead I use the printed paper, piece of foil and then a single sheet of paper on top of it. Hopefully this gives you some better results!
kanchipuram sarees says
asd adfa fafs
zara says
Hi
thanks for sharing.
I wonder if you could tell me what brand is that laser printer?
Thank you
zara says
laminator*
toria says
Just wondering if I can print the image onto coloured paper and run the same process or does it only work on white paper with black ink? Thanks!
Maria says
Hi Kara,
Thanks for sharing with us this guide. I am not so sure I can make this gold foil prints myself, but I will try because my family would love them
Dee says
Hello. Thanks for the wonderful tutoril! Do you know if this same project would work on black cardstock? Meaning, I want to print text onto black cardstock paper and have the gold foil laminated over it. If so,would the text be visible enough to place the foil over it?
Hope this makes sense. Thanks in advance!
cassandra oliphant says
Hi there! Just wondering – do you know if you could put the final piece back through the printer to put colours on top, or would that be a problem with the foil? curious! means you could add other colours on top I was thinking
Kelly matipa says
Can someone explain to me how to transfer gold foil to the dark purple sheet other than just using white paper with graphics printed on it? Thank you.
lauren says
Hello. I have been researching how to use gold foil with laminator. For some reason, no matter how many times I tried, I cannot get the gold foil to adhere to the toner without being splotchy. Your shamrock looks so great!! I even printed at staples, fedex. I am trying to print labels for a champagne bottle. I have printed on card stocks, paper and labels. Not good!! Any idea what I could be doing wrong? I am using I crafts deco foil. Thanks!!
Lauren
CFS Online says
Thanks for sharing this post. These prints are really looking beautiful. I will try to make one for my home as beautiful as you created for yours 🙂
Nitesh Agarwal says
Please give A Demo Video
[email protected] says
Hi there!
This is great! One question I have is does it make a difference whether or not you do the laminating the same day as the printing? Trying to determine if I can break this up into two days as opposed to doing everything in one day.
Thanks!
Kae says
I bought an Amazon Basics laminator (on Amazon Prime Day, no less) and used the 3mil setting, following the instructions exactly. I’m happy to say it worked perfectly! Thank you so much, Kara!
Scarlet says
Thanks for the shamrock download! This is just too cute! I love the gold foil for the St. Patty’s day theme.