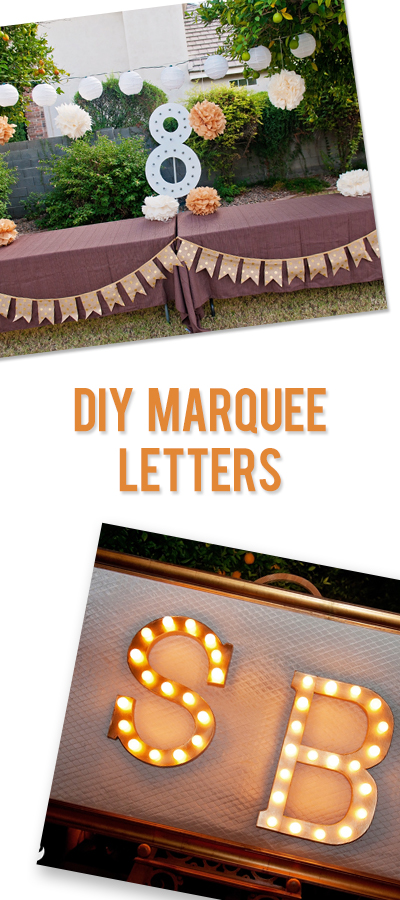
I love big statements in decoration and design, and DIY marquee letters give you a lot of punch for little money.
There are two ways to make a marquee; buy an oversized paper mache letter at your local craft store or cut a letter out of wood. There are pros and cons to both materials, although the method is the same for both.
Paper mache: Takes no woodworking tools or skills, comes in limited sizes and fonts (our local store doesn’t carry large numbers), inexpensive.
Wood: You can choose any font and size and draw in on a sheet of plywood, must have a jig saw (or pay someone in cookies to do it for you), its heavier and requires more support to hang it.
Step 1: Draw your letter/number on a sheet of plywood (home improvement stores sell “Hobby Boards” that are 2×4 feet making it easier to fit in your car!) and cut out using a jigsaw (draw the number/letter reversed on the back side and cut from the back).
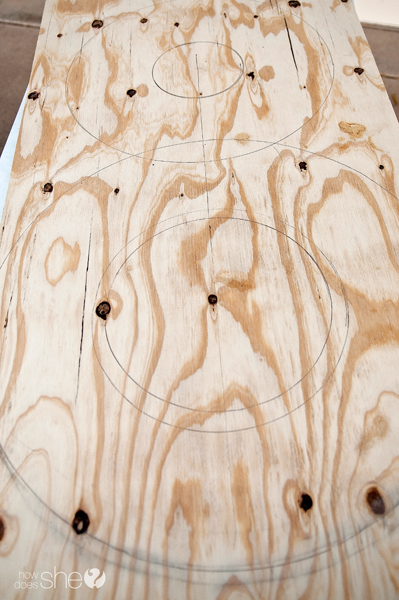
Step 2: Measure and mark where you want each light to sit. (The lights I use come in 25 bulb sections. If you don’t need to use all bulbs, just remove the bulb and secure the extra wire to the back)
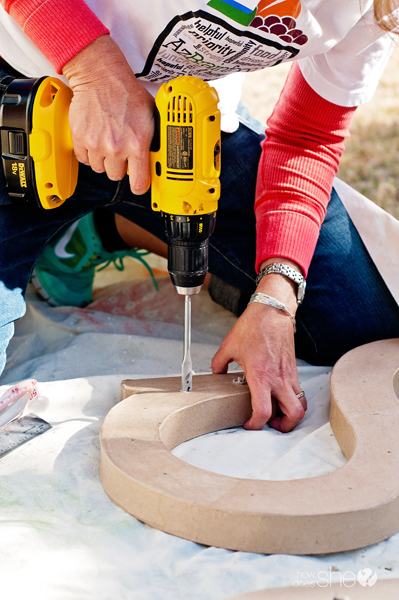
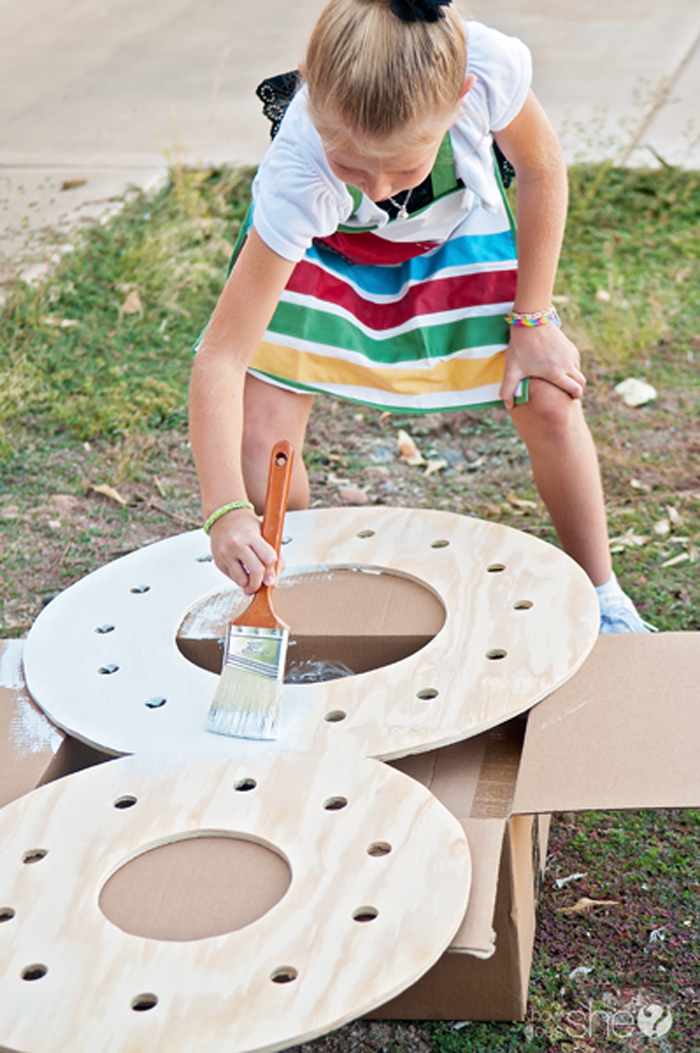
Step 3: Drill holes large enough to fit the base of your lights. I purchased the patio globe lights from Target which have a wide base. Use a boring drill bit to get a large enough hole. Make sure it’s a snug fit. Too large, the lights will fall through. Too small, you won’t be able to screw in the bulb.
Step 4: If you cut your letter out of wood, you’ll want to sand it really well including all the edges – prevent slivers!
Step 5: Paint your letter. You can use spray paint or use a brush.
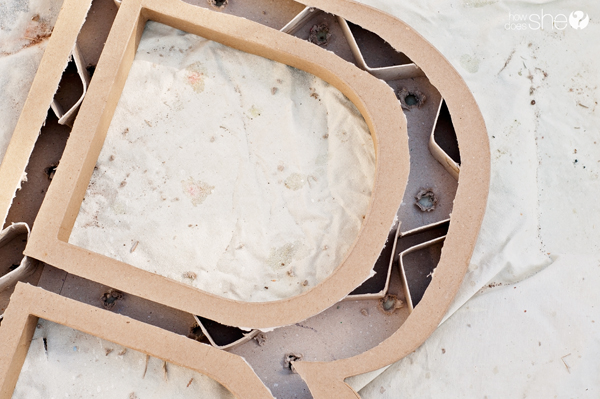
Step 6: Insert the light bulbs by unscrewing each bulb, run the wires along the back and push each connecter through a hole and screw in the bulb.
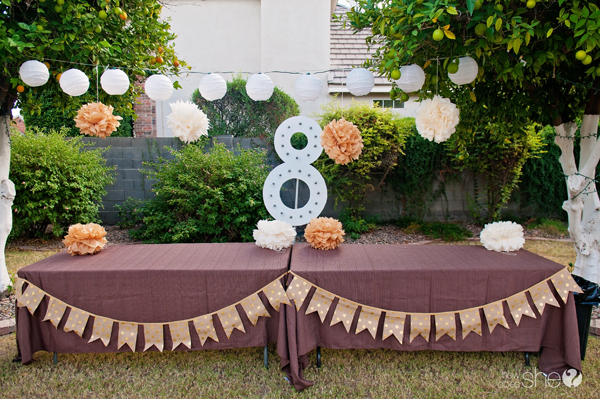
With that, your letters are ready to be hung and used for any party your mind can think up. I’ve attached one to a piece of pipe for a birthday/baptism party (here):
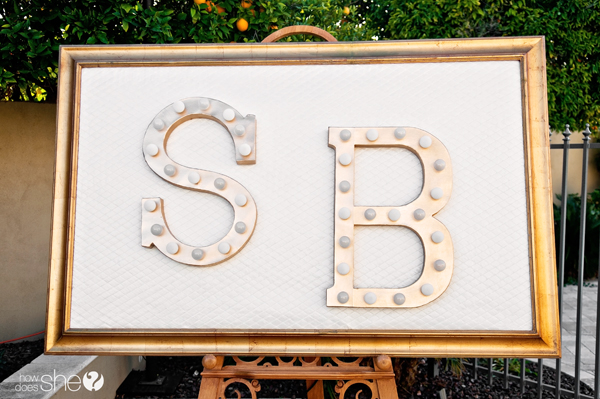
Or attach them to a larger frame for a wedding reception (here). You can hang them on a wall or on a lawn stake.
How fun would it be to create each number and use them in your front yard for birthdays?! I’ve got my work cut out for me!
See more of my adventures and projects at www.lifewithfingerprints.com









Abbie says
I really love this! We are getting married in a few weeks and were looking for something fun to make for the rehearsal dinner. I think this may be a winner! Thanks!!
Carina says
So cool!
Shelley says
How did I miss this post in June?!! Brilliant!!!
LinhC says
Hmmm..might have to make one for my daughter’s 18th bday!
Jisela says
Love the look!! Would like to use your idea for our daughter’s graduation party. If you could help me with 2 questions, I would really appreciate it!! What type of lights did you use and where did you get them from?