
Are you ready for a super fun and super easy way to make a book cover?! I can’t get over how easy it was to create a cover for my journaling bible. I should have done this a lot sooner!
I jumped on the bible journaling bandwagon about a year ago. I’m a doodler at heart (you should have seen my high school notebooks!) and an avid scrapbooker so bible journaling is a natural fit for me. It lets my brain chill out. And let’s face it, with three kids at home, I’m looking for any excuse to chill. 😉 The more creative the pages of my bible became, the more I realized the black hardback cover was well BORRR-ING! Time to change that!
This diy will work for any book, not just Bibles, so feel free to cover all the books!
I’ll show you how I got my measurements so that you can measure your book to get the exact measurements you’ll need.
First start by measuring the front of your book. Mine is 6.5″. Keep in mind to double that number for the backside.

Measure the spine. Mine is 1 3/4″.
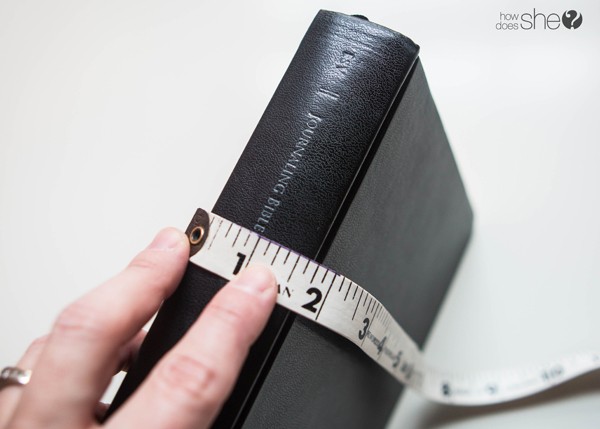
And also measure the length of your book. Mine is 7.5″. Since I’m a visual person, I had to draw it out.
You’ll need two coordinating fabrics – one for the outside cover of your book and one for the inside liner.
Measurement for the outer fabric:
Front + Spine + Back = 14 3/4″ wide X 7 1/2″ tall. Add 2″ to your width and 2 1/2″ to your height. You’ll see from my fabulous drawing of the outer fabric that the width became 16 3/4″X 10″. Then, you’ll want to add in for the inside flap of your book cover. I added 4″ to each side, making my overall width 24 3/4″.
Measurement for the inside liner fabric:
Take your outer fabric measurement (mine is 24 3?4″ X 10″) and subtract 2″ from both the width and height. This made my inner fabric measurement to be 22 3/4″ X 8″.

Cut your outer and inner fabrics. My pink fabric is the outer and the aqua dot is the inside liner.

Take your outer fabric and fold 1/2″ and iron then fold 1/2″ over again and iron. Do this on all 4 sides of your fabric to create a hem.
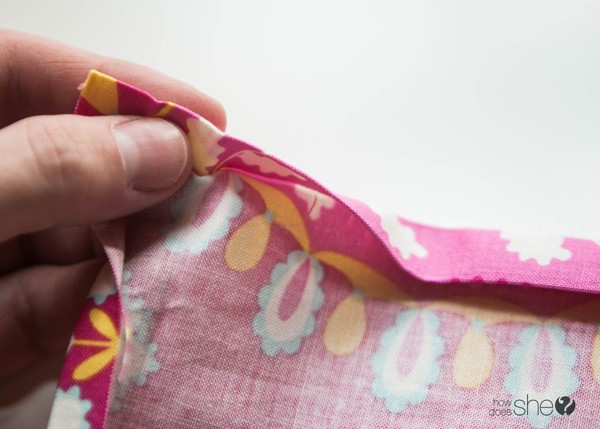
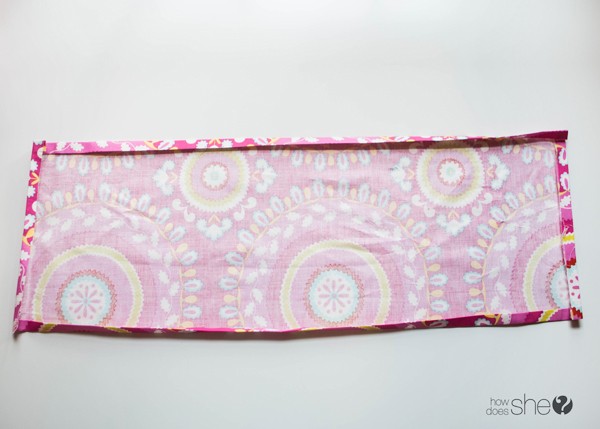
Grab your inside liner fabric and center it on your outer fabric, wrong sides together.

Pin only the short sides of your outer fabric to your inner liner fabric.
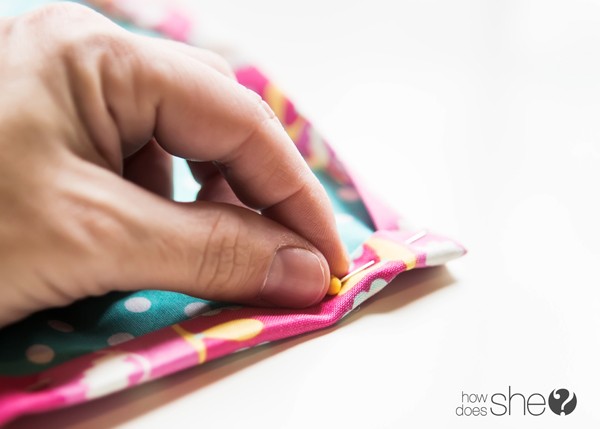
Sew a straight stitch down both your short sides.
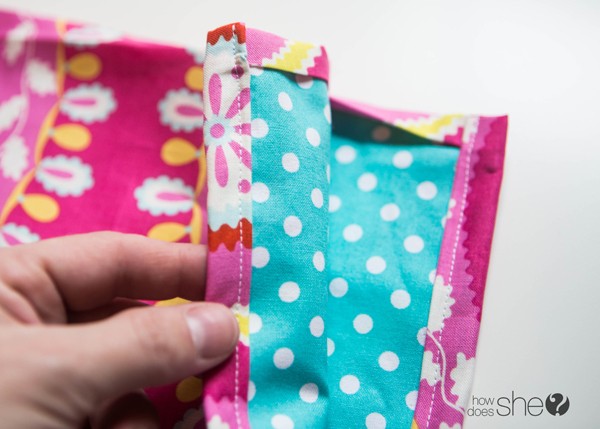
Measure 4″ on both short sides of your fabric and iron into place.


Pin around the long sides of your fabric, keeping the 4″ folds in place.

Sew a straight stitch down both long sides. And that’s it! Seriously!

Slip your book into the flaps and bam! Instant book cover.


I wanted to make mine just a little more funky and use a bunch of different fabrics. You can do this too by simply cutting strips of fabrics at different widths.

Place your strips of fabric right sides together and sew a straight stitch. I sewed strips of fabric together until the length was 24 3/4″ (same measurement as the outer fabric I used in the example).
Then I pressed open each seam and ironed it flat.

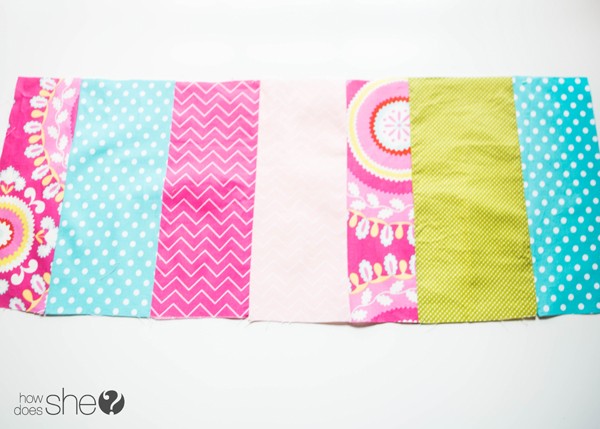
Use the exact same method and measurements as the pink and aqua cover above to create a little more funky book cover. I also stitched a little ruffle in the middle of my outer fabric to give the spine a little spunk, too.

Super easy way to dress up a book with little time or materials. I love that my Bible cover is just as creative as the pages I’ve journaled inside my book.
So, hop to it! Make your books a little more funky!

Looking for even more ideas for your personal brand of journaling? Check out how to make these Reusable Nature Journals – With A Free Template!
Or chart your love story in this Map O’ Love Map Memory Journal
Your little ones can get creative right along side of you with their own HowDoesShe felt quiet book. Check out our patterns which are now available!


Emilie says
Love this! Where did you get your watercolor set?
Carla Jo Luebbe says
Hello! I have a question on the adorable patchwork Bible (or book) cover: Would it work if I glue the places that require sewing?? I don’t have a sewing machine. I love this idea and would love to make one if it can be adapted to use glue??
Thanks so much!!
Carla Jo 🙂
Nicole S says
I’m making this and I’ve made a couple of adjustments including adding some interfacing where the original covers of my bible are just to give some more body to the cover. I also waited to cut my inner fabric until I had dimensions of my outer fabric so that the inner would fit neatly inside the outer. I’m sure my version is taking at least 3 times as long as yours did to make, but I hope it’s worth it! Also, I am using fat quarters which weren’t quite wide enough. But I figure I can just use smaller flaps and it should be alright.
Thanks for the tutorial!
The Real Person!
The Real Person!
You must be a math whiz cuz it took both my husband and I to figure out how to add all that lol!! I’m sure it’ll be worth it in the end. Been wanting a scripture journal cover forever but didn’t want to buy one. Looking forward to sewing again!! Thanks