Who doesn’t love a perfectly packaged gift?! I learned a long time ago that the presentation means just as much as the actual present inside. This season, I decided to try making my own fun D.I.Y. Christmas gift bags. It needed to be quick and easy because I have several people on my shopping list. I whipped up 3 bags in 25-30 minutes so I consider that a win!
You will probably already have the things you need to whip up some of your own Christmas gift bags! Plus, I was able to use some scrap fabrics that were left over from other projects. I have an awful fabric hoarding problem so this definitely helped me to de-stash!
You will need:
2 – 10″X19″ coordinating pieces of fabric

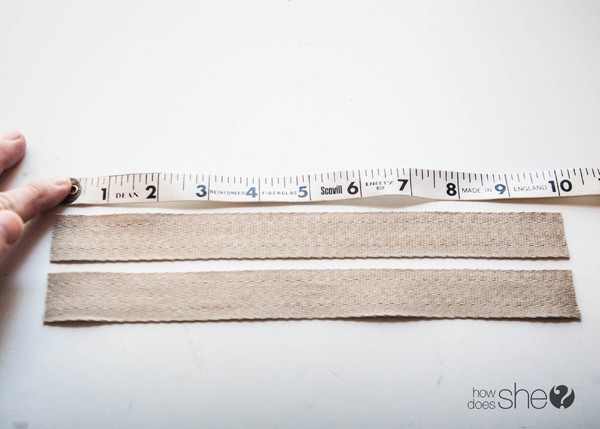
2 – 10″ coordinating ribbon strips
Let’s get started!
Grab one of your fabric pieces and fold in half.
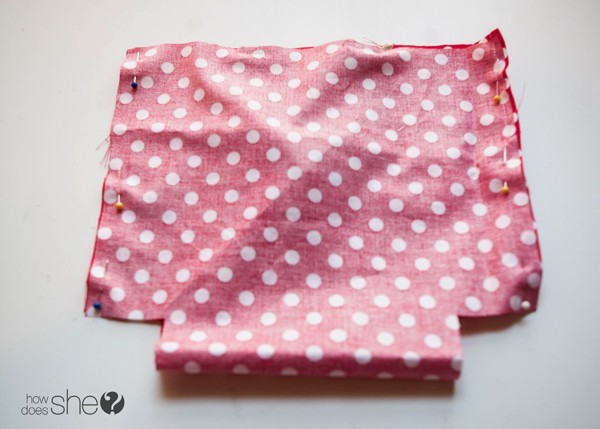
You will need to mark a 2″ long X 1.5″ wide rectangle on both the left and right side at the fold.
Cut out the rectangles on either side.
Repeat on the other fabric so that both your fabrics look like this:
Grab both your 10″ pieces of ribbon and center and pin into place on one of your fabric pieces.
Sew the ribbon onto your fabric, making sure to back stitch.
Fold your fabric in half again, making sure that right sides of your fabric are touching. Pin both long sides. Sew only where you pinned.
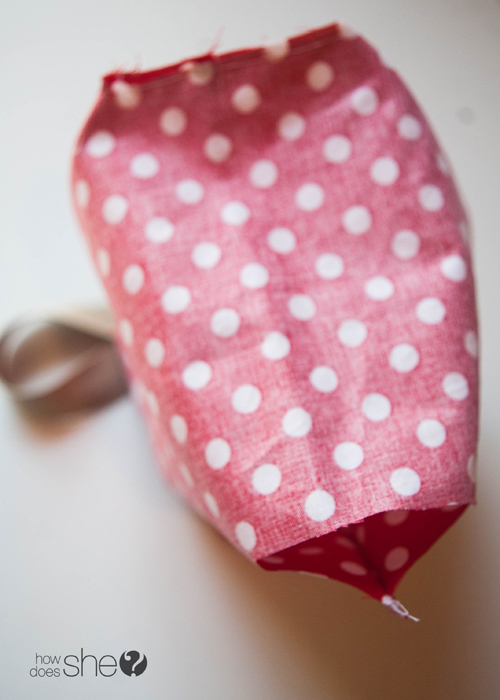
This part is a little tricky but definitely not hard at all! You will choose either the left or right side at the bottom (doesn’t matter which side you choose) and pinch the fabric so that it closes. Sew it shut using a 1/4″ seam allowance.
The bottom of your bag should look like the picture below. One side is sewn shut and the other is open.
You will repeat the process with the other piece of fabric so that you pin and sew down each side and pinch one side at the bottom and sew it shut.
Turn one of your fabrics right side out and stuff it into the other bag, matching up the side seams.
You will also want to make sure that both your openings at the bottom are together.
Sew around the top of your bag, using a 1/4″ seam allowance. Then use the hold at the bottom to turn your bag right side out.
Right sides of your fabric should be out as well as your ribbon handles. Now you’ll stuff one of the fabrics down into the other to create a bag.
You’ll need to stitch the bottom of your bag closed. Pinch the fabric together, making sure to catch both fabrics and sew it shut.
Flip your fabric where the bottom you just sewed shut will be on the inside of your bag. And that’s it!
You’ll have a cute (and reusable!) Christmas gift bag for all your favorite people that is perfect for the holidays.
If you have a wacky side, you might love these goofy ways to wrap a gift and let your wacky side shine:
Or maybe you are more of a jar person – we have collected 18 creative gifts to give in a mason jar:


Dawn McCloskey says
Not only is this a cute gift bag, but it makes a darling little purse or lunch sack.
Kate says
Lovely post, Kerri. Thank you for the how-to for the gift bag.
Merry Christmas!