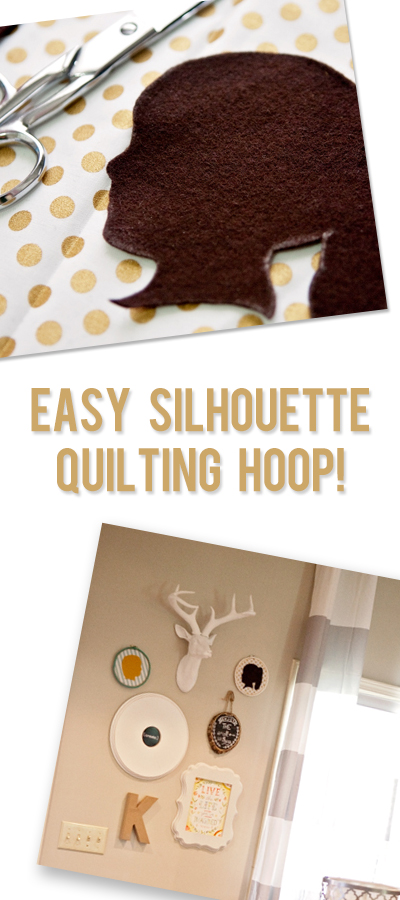
I don’t know about you but my walls are covered in pictures of my kids. In fact, I think it’s a bit overwhelming when you come into my house because there are pictures of them everywhere – hallway, bedroom, living room, dining room, and yes, even the guest bathroom. While I love seeing their cute little faces all over my walls, I’m attempting to tone down the crazy and incorporate them into my decor sympathetically. This is such a simple project and it feels more of a decor piece than just another picture on my wall. I made 2 in less than an hour and I already had all the materials at home to make it! I love when I feel like being crafty and I don’t have to leave the house to buy a bunch of stuff for my projects. My husband loves it even more. 😉
Here’s what you will need:
- quilting hoop (I used a 6″ hoop)
- fabric scrap
- felt
- pom pom trim
- hot glue gun
- camera, computer, and printer
- chalk
- black marker
Let’s start!
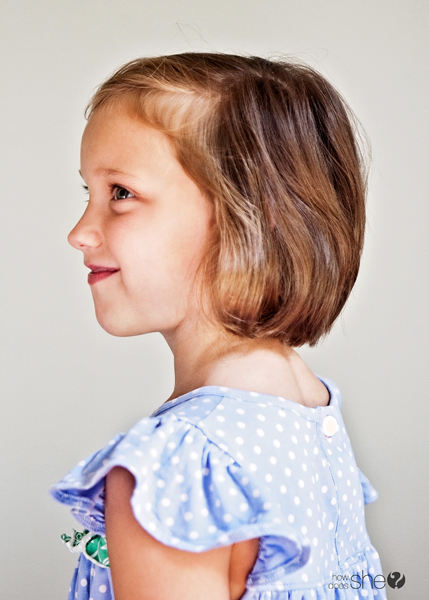
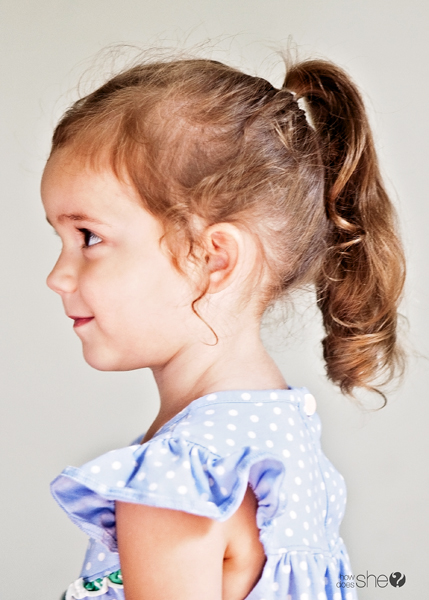
Grab your camera and find a blank wall. Have your model turn sideways. We tried both smiling and not smiling, just to give me options.
Here are the pictures I ended up with of my two kiddos. And, yes, in case you’re wondering they LOVE to match outfits. I wish I could keep them at the age they are right now – it’s such a sweet, sweet age!
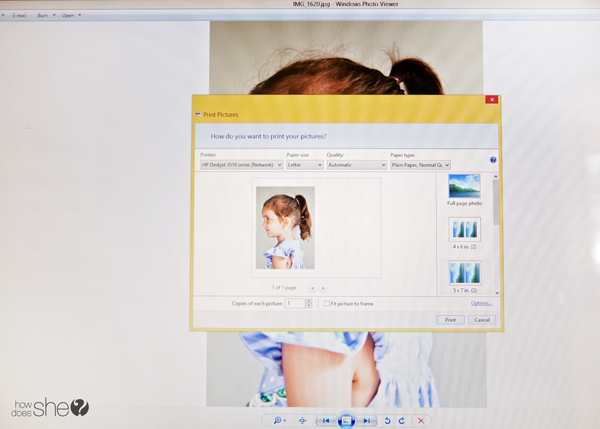
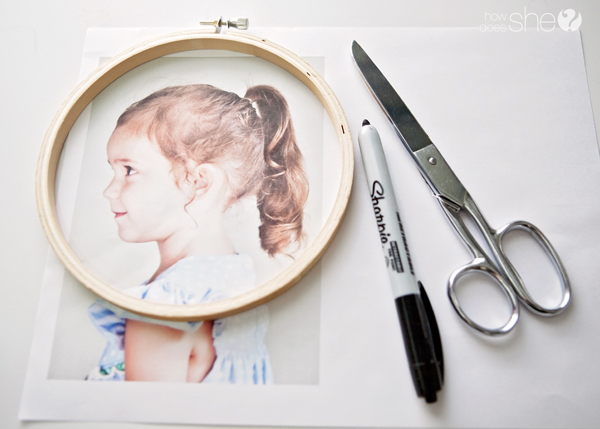
Take your memory card and upload those precious pics to your computer. I cropped in on the pics just a little bit from the original straight out of camera shots. Then, I printed a 5X7 image onto standard computer paper.
My quilting hoop is 6″ in diameter so printing a 5X7 worked out perfectly.
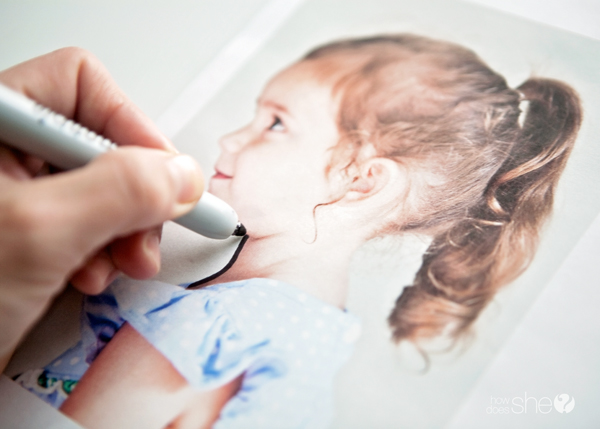
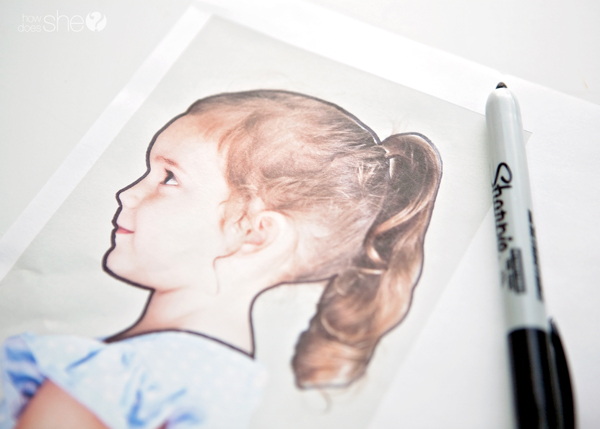
Next, I took a Sharpie and outlined her face to give me a guide for cutting.
You don’t have to include every little hair, just get the basic outline.
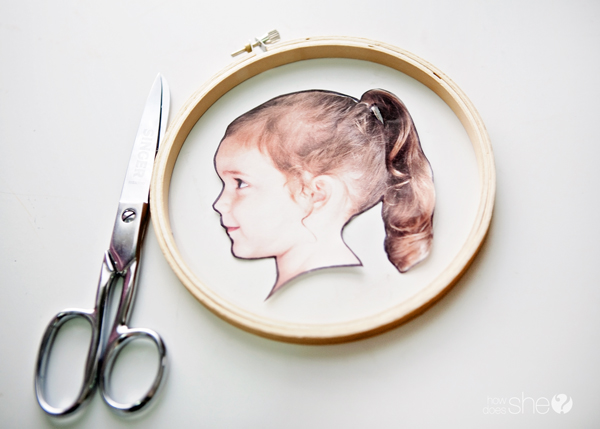
Cut out the head and make sure you like the size compared to the hoop.
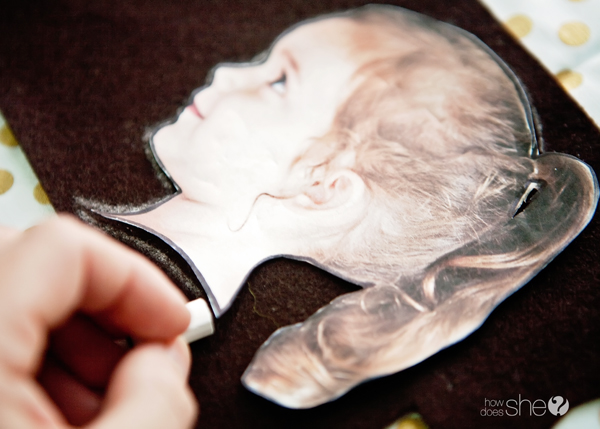
Grab your felt and chalk. Lay your cut out on the felt and outline it with the chalk. If you use a lighter color felt, you could simply use a pen to outline.
Here’s my chalk outline.
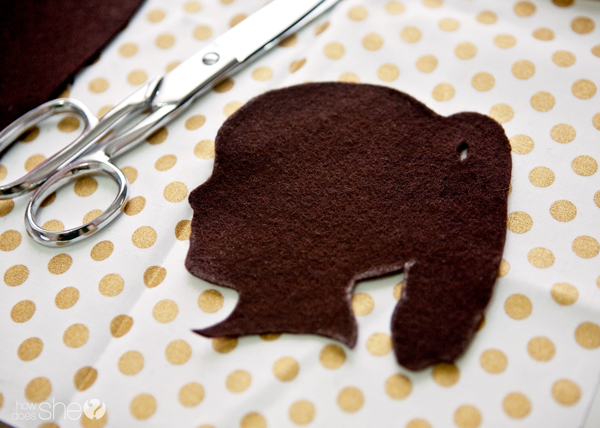
Cut out the outline and dust off any chalk residue.
Now you’re ready to prep your hoop for the silhouette. Grab your fabric and lay your hoop on top of it. Lightly trace around the hoop. Then you will want to cut your fabric about 1/2″ larger than your traced circle.
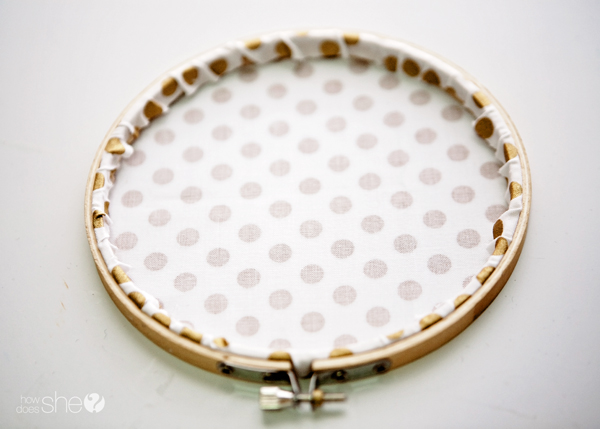
Sandwich your fabric between the inner and outer part of the hoop. And push the inner and outer hoop pieces together and tightened down the screw at the top so that the fabric stays taught.
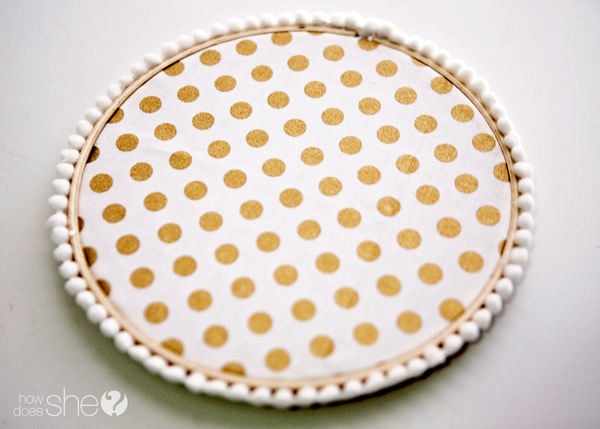
You will end up with something that looks like this:
Now, grab your hot glue gun and put a little bit of glue on the backside of your hoop to glue down your loose fabric. Do this around the entire hoop.
Here’s what it will look like when it’s all glued down.
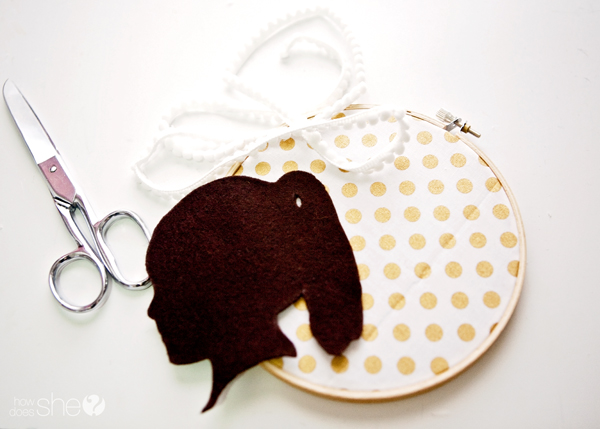
Grab your pom pom trim. I’ve been hanging on to this cute trim from Pick Your Plum. I knew the perfect project would come along and alas, it did!
Start at the top by the screw and place a tiny bit of hot glue and place your trim on it. I glued down 3″ sections of the trim at a time. Go all the way around the hoop until you get back to the start of your trim then cut your trim where it will fit perfectly onto your hoop without overlapping your beginning trim.
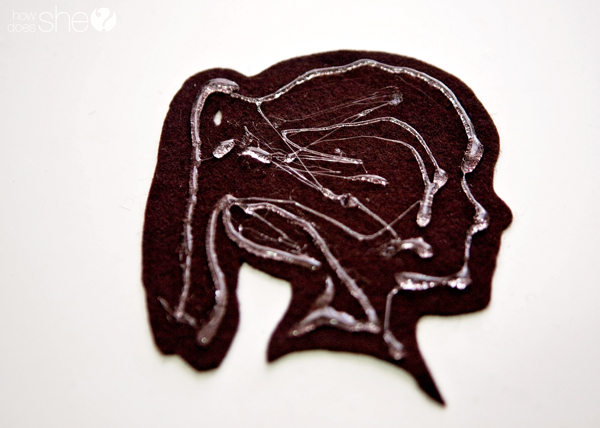
Grab your hot glue again and grab your felt silhouette and place a moderate amount of glue on the backside.
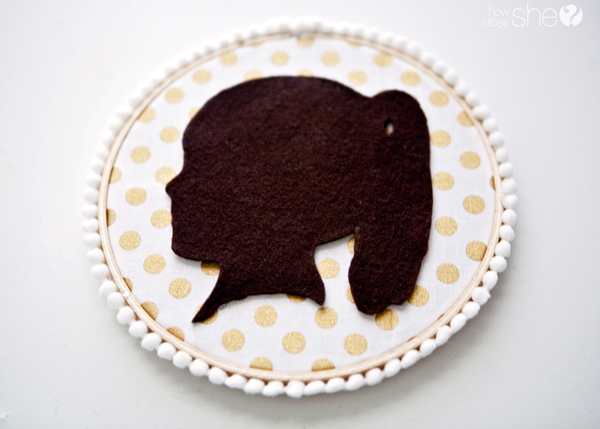
Then just flip over and glue down to your fabric hoop.
And, done!! Wasn’t that quick and easy?!
I love how simple and homemade these feel. My personal style is somewhere between modern/clean + crafty/cozy and these silhouettes fit right on in!









Nicolette says
Such a cute idea, and I LOVE how that wall turned out! I’m going to have to steal it for a little inspiration:)
MissMae says
This is such a cute idea. Unfortunately I will have to wait a few years to do it my little girl will just look like a bald blob at the moment haha (She’s only 8 months old)
Deanne says
Great idea! Very cute! I was wondering where did you get the grey and white stripe curtain from?