A few months ago my son had his eighth birthday. One of the gifts, from my sister who is working close to Zion National Park, was an excavation kit. I had never seen one before, and when we opened the box we saw some small tools and a brick of sandy plaster. My eight-year-old went to town and stayed consumed with the excavation kit for four hours.
Yes, you read that right, four hours.
He was covered with dust by the time he was through, but he ended up with a shark’s tooth and other fossil-like articles. He was thrilled with his discovery and I was thrilled with his enthusiasm and dedication. Obviously I enjoyed the time he spent on his task, so I decided to make my own.
Deciding what to use was a big issue, and I tried a few things. My initial thought was drywall mud, but there was too much shrinkage and it cracked in a few places. Next I tried a similar but less-shrinking drywall patch, but that took two days to dry and in the end it cracked right in half. Finally, I decided on grout, which turned out great.
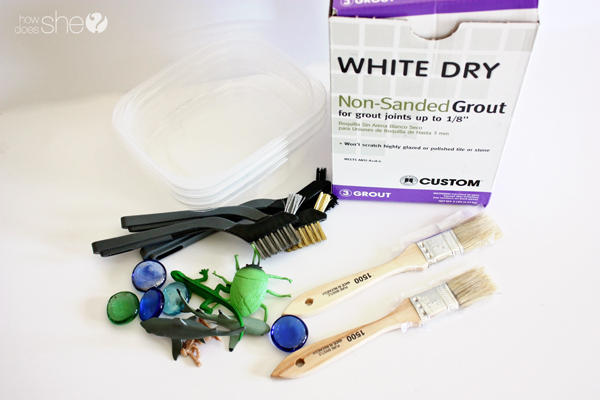
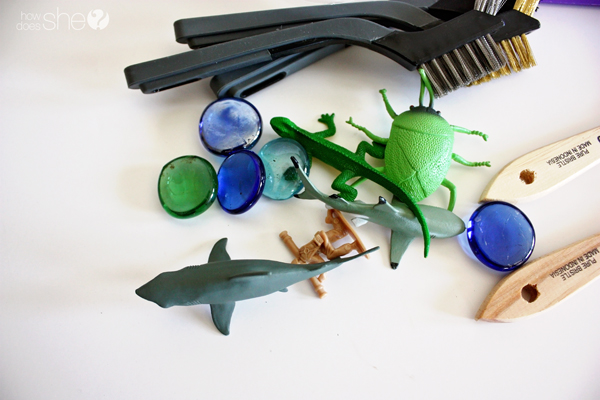
I bought this grout on the recommendation of the “pro” at my hardware store. I also bought some rough wire brushes as well as some cheap bristly paint brushes. I gathered some little animals and stones that the kids already had- nothing that I was too worried about getting thrown out or ruined. I used some disposable containers as my mold, and lined it with saran wrap to easily lift out my excavation brick.
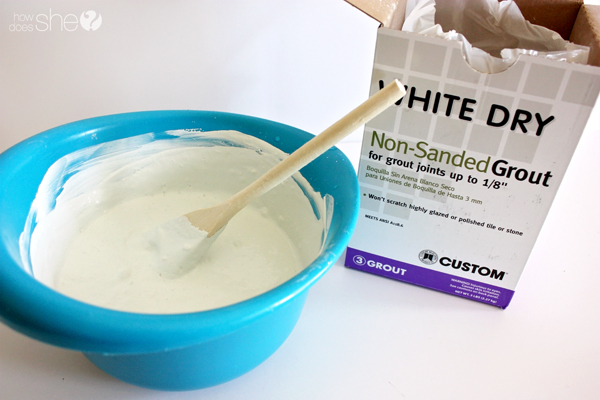
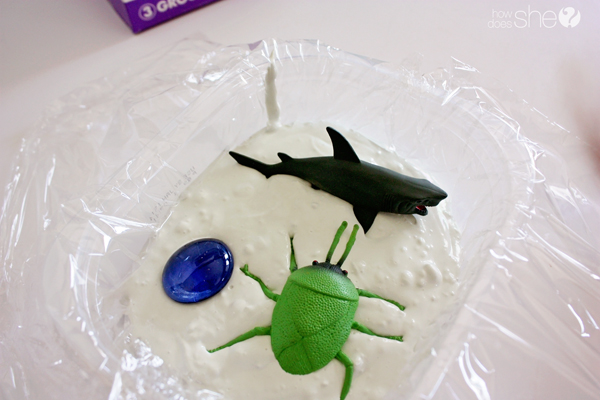
I mixed the grout a little thinner than directed on the box, but I followed the directions for time, allowing it to sit ten minutes before stirring again and pouring it into the mold. It was about the consistency of pancake batter, maybe a little thinner. Pour your first layer of mud.
Then, add your treasures. I also ended up putting a few coins in there too.
Pour another layer of grout over your treasures and let sit overnight. I put mine out in the hot summer sun and it dried out really fast, within a few hours.
You should be able to grab the sides of your plastic wrap and lift out your brick.
Then, let them at it! It takes some patience, but for certain kids, it’s a labor of love. My five year old lasted about 20 minutes and he was done, but the eight year old stuck with it for quite a while. The boys used plastic knives to sort of “saw” at the brick when brushing wasn’t cutting it.
This would be a fun gift to give to a child in your life, along with some other exploring tools. Seashells would also be a fun thing to dig out! Happy exploring!


Elise says
Thank you for the awesome idea! I am going to make a bunch and do this with my class. We are studying fossils right now in science and they would LOVE this.
Irma says
Why not just use face masks? You can pick up a box for a few bucks. Wish I had seen this site before. Just bought four kits from Amazon at twenty five dollars a kit. There are eleven kids in my grand daughter’s class so I was going to let three kids per kit. I changed my mind and decided to buy an additional seven more kits. Unfortunately they will not get here on time for their lab day. So I decided to make my own. Can’t wait to try this!
Thank you for the idea!!!
tricia says
Concerned as well about ingredients in the cement. . .has anyone looked at the ingredients on the already prepared kits that are available? Are they are safer solution? I do like the idea of making them though.
Dawn says
Ladies – that grout contains Portland Cement – it can cause burns in the nose, throat, and lungs if inhaled. It also contains Silica Sand, which is a carcinogen. I’d recommend finding another product to use with this project.
Here is the material saftety sheet:
http://www.orcbs.msu.edu/msds/050911_ED_14_White%20Dry%20Non-Sanded%20Grout.PDF
Denise says
I love this site!! There are so many great ideas, and I have to say this one is awesome! My husband and I made these for our 4 grandsons for Christmas this year. What a hit! 7, 5, 4, and almost 3 years old. At first we worried that it dried so hard that they wouldn’t be able to even get started digging. They used little toy hammers and of course goggles. They stayed at it for hours! The 7 year old even stayed outside in the cold weather to work on it. We buried large and small plastic dinosaurs, colored gems, and coins. It topped all the other gifts! Thank you so much for all your creative ideas!
Sarah Munson says
This looks so cool! I can’t wait to do this with my son when he gets a little older.
Heather Ellis says
Such a great idea! Brilliant! I’m sure the toxicity is very minimal and wouldn’t be harmful in anyway 🙂 Thanks for sharing
Lisa says
These are so fun! We did something similar for my son’s 10th birthday this year. He had a Minecraft party, so I made large blocks so the boys could “mine” for gems. I found some inexpensive rocks and minerals online and put those in the blocks, as well as some blue acrylic diamonds, black rocks for coal, and some plastic spiders. They all loved it, and got to take home the treasures they dug up. For my blocks I used a mixture of plaster of paris, sand and cinnamon for color.
Vicki says
Lisa- I love how you incorporated it into a Minecraft party! I’m just beginning to plan a Minecraft party for next month and this is perfect!
Lindsey says
Not to be a downer or anything, but I know this is an ingredient in some DYI chalk paint and read in many places that it is toxic. My guess is that scraping it away and inhaling particles would not be good. I would check into it some more. I love this idea! I wonder if there is another product that would work just as well?
wyomom says
I had this same worry about toxicity of the grout. This is a great idea, though! I wonder if cornstarch mixed with a little water then left to dry would work?
Susan J. says
My 7 year old son has been obsessed with these kits for 2 years now, this is an affordable solution! Thank you for sharing!