
Last year my tree was in much need of a makeover. I chose a color scheme of golds, bronze, and cream and bought all new tree decor – ornaments, ribbons, toppers…the works. The one thing I didn’t buy last year was a tree skirt. Yep, my tree was naked last year. I was possibly the only one who noticed (or cared) but STILL I wasn’t going to let my newly furnished tree go naked again this year. I looked around at several stores but couldn’t find exactly what I was looking for. I wanted something chic and homemade looking but I didn’t want to spend a lot of money or time on it – I know I have high expectations. 😉
So I got to thinking about a quick, easy way to make my own. I live in a small town so sometimes you’ve gotta be resourceful. There’s not a fabric store within an hour’s drive of me and then like a bolt of lightning it hit me to use a bed sheet. I’m no stranger to using a bed sheet when I’m in a crafty mood (i.e. Photography Prop Tent) and it definitely didn’t disappoint this time either.
Here’s my naked tree….

Let’s get started!
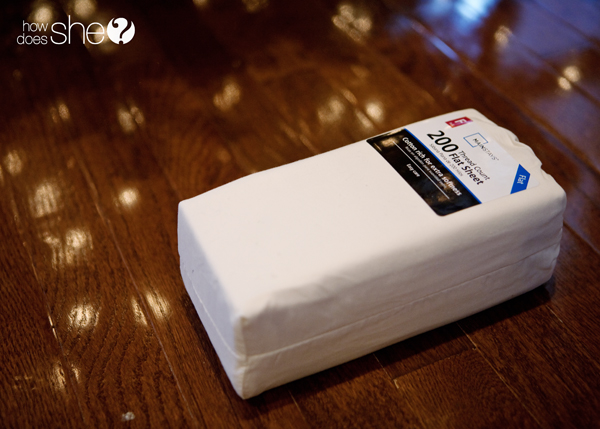
You will need a flat full sheet. There’s a rainbow of colors out there in the sheet section so grab whatever suits you! I went with a basic cream color to go with the decor I had already purchased.
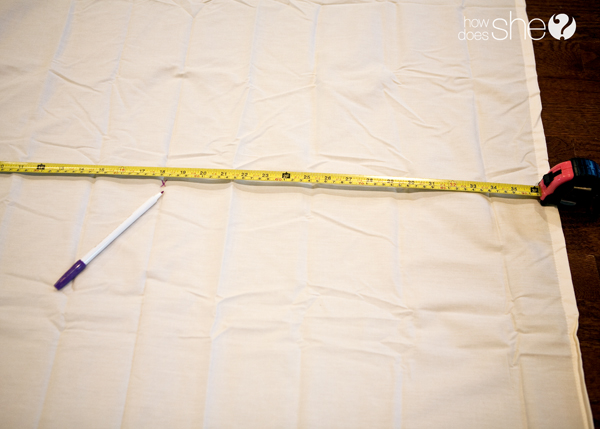
First thing you will want to do is get a tape measure out and measure how wide you want your skirt to be.

I wanted mine to be around 36″.

Unfold your sheet and if you’re anal, iron it. But if you dare walk on the wild side, like me, then forget those wrinkles! I promise it won’t matter!
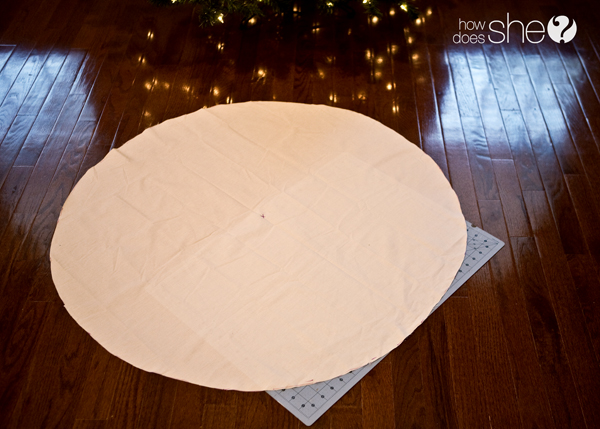
I started off by measuring out 36″ and putting an X at the center, which would be 18″.
Then I took my measuring tape and starting marking my circle out. To do this just measure from you X out to 18″ and make a mark. Then move your measuring tape over and mark out 18″ again.
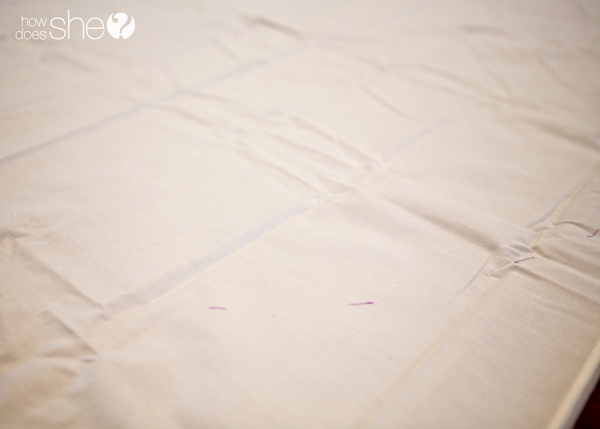
I did this all the way around until I had a complete circle
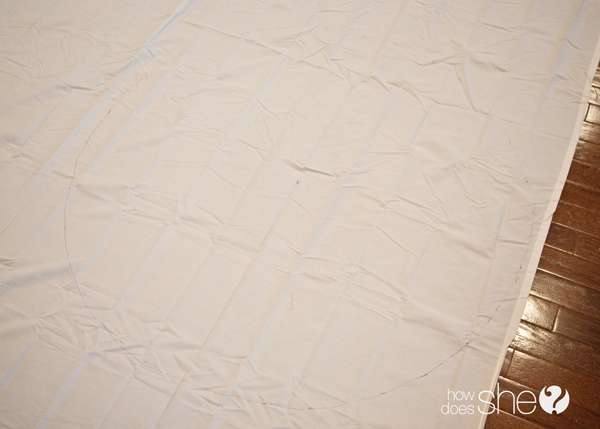
Then simply take a rotary cutter (and mat) and cut out your circle.

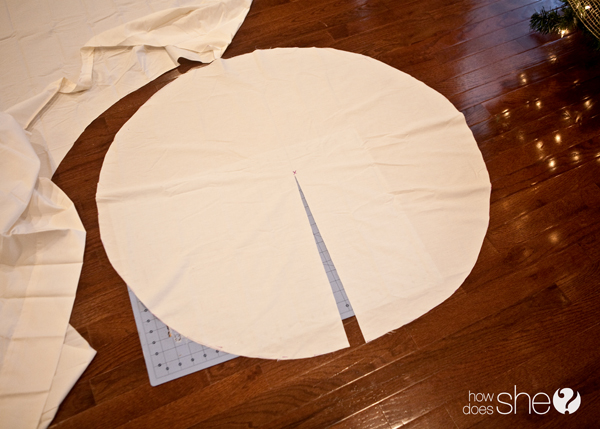
Now you will have a complete circle that should measure at 36″ for the diameter.
This is when the wrinkles started getting to me and I couldn’t resist the urge to iron…so I gave in and ironed my circle. There was still fold lines on it but I just felt so much better after it had been pressed.
Ok, now we need to cut a slit to the center. It doesn’t matter where you do this – just pick a spot and make a straight cut to your X and stop.
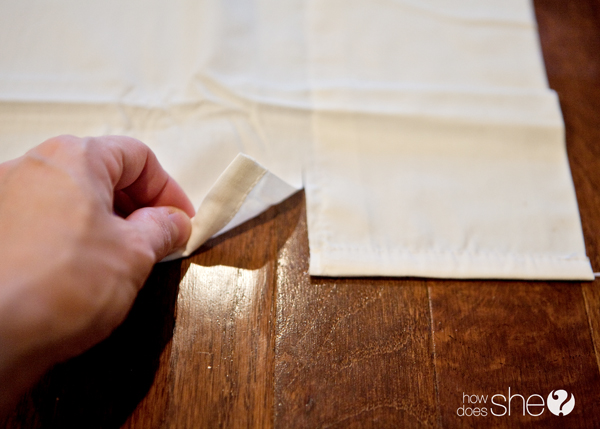
Take your leftover sheet scrap and lay it out. You will want to get rid of all the seams on the sheet. So simply cut a little slit and tear them off.
After all the seams are gone, you will want to start marking out every 4″. After you have about 9 or 10 marks, make a slit on the mark and tear the fabric all the way down.
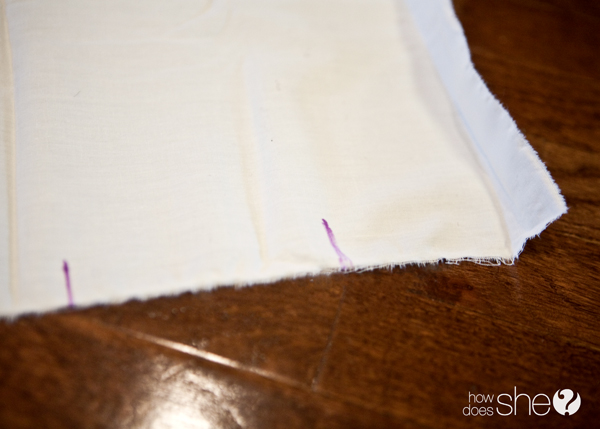
You will end up with a nice pile of scraps that will soon be turned to luscious ruffly goodness!

You will want to attach 2 strips together on the short end. This will make you strip long enough to go around the circle of your tree skirt. I had to do this for the first 3 layers of ruffles but didn’t need to do it for the 3 remaining ruffles that are closest to the base of your tree. This will vary depending on how ruffly you make your skirt.

Now let’s start getting some ruffles going on!
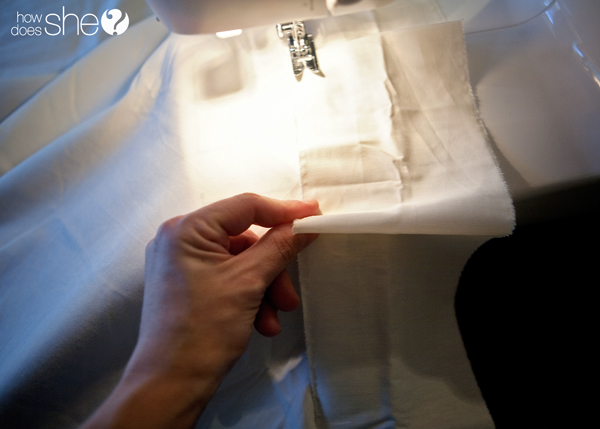
Start at the slit of your circle and place a ruffle strip where the short end of your strip meets the outside of your circle, right at the slit. Now just start stitching the strip to the circle.
To make the ruffle you will simply pinch about an inch of fabric up and fold it flat to lay on top of the strip. Hold it in place as you send it through your sewing machine.
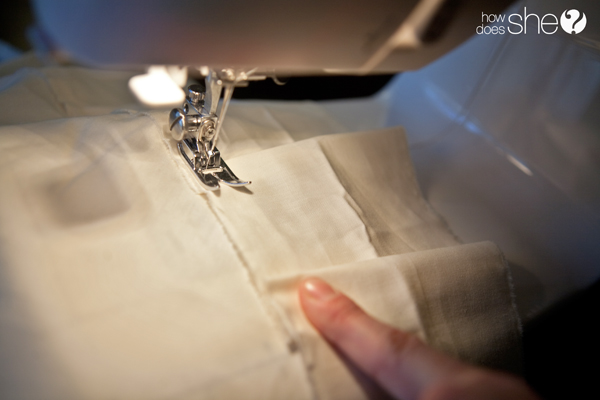
I pinched fabric up to make a ruffle about every 8 inches of sewing the strip down onto the circle.
Here’s what your first layer will look like:


Then start the process all over with another ruffle strip to make the next layer. I made sure that I covered the stitches from my first layer when I placed my second layer on the circle.

Just keep adding layers until you get your whole circle filled up. For me that was 6 layers.

Annnddd, you’re done! From start to finish this took me an hour and a half and only cost me $10 to make!
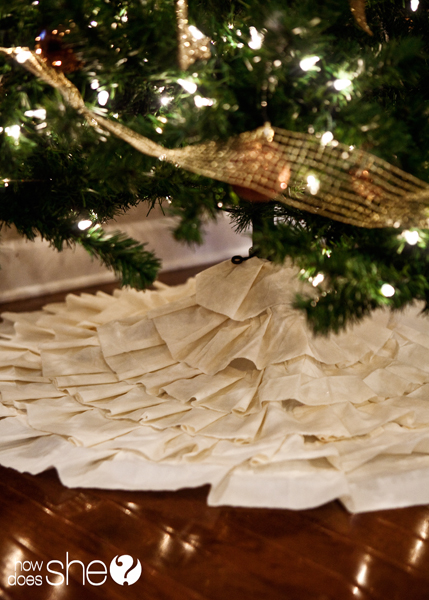
My tree has a fabulous feel to it now and helped tie together all my new tree decor. Plus, I LOVE this method of ruffling. I hate having to use pins and baste stitch when ruffling, it always seems to take so long and I get frustrated easily. But this pinch and fold over method is fun and fast!


Teresa says
Thanks so much for the beautiful idea! I made one for my mother using a 48 inch circle base and I hemmed my ruffle edges per her request…was beautiful and I used a flat king sheet I already had, so no extra money spent! You have a great idea!
jessica says
I love this tree skirt. I cant wait to put this together next Christmas@
Loretta says
I did a no-sew version like this for my tree last year and I love it! The ruffles are a little fluffier, but it made it through the year. Hopefully I can enjoy it for many, many years!
Heather says
Fantastic job Kerri! Looks beautiful!
Missy says
I love it! This turned out so cute and looks easy enough. Nice job!
Tess @ Tips on Life and Love says
This has got to be one of my favorite ideas yet! I noticed that you bought sheets, but can we use an old set of sheets were looking to get rid of?
jackie says
That skirt is SO pretty. I LOVE it. It’s pretty, ruffly, chabby chic! I have a skirt, but I’m tempted to make this. it looks SO EASY too.