Do you ever feel guilty throwing out your kid’s projects? What about a worksheet they wrote a cute story on or a test they aced? I have to confess, this is totally me.
This Christmas the boys made the traditional gingerbread house and they turned out really cute. I justified leaving them out through January since it was still cold and we would still have snow right? Then we made it to February and there were hearts everywhere. Those gingerbread houses looked really out of place! But I still couldn’t throw them away; they had worked so hard on those sugary, candy covered houses! So I got to thinking, why not take a picture and create a photo album with all of their projects? It would take up less space and I could “discreetly dispose of” my boy’s creations without the guilt. Now I can finally get rid of the dust covered bat from Halloween on my son’s dresser!
I thought about creating a project photo album online, but “out of sight, out of mind” definitely applies to me. I would probably start working on the album, then forget about it, and it would never get done. So using an old book from the thrift store sounded like a fun idea to me (and I wouldn’t forget it because it would be on my desk reminding me it needed to be finished). It was a very quick and easy project and then I decided to cover the book with the Tidney fabric from IKEA. My boys LOVED coloring it!
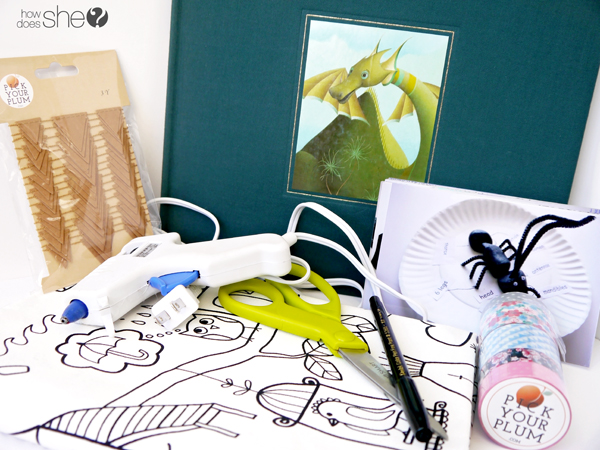
Here is what you will need for your very own Project Photo Album:
1. An old book from the thrift store. (I bought mine for $2!)
2. A hot glue gun and hot glue sticks
3. Scissors
4. Markers
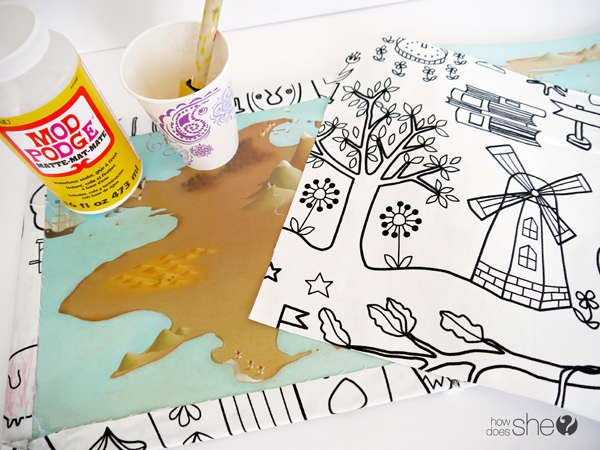
5. Mod Podge (Not shown in this picture. I realized later that the cover of the book would be bumpy and uneven if I used hot glue.)
6. Sponge brush (for the mod podge)
7. Washi tape (I used washi tape from PickYourPlum. How Does She co-founder Alison, is also the founder of PickYourPlum and she has some pretty awesome stuff! Not to mention, great deals )
8. Pictures of your kid(s) projects.
9. The cutest little pennant banner from PickYourPlum, or your choice of decoration to display your kid’s name(s).
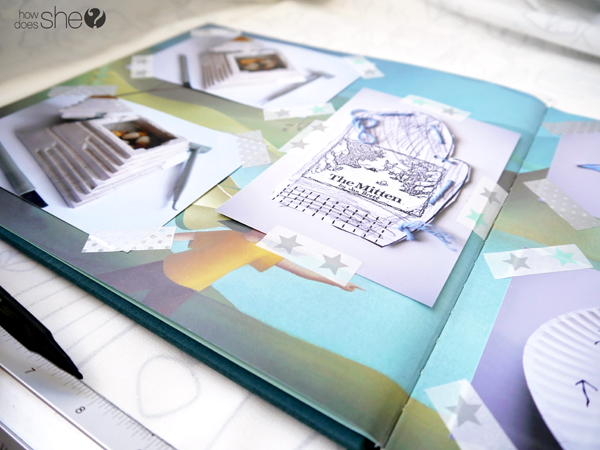
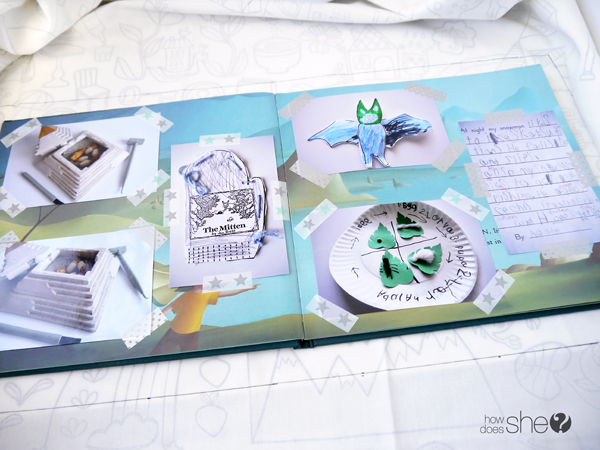
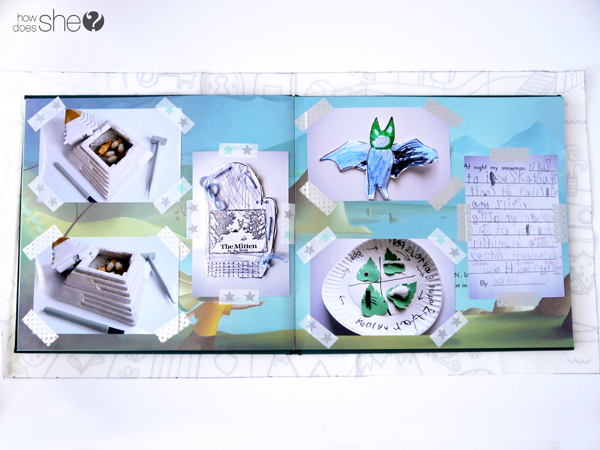
Using your washi tape, you will first secure your photos on to your old book’s pages.
As my boys say, “Easy peasy, lemon squeezy”. They can even help you tape the pictures in!
Get that hot glue gun warmed up, because we’re almost ready to glue your fabric onto the book.
While you wait for the hot glue gun to warm up, you can measure, mark, and cut out the fabric. I measured 2 inches away from the book’s cover on all the sides.
Before you start gluing, you will want to cut two slits on each side of the book’s spine, top and bottom.
Using the sponge brush, apply the mod podge liberally to the book’s cover. Once the fabric on the front cover is secure, do the same on the back.
I’m sure by now your hot glue gun is sufficiently warmed up. Start gluing the fabric to each side of the book.
You will need to trim the fabric on the book’s spine. Then by folding it, applying a dot of hot glue, and tucking it in, the fabric will be securely fastened.
Once the front and back cover is done, you can measure and cut fabric for the inside of the cover. I think it looks more finished and plus the kids get to color more. 🙂
I also painted some mod podge on the sides of the fabric so the edges wouldn’t stick up.
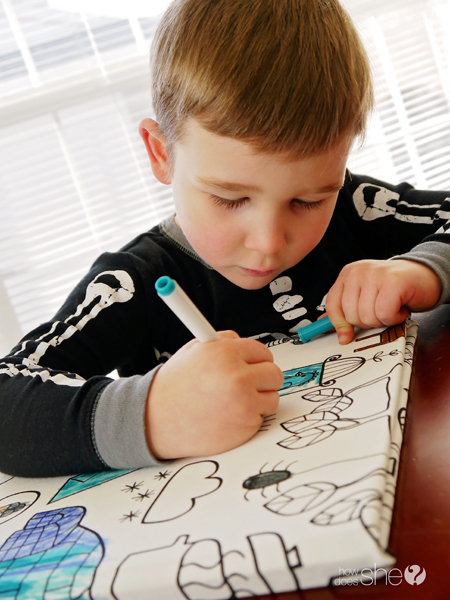
My four year old couldn’t wait to get started coloring! And yes, those are skeleton pajamas. I could have asked him to change clothes for the photos, but I wanted to keep it real for all you moms. 🙂
Last but not least, the pennant banners! I used the markers to write their names and hot glue to attach them.
After a hard day’s work of crafting, sometimes it’s just nice to kick back and relax.
Looking for a little more fun-time with your kiddos? Check out these 4 building sets for kids and see the pros and cons for each:
Do your kids like to help out in the kitchen? Here are 19 FUN Cooking projects you are both sure to love:
What about your little Einsteins out there? 20 Easy and FUN Science Experiments to try – they’ll be busy for hours!












Tecca says
Love this idea! I can’t wait to try it. I took photos at the end of the school year last year, but wasn’t sure the best thing to do with them. My daughter will be thrilled to pitch in and help, too!