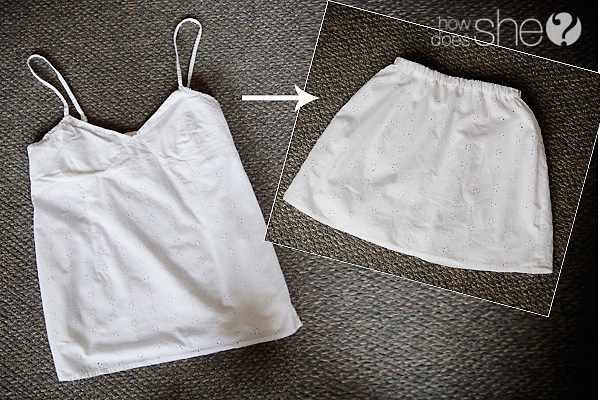
It’s about time to pull out the Summer clothes and sort through them, wouldn’t you say? If you come across any shirts of yours that you can’t see yourself wearing this year, take a moment to consider whether you can see your daughter wearing it- in the form of a skirt!
Recently, a neighbor of mine decided to give away a tank top. I saw it & immediately loved the eyelet fabric. It wouldn’t fit me, but I could see it becoming a little girl’s skirt, so I picked it up & set it aside!
Do you want to know how this was accomplished? Well, don’t worry about sewing skills, because I’m definitely a beginner!
You’ll need:
– a woman’s shirt
– sewing scissors
– sewing machine
– elastic
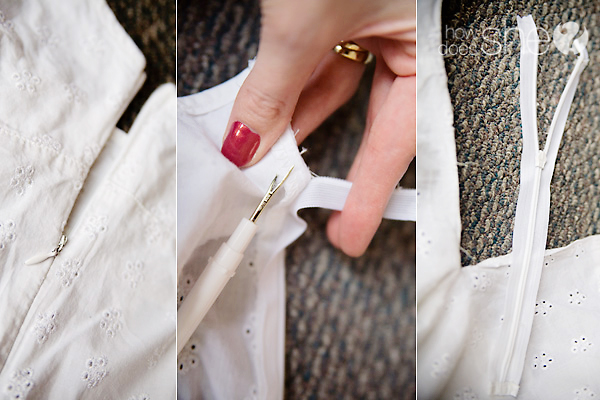
The top I used had a zipper built into the side of it, so I got my seam ripper and got to work on it, removing the zipper. I just sewed the opening up after I had removed the zipper. You are likely to be able to skip this step altogether!
Next, I needed to remove the top of the shirt. The way this top was built, I could just rip out the seam that attached the bust to the rest of the shirt. (If your shirt is more simple than this one, you may be able to just cut a straight line… actually, I guess I could’ve done that, but I wanted to save as much length as I could, so I spent some quality time with my seam ripper)
I did make a cut at the end of the seam ripping, just to make my top straight.
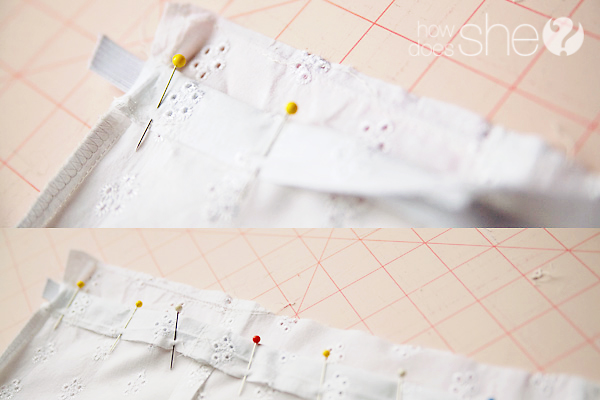
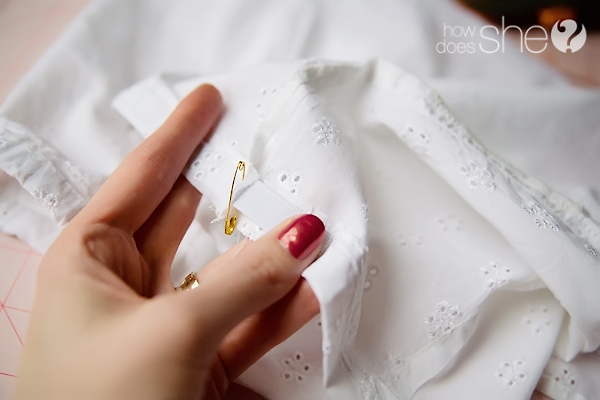
Next you need to make a spot for your elastic. I turned the top inside out, laid the elastic along the top, folded the fabric over it & pinned until I had gone all the way around. Remove the elastic before you sew (you don’t want to accidentally sew it into place). Make sure you leave an opening at the beginning/end of the waist of the skirt (to put the elastic through).
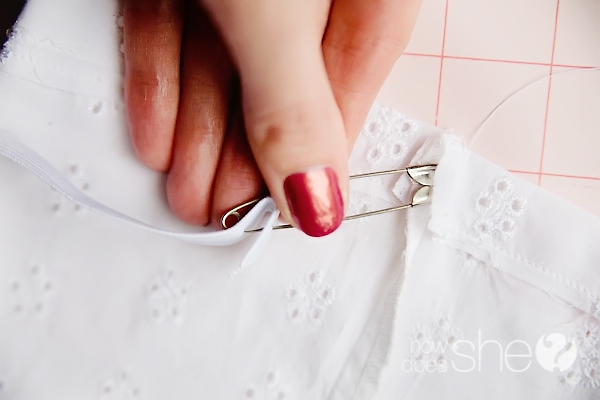
When you’ve sewed around the top, to make the pocket for the elastic, you can put a safety pin through the end of your elastic & push it through. (To figure out how long of an elastic you need, measure it around the waist of your daughter or whomever will be wearing it)
I pinned one end of the elastic to the opening, so that I wouldn’t accidentally pull the end through and have to start over.
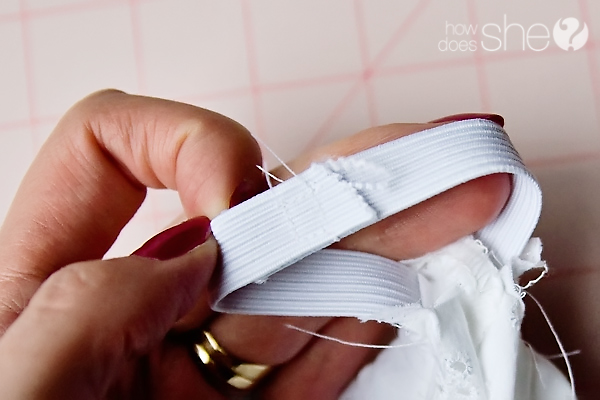
Overlap the two ends of elastic & sew them together. I sewed in the shape of a square, to try & make it strong. If you need/want to, you can close the hole where you put the elastic through.
Now get your little model & try it on her! So cute! 🙂
This project took me less than 2 hours (and I had a few extra steps in there because of the top I used… and I was figuring it out as I went)… so you could probably do it even faster!
Now you have a great reason to go, sort through next season’s clothes! 🙂
If you liked this project, you should check out my post about the time I made a man’s shirt into a little girl’s dress! Come on over to Raising Memories sometime, and check out my other adventures in beginner’s sewing 🙂






Rachelle says
So. AWESOME! And cute! Well done– I’ve been wanting to do something like this for T, and you make it look so easy. 🙂 Beautiful nails too, BTW 😉
Heather Lynne says
Thanks Rachelle! This project really was pretty straight forward! (and would be even easier with a more plain tank top, without a zipper)
And why thank you.. I painted them myself 😉
Hilary says
Good one Heather! Man, I really need to try and do more stuff like this!
Heather Lynne says
Thanks Hilary! I am still wishing I could’ve been there when you made your twisty crayon roll up thing! I want one but haven’t been motivated to try it on my own :/
Alison says
Whoo…that is fantastic! Cute idea:)
Heather Lynne says
Thanks Alison! 🙂
Mindy says
so cute! I’m trying to think of what I put in my donation bag now haha
Heather Lynne says
haha 🙂 I know! I’ve been collecting a lot of clothes for projects before donating lately (well, one project in particular- I’m making a quilt out of our “old” clothes).
Stephanie says
I saw your post about the blender. Sounds amazing!!!! I am now a follower of you on Pinterest, I pinned a mother’s day idea from your board and I added you to my RSS feed. Thanks for the opportunity to win a fantastic appliance. Bet you’re having a great time with it.
Missy says
That turned out so cute. How clever! Great tutorial – you make it look so easy.