Hello Ladies!!
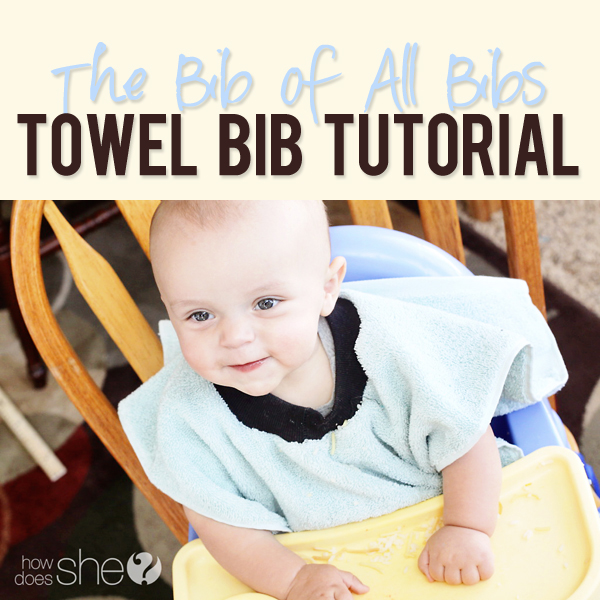
Boy, do I have a treat for you.. The amazing, can’t live without ‘em, clothes saving: TOWEL BIBS!!!! I am so excited to share this special tutorial with you.. and honestly.. it may be my easiest one yet! These towel bibs are the best thing that ever happened to my baby’s meal time. I could go on and on! I’ll explain why they are so awesome. First off, its a towel.. and towels are super soft and absorbent! These bibs will catch anything and everything your baby can throw at them They are reversible… which means… they can last for days without needing to be thrown in the wash! They wash up super soft and fluffy every time! They are HUGE and cover every inch of baby that could possibly get stained.. Speaking of stains. These stop all those hard to wash baby food and juice stains. I can’t tell you how many baby shirts I have thrown out in the past because I just couldn’t get those impossible sweet potato stains to come out! No more.. My little messy girl walks away from every meal clean as a whistle! And probably my favorite part about these towels.. You can use them to wipe your baby’s hands and face when they are done eating! {sigh} These are the best invention ever.
So with that long introduction out of the way… Let’s get started!!!
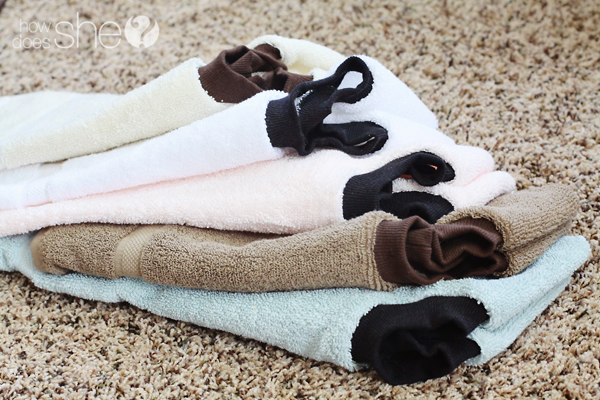
I like to watch for hand towels to go on sale in department stores or target. Then when they do, I stock up like crazy so I can make bibs for gifts, grandparents and my own kids.
For one bib you will need:
A hand towel a piece of ribbed knit fabric cut to 3 x 14 inches sewing supplies
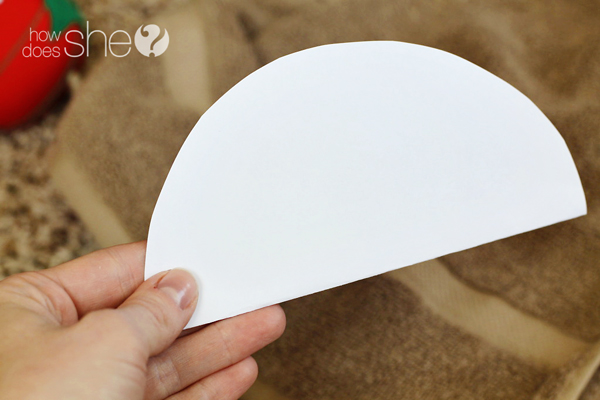
To create a pattern for the neck hole: trace a circular object that is 5 – 5 1/2 inches across onto a piece of paper. If you have a smaller child or a child with a small head, use the 5 inch measurement. If your child is older or has a bigger head use the 5 1/2 inch measurement. If you are making these in a big batch I would suggest only making one first and seeing how it fits over your child’s head. If it is too big or small simply change the size of the circle for the rest of the bibs!
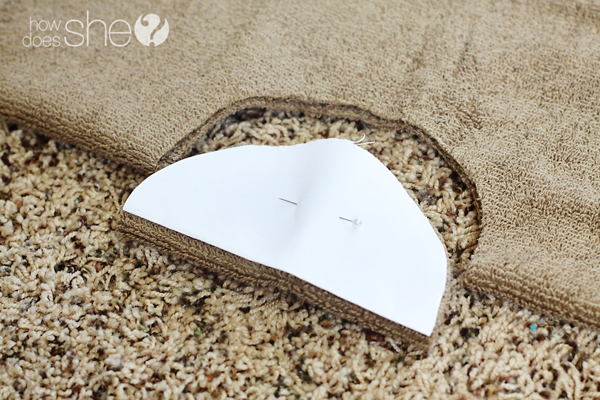
Cut the circle from the piece of paper and fold it in half.
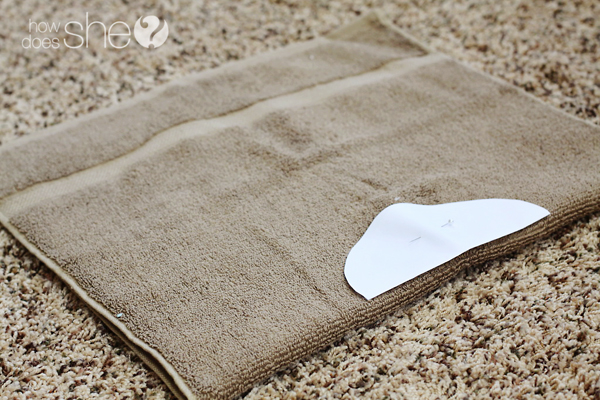
Fold the towel in half and place your pattern directly on the fold edge in the center. Then pin it in place.
Using fabric scissors cut around the pattern.
When you unfold the towel you will have a perfect circle.
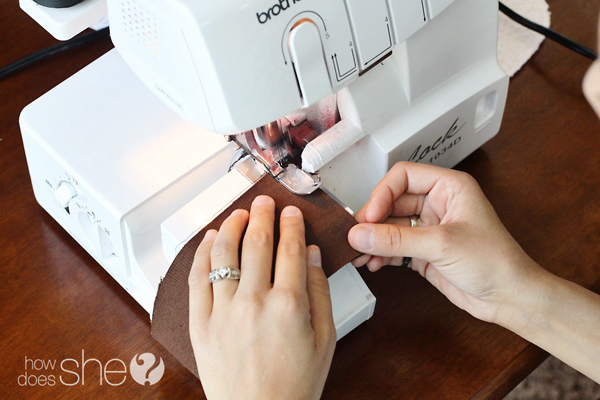
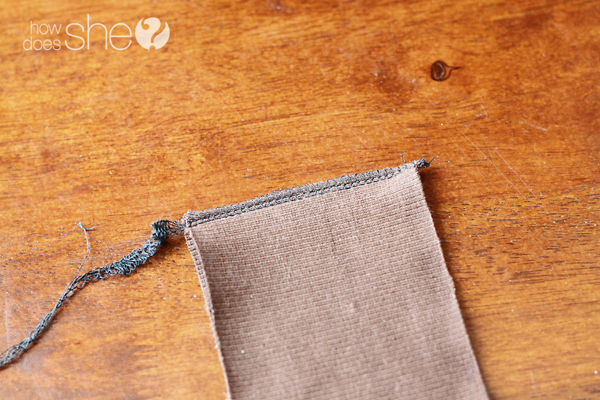
Fold your piece of ribbed knit fabric in half with right sides together. Use a sewing machine or serger and stitch the short sides together.
This will create a circle tube that will be sewn for the neck of the bib!
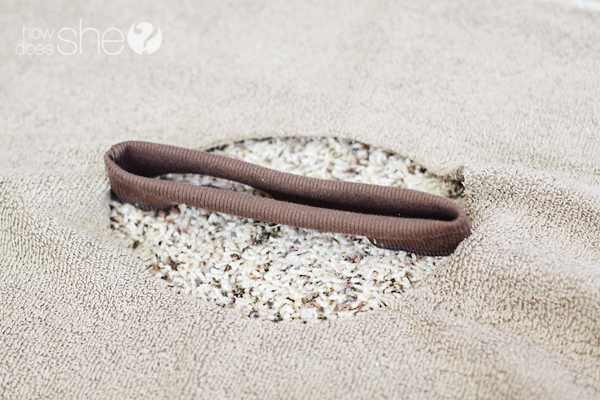
Fold you ribbing in half length wise so the raw edges are touching. Pin the tube to the circle hole you created in the towel. The easiest way is to fold the towel in half and fold the ribbing tube in half and pin the half marks together. This way you make sure you have equal amounts of ribbing for the whole neck.
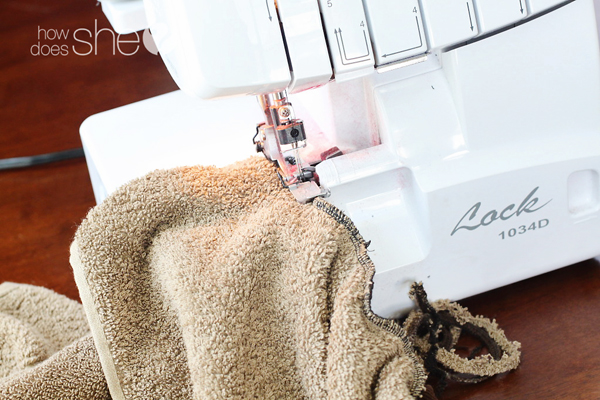
Start at one of the pins when you begin attatching the ribbing. Stitch at 1/2 an inch, or serge enough to cut about a 1/4 inch from the edge. Pull the ribbing as you sew to stretch the opening in the towel. Make sure you catch all edges of the towel and ribbed fabric. Make sure you back stitch if you are using a regular sewing machine!
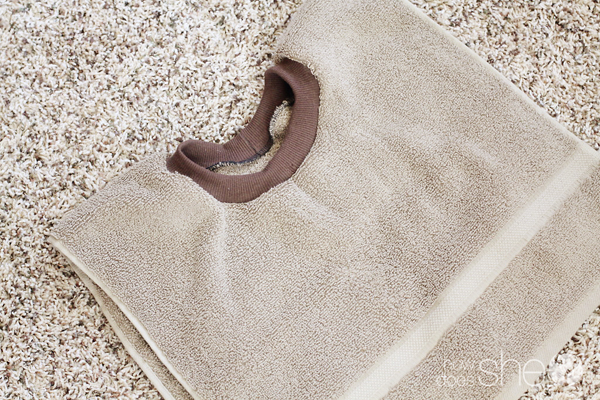
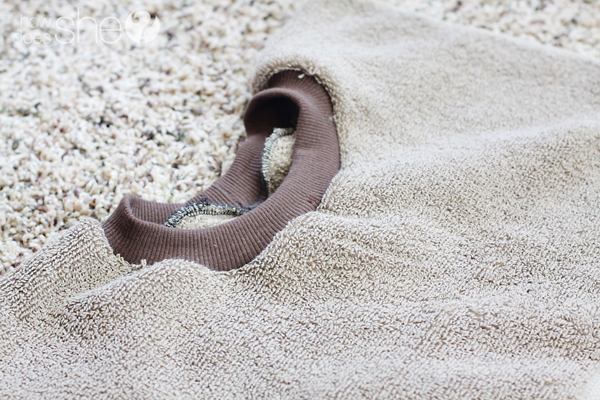
And you are done! How easy was that?! Check around the neck to make sure all the edges are caught and it is all secure!
Oh and be so excited because this is going to be a lifesaver!!
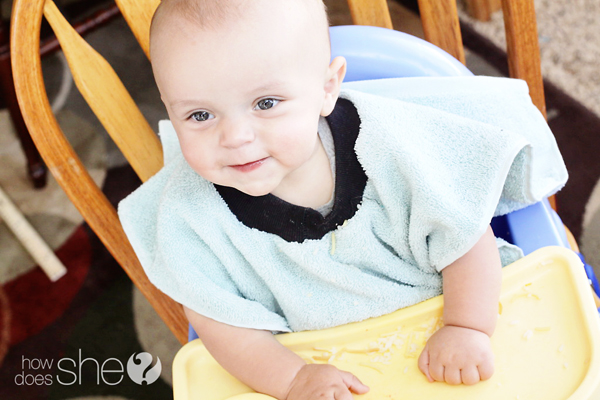
It covers everything! Front, back and half of the arms! No more stains! Happy baby, happy mommy. You can reuse these for days before throwing them in the wash (at least I do )!
A perfect baby gift or 1st birthday gift… I mean, I even make my 4 year old wear these sometimes
These are great to have for grandparents, vacations, and every day life!
Thanks to my bestie Richelle for letting me use her awesome serger and her adorable model son!
What are your favorite tips for keeping your kids clothes clean?? I’m all ears





Dennis Mandell says
It is very convenient to make bibs out of towels that are available already at home. It is much cheaper and easy to be done.
Cristian says
Thank you for this beautiful post!
Best regard
Cristian
beachousefv.com
fuerteventura.blog
Eric Bullard says
Aside from any fabric that is available in the market for your bib, we can also recycle our towels and transform it into a bib. This is much cheaper than to buy another bib at the store.
Jane says
I would love to make some of these but I don’t know what to buy for the ribbed knit fabric. There are different types. What is the best to get? I was thinking of getting the 2-1. Is that the one I need? Thanks
Debbi S says
I saw a hint somewhere to use a CD as the round pattern for neck opening; I haven’t tried that idea yet.
Angela Jackson says
This is such a good idea, a bib towerl. But I still prefer the waterproof ones with the crumb catcher. It makes cleaning up faster.
http://ghcbibs.com
Rob O'Neill says
Nice idea! This is a great way to use my old towels in the cabinet. I will definitely try this at home. Thanks for the simple tutorial – I’ve been looking for this!
Marlene Johnson says
I have a question for you and I hope it is not inappropriate. I was asked to make some of these bibs from towels. The person wanting them is buying everything but I do not know how much to charge for making them. Do you have any suggestions? Thank you for your time and your wonderful tutorial.
Marlene Johnson
Joy says
I made six of these for my granddaughter and my daughter LOVED it! Your instructions were so easy and well-explained. I am making six more today by request (or is it demand?) from my daughter to give as birthday presents to her friends’ kids. Thank you for this wonderful tutorial!!!
Molly says
I love these! A friend of mine sent me another pattern – same idea but you cut a slit in back and do bias tape around the edges instead of elastic, so it ties in back and you don’t have to pull it back over their hair after it’s covered in food 🙂
Brandi says
Do you have a link to a tutorial on the pattern your friend sent you?
Helen says
I love this tutorial you made it so easy, I made one for my Grandson but the directions were so much more complicated Thanks again I have subscribed to you blog