DIY Fabric Necklaces
Ok, it’s hard for me to sum up my love for these cute little, easy to make DIY Fabric Necklaces in just one short sentence. So, instead, I think I should tell you EVERYTHING that’s great about them!
* They’re cheap to make
* I can share them with my girls since I can vary the length of the tieback
* I don’t have to worry about my toddler choking on the beads
* I can make them out of my scrap fabrics that otherwise would just go to waste
* They’re fast to make
* I can add a yoyo clip to them to change up the look
* I can give them as gifts to babies, toddlers, teens, adults!
* They can be used as a baby teether and then washed
I could go on and on about my love for them but instead I want to show you how to make your own so you can fall in love too!
What you’ll need:
3″x60″ strip of light/medium weight fabric (you can sew together 2 pieces of fabric to make 60″)
bag of marbles (you can find them at any dollar store – usually in a bag of 50 for $1)
needle and coordinating thread
sewing machine
You’ll want to start off by folding your strip of fabric in half, right sides together. Your strip will now be approximately 1.5″X60″. It would be a great idea to iron it down (but I always skip that step!)
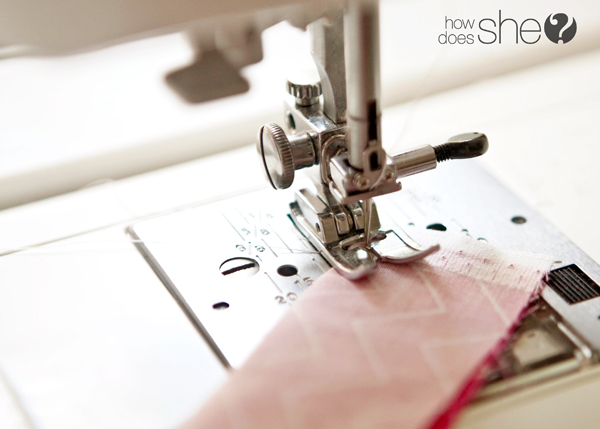
Start with your needle at the folded side of your fabric and gradually sew to open side. This will create a professional looking tie for your necklace.
Sew all the way down your fabric, leaving a 1/4″ seem allowance, until you get about 6″ from the end. Simply backstitch then lift your presser foot – leaving a 2-3″ gap. Backstitch again and finish your seam using the same method as you did at first – gradually sew to the folded side of your fabric.
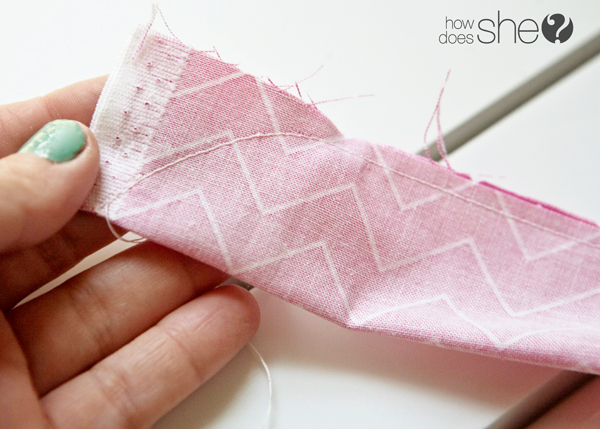
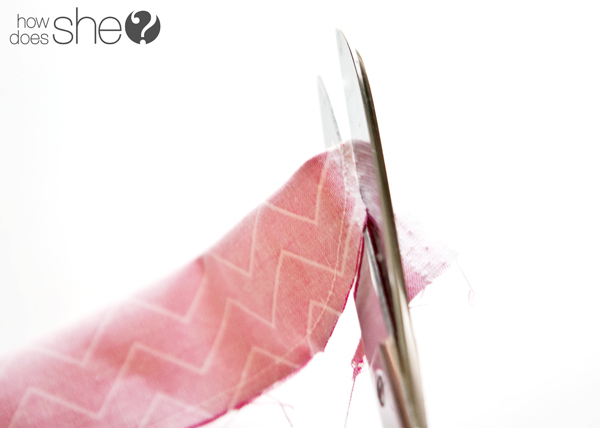
Cut the extra fabric off of each end. This will help the ends not look so bunchy when it’s turned right side out.
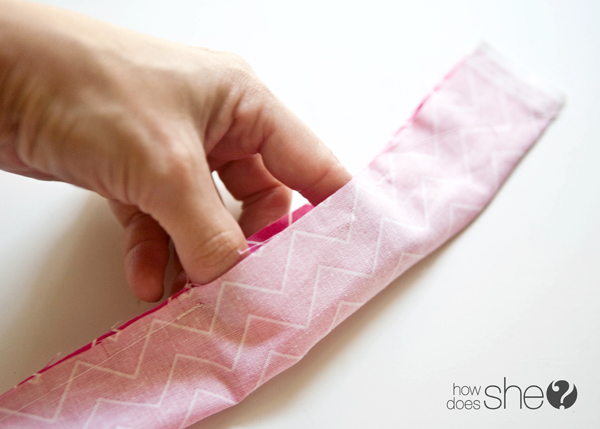
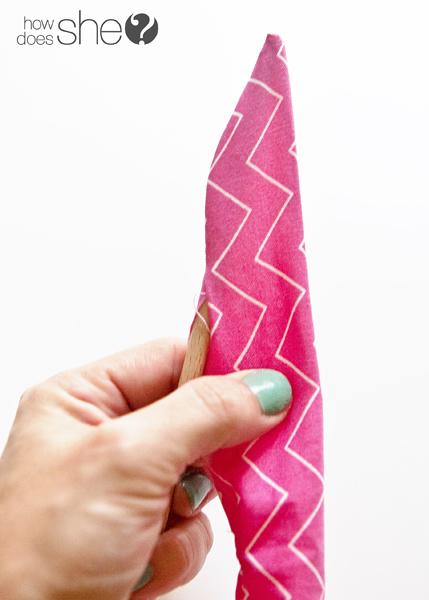
Turn your strip right side out, using the 2-3″ gap we left open. This is always the most time consuming part of the process.
I always use whatever I have handy to help poke out the end seams. Then, you will want to iron your strip (even us non-ironers need to actually do it this time).
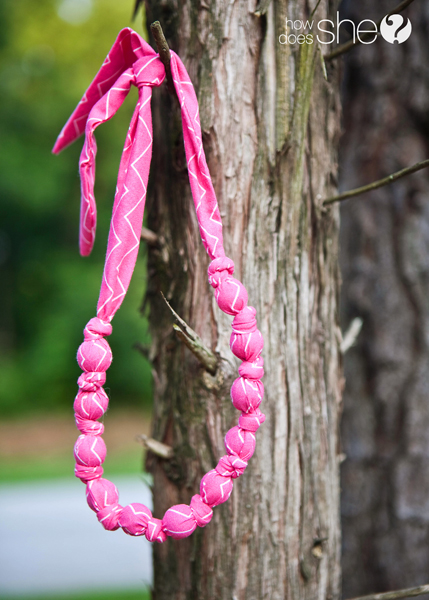
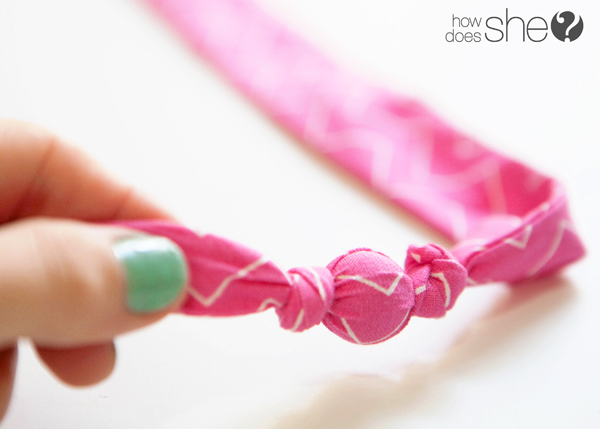
Now comes the FUN part! You will want to make your first knot in your strip, leaving a 10-12″ tail. Make sure that your opening is on the opposite end. 
Slide in one marble.
And I like to give it a little twist before I make my next knot. It gives me a tighter knot.
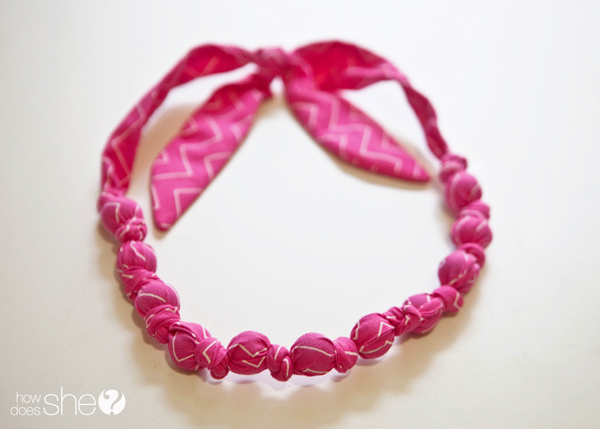
Repeat sliding in marbles and tying knots. You will fit around 10-12 marbles in your necklace. Make sure when you get close to being done that you make sure that your necklace tails are about the same length.
You will need to sew the open gap. Grab your needle and coordinating thread and stitch it closed.
You’re done! Sit back and admire your handiwork. Or better yet, try it on!
Want a matching bracelet? Change your measurement of your strip to 3″X30″ and its the perfect size to make your own coordinating bracelet! The possibilities are endless!







Martha says
Boy these brought back memories — we use to make them all the time in the 80’s – it is true — fashion always comes back around. Thanks for sharing.
gina says
60″ is 5 feet – did you mean to write that? seems like the necklace would be super long! even after tying the knots
Kerri King says
Hi! I know it seems that it would be too long but the knots and marbles take up more room than you might think. The necklace ends up being about 34″ long. Thanks for asking!
Missy says
These are so cute and look easy. I love the fabrics you used. So bright and colorful. My daughter will have fun making some for back to school! Thanks for the great tutorial!
alison says
This is darling! Thanks for the tutorial and amazing pictures. PS…we are excited you are on our HDS team:)
Kerri King says
Thanks! I’m very happy to be a part of the HDS team! 🙂
Steph says
I wish I were good at sewing, but I’m not (insert pathetic sigh here). Do you think a liquid stitch type product would work for this? If yes, any brand suggestions? thanks!
Kerri King says
Good question! I haven’t tried doing it that way though. If you try it out, let us know how it works!
Sue says
I have used a cotton ball instead of a marble. Makes the necklace a lot lighter
Kerri King says
Thanks for sharing! I might have to try that out. 😉
Jess says
What a cool idea for a necklace.
Loretta | A Finn In The Kitchen says
So pretty! I always wanted something like this to use as a nursing necklace. Maybe next time!
LaBetha Casey says
I have made necklaces similar to this years ago using bandanas. However, I stuffed the inside with polyester stuffing which is much cheaper than the marbles, but doesn’t give any weight to the necklace. I also put pony beads between them instead of making a knot. Both ways are indeed cute. Thanks for your ideas
Sharen Dixon says
I love this necklace. I first saw them at a quilt shop in Lancaster, PA selling for $19.95. I new I could make one……..I have made several by now. I sew a strip and turn it with a tube turner which is really fast to do. I have been using pony beads. They are really cute made from holiday fabrics and team colors. I used velcro on some of them but like the ties better. Your pictures are wonderful.
Cheryl says
How wide is the material ….
Delores Hamilton says
Help! Making my first necklace, but having a hard time turning right side out. What is a tube turner? Where can I get one?
ami says
hi, do you sell these?
Johnnie says
Hello,
How did you make the red and blue flowers in the photos above?
Ashley says
I made 11 of these today for my little girlies! They are in HEAVEN! Thank you for an awesome tutorial! <3
marnie katzbeck says
If only I knew how to sew or even had a sewing machine would love to make these., they would make great gifts.
Suzanne Holt says
So glad that you featured so many pictures with your steps. Maybe I would even be willing to attempt this. 🙂 Pinned.
peggy says
I love these – I am teaching a group of girls to sew. This will be perfect – thank you.
Devon O'Neal Kukis (Cupcakes and Lace) says
Thanks so much for sharing this! We found this via Pinterest. We will be making this in our Jeweler Junior Badge class we offer for Girl Scouts to earn their Jeweler badge. Thanks again! Sooo cute!
Debbie says
I made these for my Craft Exchange and they were a huge hit!. Our organizer has a blog and shares our projects with her readers – can she include a link back to your site? I don’t have a photo, but made them in a B&W print, and a Blue & White print for a “Breakfast at Tiffany’s” themed exchange. I also made one in college colors that one lady traded for so it’s back to the craft room for my son’s teacher gift!
Molly says
Two botched projects in the trash and some sore fingers later…
Hallelujah, it is finished!
Anyone attempting this project NEEDS a Tube Turner. I did not know these miraculous things existed until I tried turning it inside out with a wooden spoon and my fingers for longer than i would like to admit. I read through some comments and some glorious lady mentioned this device.. Spend the $7, people.
Thank you for the fantastic tutorial! The photos were great and I got ‘er done at the end of the day 🙂 I’m going to do this project with the toddler gal I nanny! It will be fun to help her learn knots.
Josephine Sheldoon says
I would like to get the free patter for the necklace Thank you
Katie says
So sorry – there’s not a pattern, just use a strip of fabric, the dimensions are in the post. Good luck and have fun!
Laura says
A friend made these for the ladies that attended our retreat. For hers, she used metal O-rings in between the marbles. I like your knots better – I’m going to have to try your way tonight. Added bonus – I don’t have to go shopping for the O-rings!
Gary Davis says
I was expecting a set of complicated instructions but that looks easy peasy and very classy too.
Ruthanne says
Did you just gather a small piece of fabric for the flowers and sew them on finished necklace.
Sue says
These are so cute! I’m going to make one with some special Japanese silk my daughter-in-law bought me. THANKS!!!!!!!!!!!!
Cheryl says
How wide is the material before u see the tube
Amber Benson says
What would your washing and drying instructions be for these?
Desirée Kastendieck says
Can you show me a picture of the necklace on an adult?
Kelly Muglan says
“Iron it down” is for sure the way to go if you are not an expert at sewing. (I know you are, but I mean me lol)
Salomon Chaussures says
I am teaching a group of girls to sew. This will be perfect – thank you.
Georgann says
I’m very excited about this idea and I can’t wait to try it. Thanks so much for sharing!
Printable Calendar says
Loved all of the diy’s that I saw!! My mom is a quilter so there are many easy to do crafts that she and I could do together.
Julie says
Made these years ago. But instead of using marbles, my friend and I used plastic grapes. Necklace is much lighter and holds up well.