Need a quick and easy baby shower present? Look no further than this super easy, super quick baby blanket how-to. Seriously, it took me all of 30 minutes to whip up this baby (hehe). And, what I love is that it looks so professionally done! The corners always turn out straight even though I might be a less-than-straight sewer. 😉
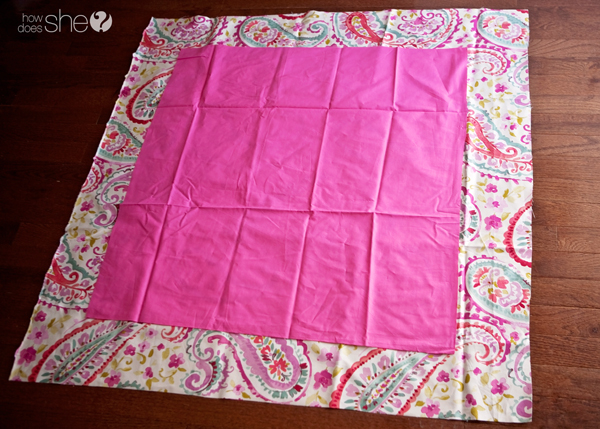
So let’s get started! You’ll want to have a couple pieces of coordinating fabric. My floral piece is a 46″ square and the pink solid is a 36″ square. Quick note: You can make this blanket any size you want as long as your bigger piece of fabric is 10″ larger than your smaller piece. So you could do a 36″ big piece with a 26″. Get it? Good!
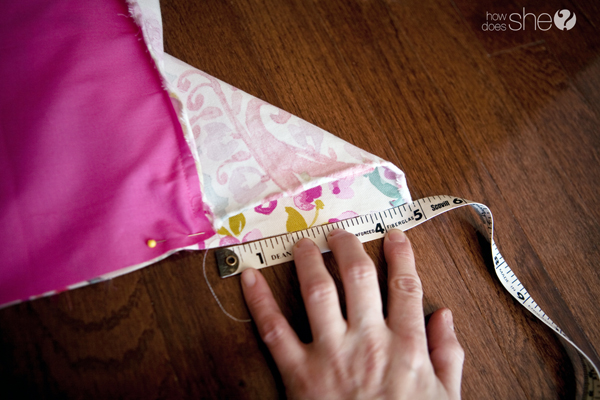
Place right sides of fabric together (this is tricky with a solid fabric but usually you can tell the right side from the backside), larger piece of fabric should be on the bottom. Center your smaller fabric by measuring to make sure there’s 5″ on either side. Pin in place.
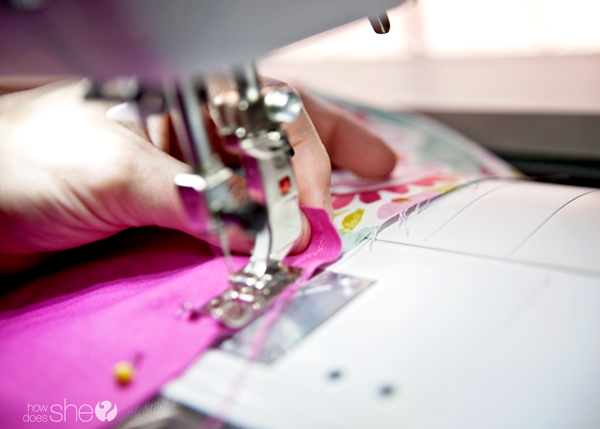
Start your stitches at least 1/4″ down on your smaller fabric. Sew using a straight stitch and a 1/4″ seam allowance and leave 1/4″ at the bottom without stitches, just like you did at the start of your stitch.
Now, pin your fabric just like you did for the first side. Make sure to measure so that there’s 5″ of your bottom fabric on either side of your smaller fabric.
Sew using the same method you did with the first side. Make sure to leave a 1/4″ gap before your stitch and after you stitch!
This is where it gets a little fun. 😉 The left and right sides of your blanket are sewn so you’ll want to sew the top and bottom sides now.
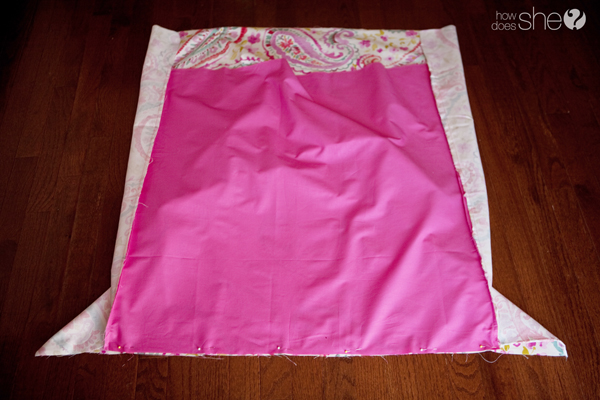
You’ll use the same method of pinning the fabric. This time there will be little triangles on both sides. Don’t let those confuse you. Just make sure you measure and make sure you have 5″ of your bottom fabric on both sides. This time you won’t leave the 1/4″ gap at the top before sewing because we will be closing up the gaps. Sew with a straight stitch and a 1/4″ seam allowance for the bottom of the blanket. Then do the same for the top of the blanket but also remember to leave a 4″ opening of no stitches so you will be able to flip the blanket right side out when the time comes.
Now that all four sides are completely stitched up (except for the 4″ gap for turning the blanket), the 4 corners of the blanket will look like this:
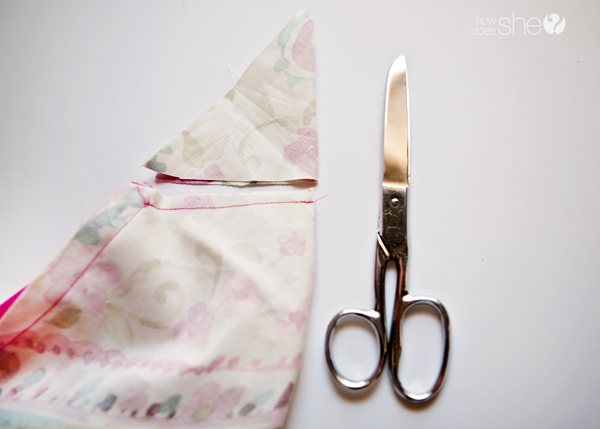
Fold over the triangle so that the edge touches your seam.
Use it as a guide to sew a straight stitch, making sure that your stitch meets up with the stitch on the side.
Then simply cut the extra fabric off. This is the scariest part of the process. I know it’s going to turn out but something about cutting that triangle off gets to me every time!
Repeat the process on all 4 corners.
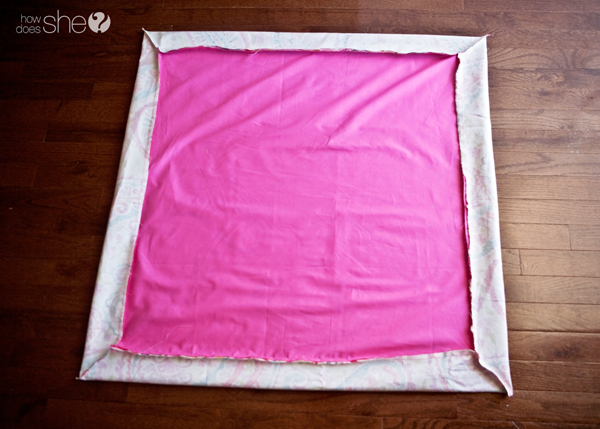
Your blanket should look like this before you turn it right side out.
Using the 4″ opening, turn your blanket right side out.
This is a great time to iron out all those wrinkles.
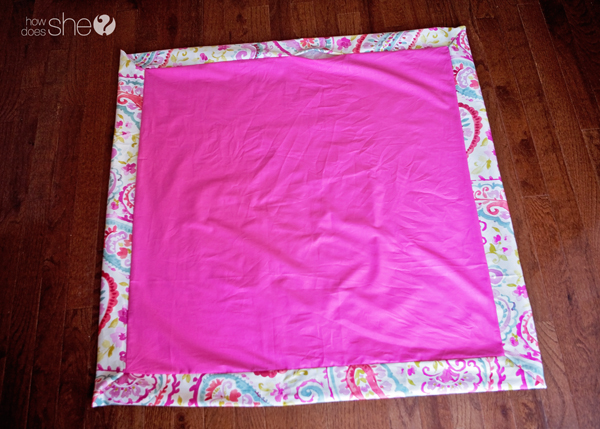
The last step is to sew a stitch around all 4 sides of your smaller fabric. This will close your 4″ opening and give the blanket a finished look. I’m going to recommend a zigzag stitch so that you can catch both fabrics while sewing.
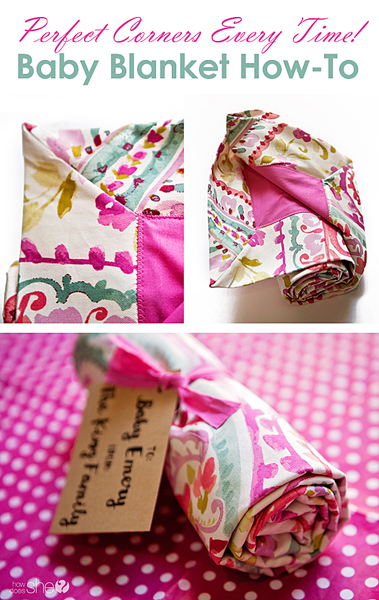
And there you have it – perfect corners every time! Aren’t you just the professional seamstress?!
Fold and roll and attach a cute tag and you have yourself the perfect baby shower present. Bonus points if you can find out the nursery theme and buy coordinating fabric to make the blanket!
Now that you’ve made this adorable blanket, why not use some fabric scraps and whip up the CUTEST Fabric Head Tie for baby?
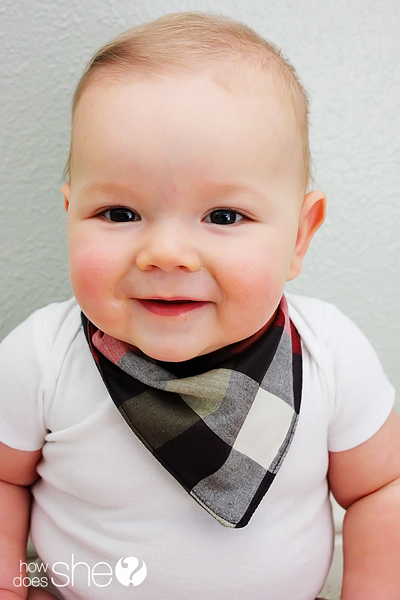
If you’re still not done and want to take your domestic goddess status to the ultimate level, try making one of these stinkin’ adorable (and useful) Baby Bandanna Bibs!










Kathy Conn says
Where can I purchase this print fabric?
Lindsay says
Thanks for the great tutorial! I’m a beginner sewer and my blanket came out great!
Kaitlyn says
Crazy question..what if I wanted to add batting???? 🙂
Amy says
http://www.babybedding.com/hot-pink-paisley-fabric
Debi Bissinger says
You refer to this tutorial on your minkie w/cotton blanket. Can’t use this on that particular blanket. You can only use this when you’re sewing with fabrics that one is larger than the other…..