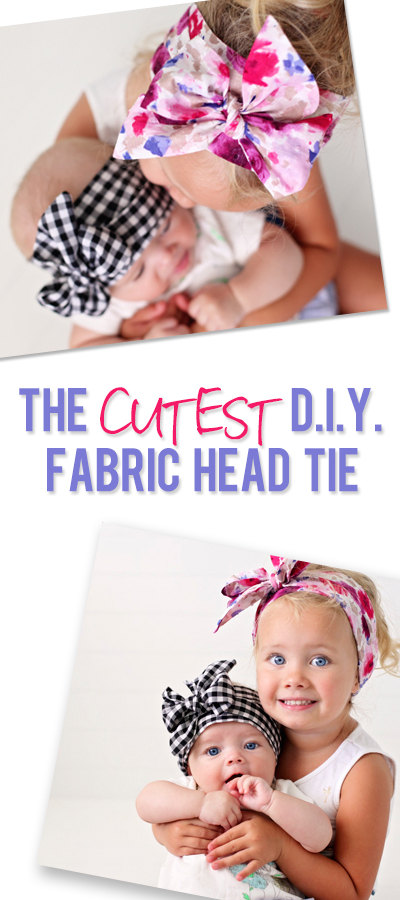
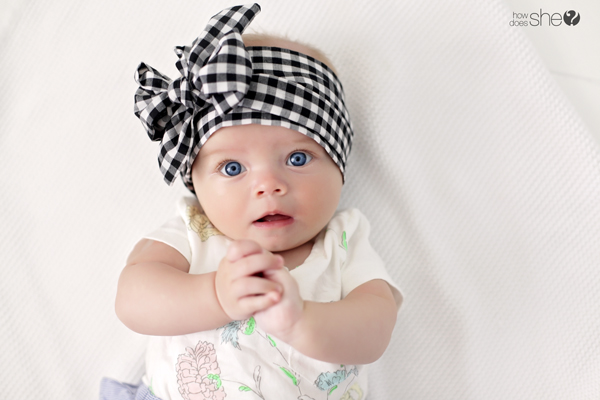
Ok Ladies, I cannot tell you how many requests I have had to do a tutorial on this fabric head tie. I have absolutely loved having these in my girls wardrobe over the last six months! You could easily whip out 3-4 in an hour! These add the cutest flare to any outfit and are just such a fun girly accessory for all ages!
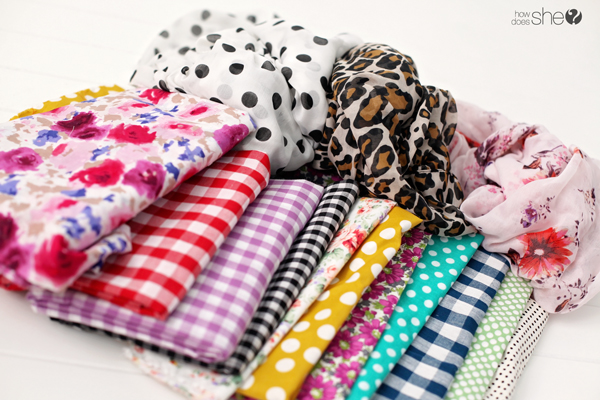
First let’s talk about fabric. You can make the head ties out of most woven fabric. I have used quilting fabric and light weight denim, but they honestly turn out best when you are using a light weight fabric. I have found cute fabrics online or from Hobby Lobby and Jo Ann’s that have worked perfectly! However, the best fabric by far, I stumbled across while I was at the mall! Light weight scarves!! The polka dot and leopard fabrics were staring at me from across the store and when I picked them up I knew they were just begging to be cut up and made into head ties! The reason the lighter weight fabrics work out so well is when you are tying them around your head the thicker the fabric, the more it sticks away from the head, and the bulkier the bow is. You can definitely make thicker fabrics work, they are just a little harder to work with.
The first step is getting your fabric torn into strips. Some fabrics will tear beautifully while others won’t. Tearing is definitely easier, so test your fabric with a little cut and see if it will tear. If not just use a rotary cutter and mat. Cut or tear your strips to the following size depending on what age it is being made for.
Sizes:
Babies 3-12 months: 54 x 6 inches
Toddlers 1-3 years: 64 x 6.5 inches
Child 4 years – Adult: 70 x 7 inches
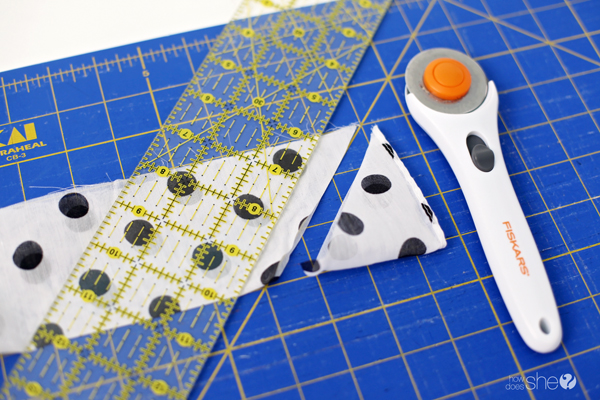
Once you have torn or cut the strips to the correct size fold the entire strip in half with the right sides facing each other. Take scissors or a rotary cutter and cut the ends at an angle. I usually cut mine between a 25-45 degree angle.
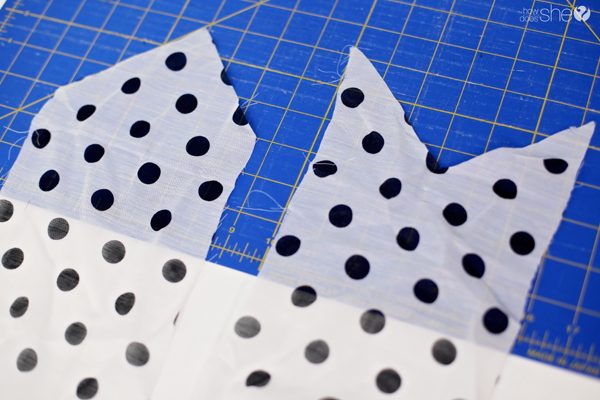
Now there is only one thing you have to keep in mind when angling the ends. You want the ends to angle opposite directions. One point of the angle will be on the fold side, and the other point will be on the selvage side.. Make sense?
So if you were to unfold the ends of the strip they would look like this.
With the width of the strip still folded in half you are then going to fold the length in to thirds.
Mark one of the “third” folds with a pin.
I don’t bother with pining the entire strip cause it will usually stay in place as long as you keep the edges matched up. Start at one end, from the fold side. Sew along the selvedge side with 1/4 inch seam allowance, make sure to back stitch to secure the seam. When you get to pin marking “the third”, back stitch, lift the needle and foot and leave an opening that is about 3/4 of an inch. Then put the foot and needle back down, back stitch and finish sewing the rest of the head tie.
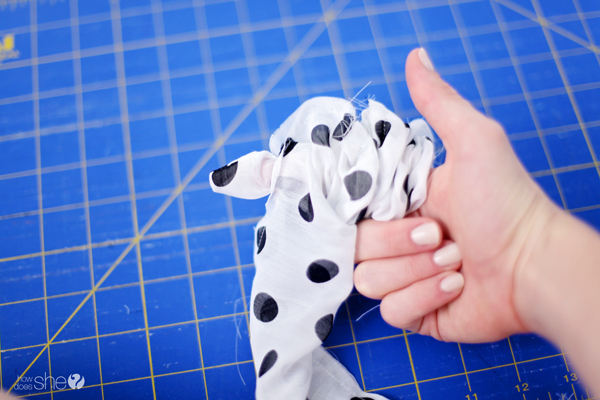
Use your fingers and push the pointed ends of the head tie back in through the opening you left.
This shows half the head tie being half way turned.
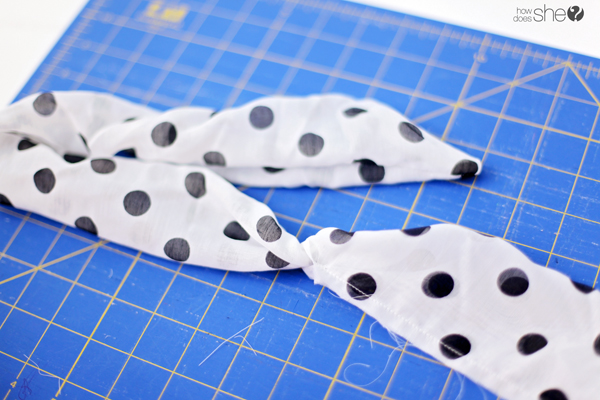
When you finish turning the head ties they should look something like this! Don’t bother sewing up the little opening you left, it will always end up on the back of the head, and the back stitching will prevent it from opening any farther.
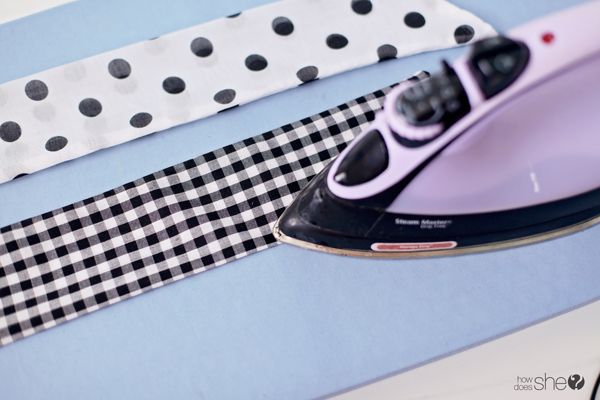
To finish off the head ties you will want to press them. Make sure the angled ends are pulled completely out and the seam edge is smooth. Be careful, some light weight fabrics cannot handle much heat. In that case go quickly and with a very low heat setting.
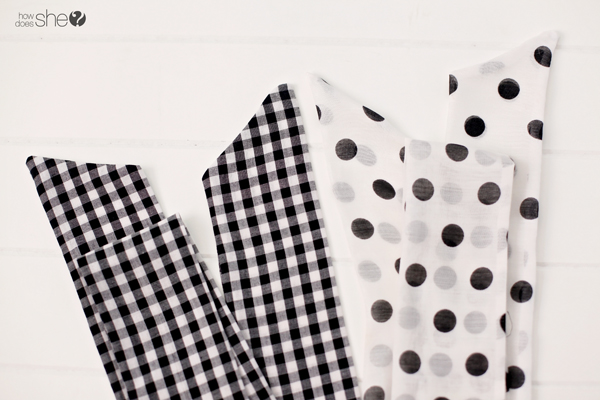
They should look nice and flat and crisp when you are finished! And ready to tie!
Watch this little tutorial for instructions on tying these darling head ties!
Quick, Easy and Oh so dang cute!
These are perfect for hiding the “bad hair days”…… or the “no hair days” which all of my kids seem to have till they are 2! 😉
Here are a few ways I have styled theses cute head ties on my girls this summer!
Make sure to tag us on Instagram @howdoesshe with your very own CUTEST head ties!









Hani Shabbir says
TOO Cute!
Mary Jo says
Love this! I plan to make some for my granddaughter.
Yvonne Ballaera says
Thanks for sharing the tutorial Lara and your model in the video is absolutely precious!! I will be adding these to my Christmas makers list!!
Mercedes says
When you sew them . Do you have the fabric rights sides together or wrong sides together ? TIA
Mercedes says
Just kidding I got it!!!
Charlene Quarles says
Lara, you are so sweet to be sharing these hair ties. They look so darling on your girls ! I am so excited to make some for my grand-daughters. Thanks again.
CIZI SEWS says
Your daughters are absolutely gorgeous!! Seriously the cutest girls I’ve ever seen.
Becky says
These are adorable for an older child but I would never put one on an infant…..choking hazard.
Lynn says
Wha wha what?
Jacqueline Allen says
Really when my daughter wore them it was not to sleep in but to go out which if not watched she could also be kidnapped🤔
Patty says
This is adorable and great for pictures or while an adult is present — but I agree with Becky. This is a strangulation hazard I prefer a clip-on bow. Much safer.
Ashley says
I feel like anything can be a choking hazard if you don’t keep any eye on your little one. Wouldn’t a shirt technically be a choking hazard if you aren’t watching…?
Hannah says
I agree, I think in some ways clip on bows are even more of a hazard then headbands
Barbara says
That is the cutest baby in that scarf! Want to just pick her up and snuggle! I sent this tutorial to my daughter and nieces. Such an easy thing to make and do.
Katrina says
I recently bought some cotton jersey to make newborn turbans, but now I want these! Do you think the jersey would work? It’s a pretty light jersey.
Emili Egan says
On these fabric head ties, SO cute by the way:) Could you use a stretchy jersey knit fabric? Or do you just recommend the stiff light weight cotton? thank you!
Becky Ethington says
Is the fabric sold at those widths (54, etc.) or did you buy a couple of yards?
Lorena Young says
super cute in going to make some!!!!
Amanda Rynkiewicz says
I absolutely love this. My daughter had the no hair situation too and these are just perfect!!
Linda @ Sewing Shop says
Hi, just wanted to let you know that I linked to this tutorial on my blog: http://www.sewingshop.net/blog/thursday-treasures-2-theme-bows/
These are simply adorable!
Katie says
That’s a great blog post! Thanks for linking to us! We also have a youtube video that shows how to make the fabric head ties you can check it out here: https://youtu.be/sp2S6EuHxN4 Thanks!
Casey Blackwell says
SOOOOOO cute!!!
Danielle says
Hi! Awesome head wraps!
I am a ftm and just got my first sewing machine! I have a 16 mo old and 4 mo old 🙂
I have NO CLUE how to use a sewing machine! Would you consider doing a video or sending me a
Video on how to do the stitching ?
Thank you!
Danielle
Staci says
Hi there,
I took your advice and used scarves as my fabric. I am finding that the fabric is so fine that the stitches pull the fabric or the seam will not hold the fabric even with a good seam allowance. Any advice??
Staci
Jessica says
Do these seem to stay on well or slide off?
Melissa says
I’m trying your headband, the one that is a strip with the bubbles at the ends… could you tell me how long the length should be for around 3 month olds?
Oriana Sleeper says
Hi! I’m a stay at home mom with an etsy shop and was wondering if i could make these for my shop?
Katie says
Hi! Sorry they are for personal use only. Thank you for checking!