DIY Baby Bandanna Bib Pattern
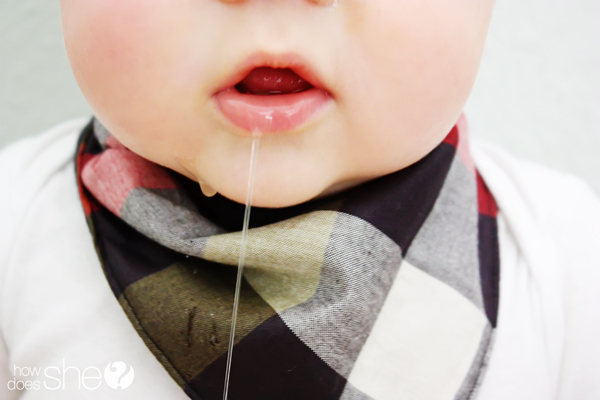
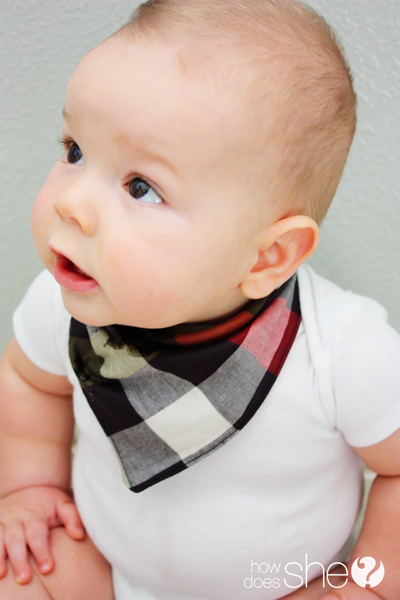
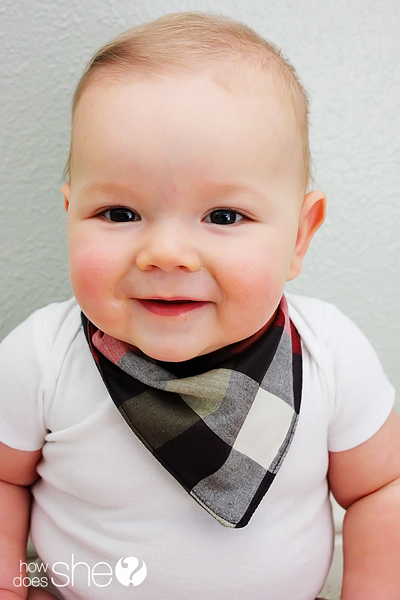
DIY Baby Bandanna Bib Pattern: Roughly six months ago, a delightful baby boy came into my life. The occasional spit up soiled his clean layette sets, but a quick wipe and we were good. Then four moths rolled around, and the drool began. I’m not talking about your slobbery-kiss baby, I’m talking about the soaked shirt, pouring from the mouth, pretty much water-type drool ALL THE TIME. Now, I could have used a pastel bib covered with elephants or teddy bears, but I wanted something that would look a little less like he was about to have a meal while still doing it’s job. The perfect solution? Baby bandanna bibs.
Check out this drool.
Multi-functional and oh so stylish, these bibs are crazy easy to make and you can whip out a whole bunch in very little time.
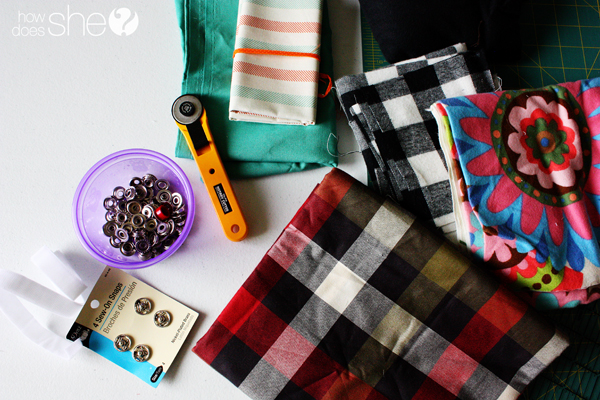
What you’ll need:
Assorted fabrics.
These can be flannel, cotton, jersey knit, terry cloth, or whatever you’ve got on hand.
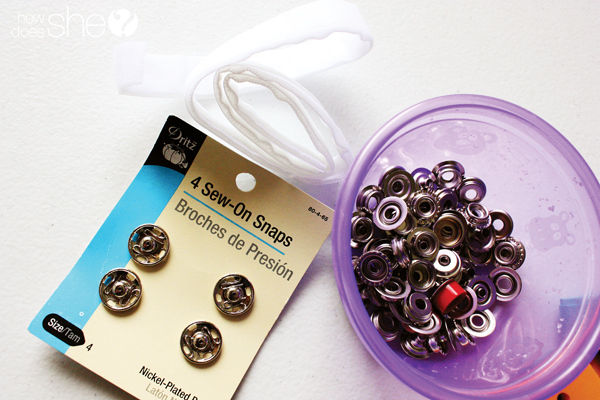
Something for attachment.
I personally like the little baby snaps but you can use velcro or a variety of different snaps.
Sewing machine.
This is, of course, optional, but hand sewing these babies is much more time consuming.
Cutting tool.
Scissors work, but a rotary cutter and mat is ideal.
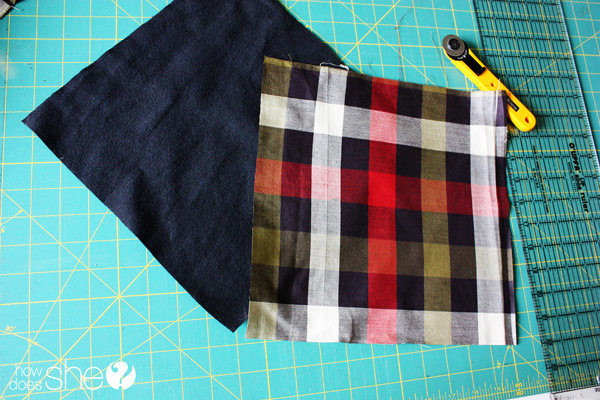
Start by cutting your fabric into a square.
I cut mine into 11″ x 11″ squares, but you can play with your size. My baby is a chubby six months, so 11″ or larger was good for me. Cutting squares is easier said than done, am I right? Be careful with your measurements and use a ruler if you have one.
I wanted bandanna to be black flannel on the inside and the checks on the outside, so I cut two squares. The nice part about this is that one square makes one bib, so if you want your bib one color/fabric, you only need to cut one square.
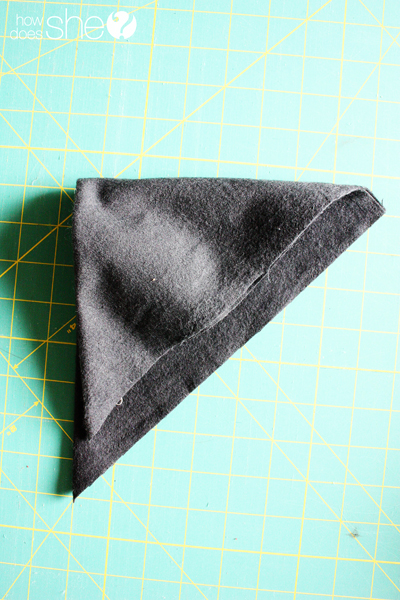
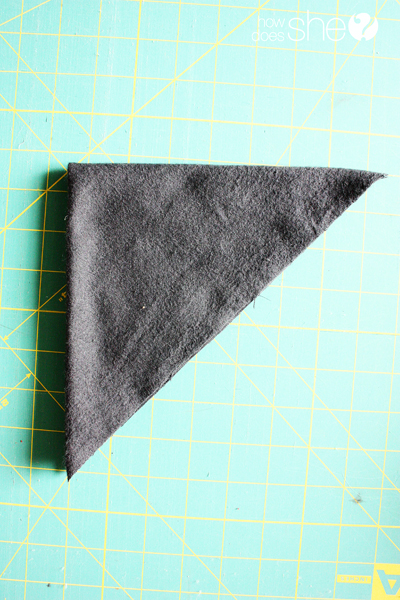
Next, fold your square into a triangle, then fold again. This method eliminates a step, but if you’re a little unsure, you can cut your square once corner to corner and then fold that into a smaller triangle.
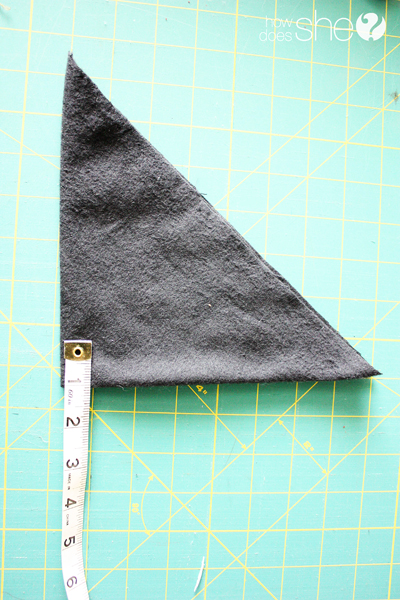
Measure in one inch on the side where the two folds come together, not the raw-edge size, or the one fold side.
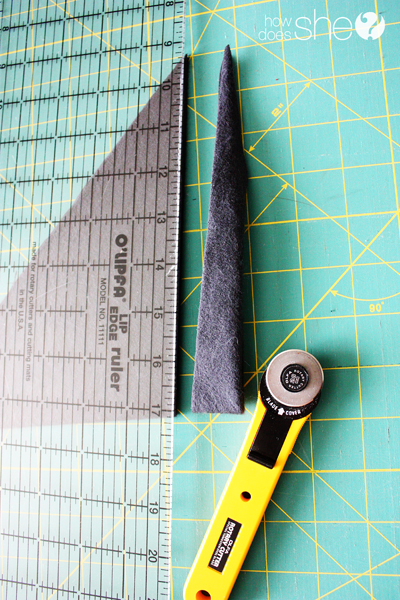
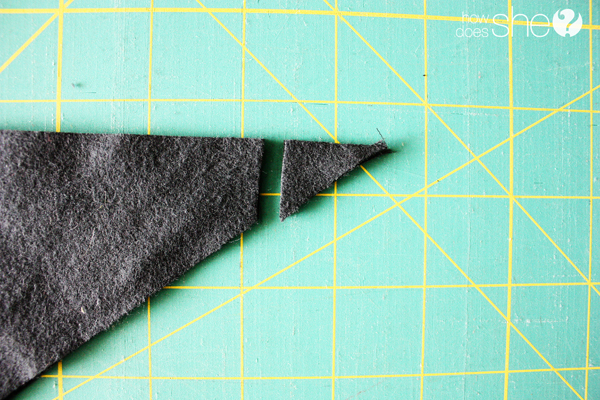
Using a ruler or straight edge, cut from your one-inch mark to the opposite corner. You are making the neck of the bandanna.
Then cut an inch off the corners that will go around the baby’s neck- this makes then less pointy and bulky.
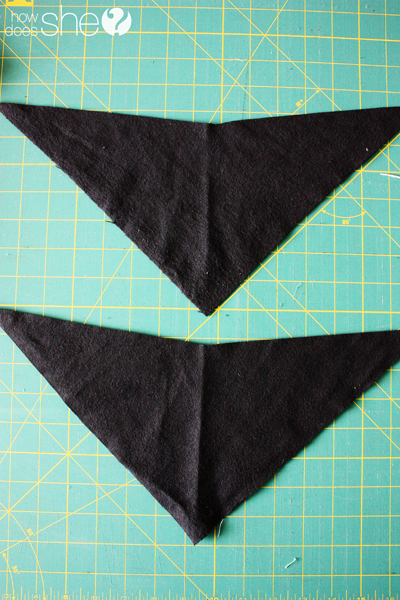
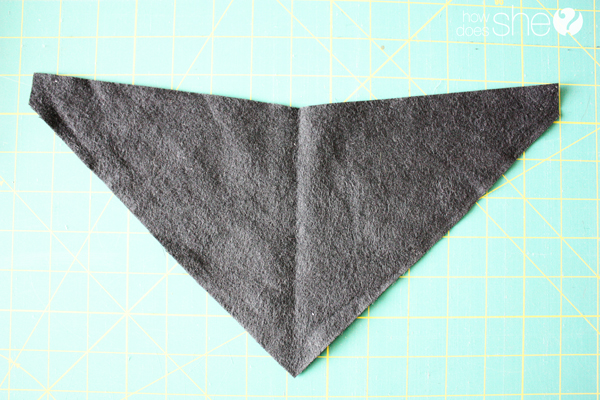
Now you should have two slightly v-shaped pieces. I like to make them into the v-shape so that they wrap around the baby’s neck easier and don’t leave a lot of fabric and bulk in the front and under the chin.
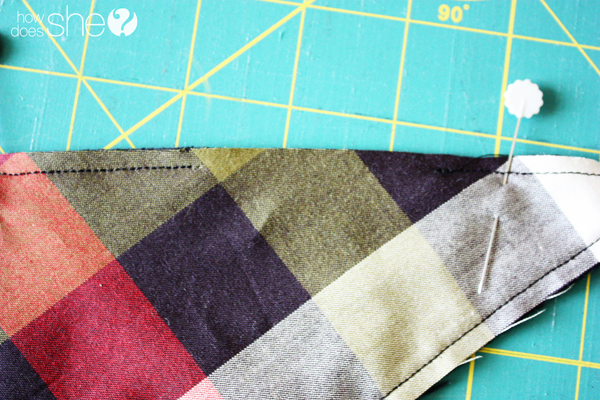
Pin your fabric right sides together and sew around the edge, leaving about a two to three inch gap.
This is where you will turn it right side out. I used a 1/8″ seam allowance because I wanted my finished seam to be close to the edge, but you can do 1/4″ if you like.
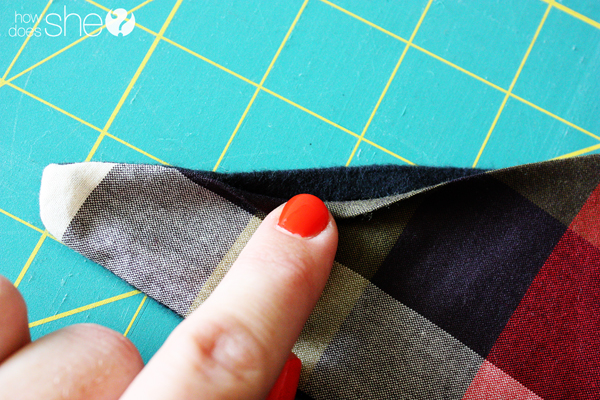
Turn your bib right side out and press. At the gap, fold the edges under and press them, so they look like the rest of the bib.
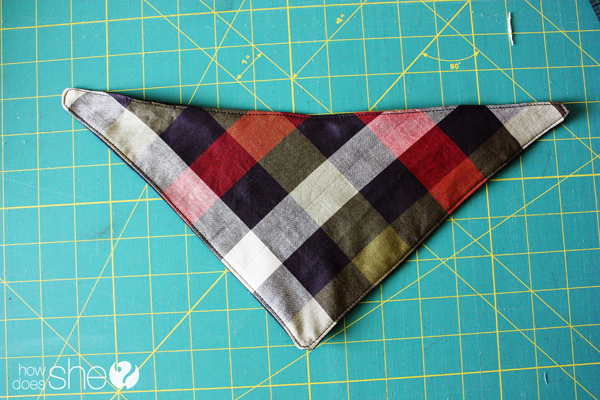
Pin the gap, and sew around the edge of the entire bib. Again, I stayed close to the edge. You want to make sure you seal up the gap.
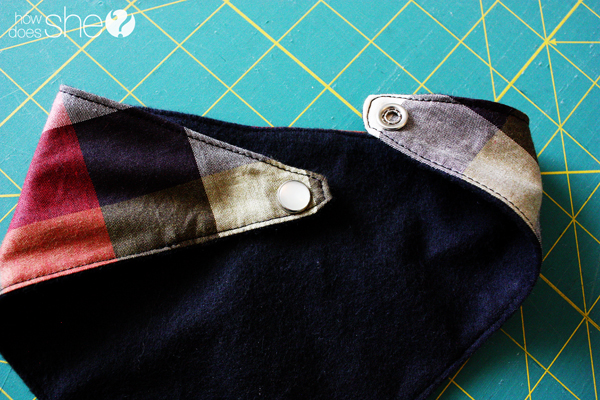
You’re almost done. Now add your respective attachments.
Make sure you line them up so they’re on the right sides.
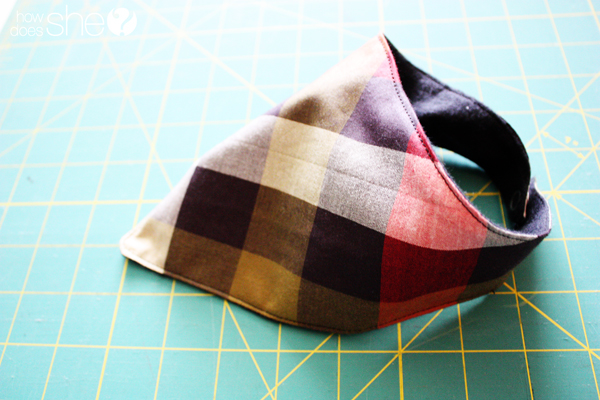
All done! Sew your other bib and you’ve got two stylish drool soaking bibs in just minutes!
I take these off the baby when he sleeps, eats, or rides in the car seat, but most other times you’ll see him sporting one. I was changing his shirt a few times every day, now I just switch bibs. So handy and so cute. Enjoy!
Make sure you check out 31+ Hair Braiding Secrets. It’s a good one.





Tiffany says
So much cooler than a bib!
Emily Fonnesbeck says
Totally. Fashionable and functional- my favorite combo!
Nicolette says
What a cute baby boy! Wanna pinch those cheeks!
Emily Fonnesbeck says
Thanks! I think he’s pretty great.
missconnie84 says
Where can I find that flannel fabric?
missconnie84 says
Where can I find that flannel fabric?
Emily Fonnesbeck says
Isn’t it the cutest?! I bought it a few years ago on clearance at a locally owned fabric store in Idaho Falls, Idaho. When I realized how great it was I went back and bought all they had! I wish I could help more than that!
Julie says
Super cute baby
JennieMoon says
Love this style bib! Did you wash the fabric before you started?
MissMae says
oh my goodness that baby is adorable!
I made one of these for my nephew and it turned out great! Thanks for the Tutorial!
Angela Jackson says
Thanks for showing the step by step tutorial on sewing a DIY dribble bib. This would come handy soon.
Angela Jackson says
I was kind of in shock when I saw the baby’s drool when I scrolled down. The bandana bibs I think can be used for droolers, it would be unfit if you use it for feding. Food stains are going to be hard to remove.
http://ghcbibs.com
melina pinedo says
Awesome tutorial! One questions: what tool did you use for the snap clips?
Amy says
This is a great tutorial! I started making some pretty amazing bibs after seeing this, I am not a great seamstress or anything but simple patterns are easy enough for me. But…..I ran into an issue. When I choose a patterned fabric, one bandana is always upside down and the pattern is sideways!!! Just wondering if you have any tips on how to conserve material while using patterns. I get about half bibs I would get out of non-patterned material!
Thanks in advance. 🙂
Meadow says
I love this! I have had to have a bib on my dude at all times from about 3 mos and I don’t like how the bib doesn’t jive with his (occasionally) cool outfits. Problem solved. You’re a genius!
maria says
What are the measurements? Exactly? I’m looking everywhere and can’t find the exact measurements? Please please if you can help me. Thank you!
Katie says
Hi, it looks like this bib is about 11″x11″. You can adjust if your baby needs it bigger or smaller though. Thanks!
Debbie Cassady says
Have to share how I have loved this idea since the 80’s. I did child care & a teacher bought regular bandanas for her son & they matched his outfits. Best little guy drool bibs.
Brittany says
I can’t wait to try this out! My little one is going through this phase and I’m constantly changing his cute little outfits. These would also make such a great baby shower gift. These bandanas seem so on trend right now!
Thank you for such a great tutorial!
Heidi says
I made about 20 of these over the weekend, sooo easy. Great instructions, and cute pictures to boot!
Thank you for the adorable tutorial!