I just love the look of scroll signs and have been eyeing them for awhile on the internets. Naturally, I had to figure out how to make one for myself and cheaply at that. The possibilities for these signs are endless so feel free to use your creative brain. I will go through step-by-step on how I created mine.
Here’s what you will need for this project:
painting drop cloth
5X8″ dowel rod
1/4″ dowel rod
sponge paint brushes
chalkboard paint (I ended up needed 2 – 4 oz bottles to complete my sign)
jute cord
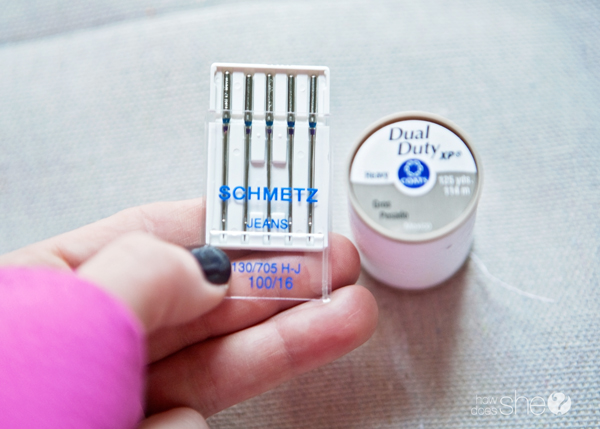
heavy duty needles for your sewing machine
heavy duty thread
Chalk pen
Chalk
Let’s get started, shall we?
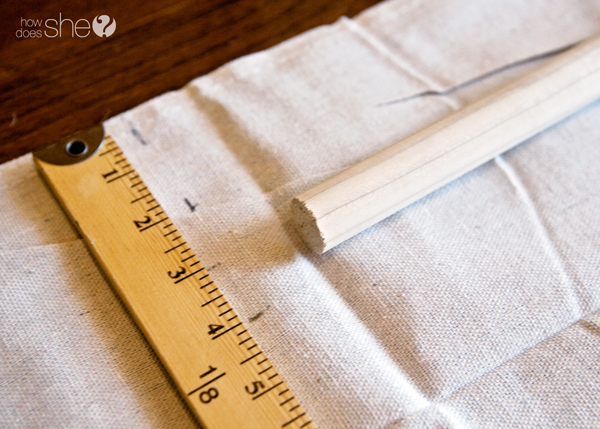
Start off by unrolling your drop cloth. It will be a wrinkly mess. Try to ignore the wrinkles for now. Grab your dowel rods. I laid mine directly on the fabric at the approximate size I wanted the finish sign to be.
There was exactly 30″ between the big dowel rod and the small one. Keep that number in mind, maybe even draw a little line on the drop cloth.
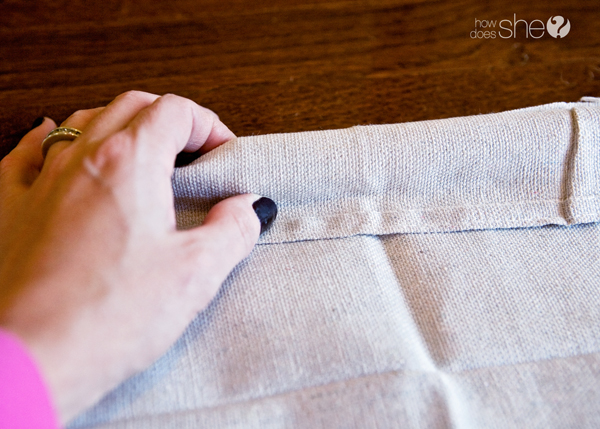
Now take your big dowel rod and wrap the drop cloth around it to determine how big to make the casing for the rod to go through.
I marked a line at 4″ because that’s how much I need to allow for my casing at the top. And since the smaller rod is roughly half the size of the large rod, I estimated that I would need 2″ of fabric for my casing at the bottom. So, that’s a total of 6″ for casing the top and bottom rods.
Now, let’s do some math!
Remember, I wanted my sign to be 30″ long so in order for it to work out I had to add the 6″ for the rod casings, making my total length 36″.
Now, let’s measure out the width for the sign. The dowel rods are each 36″ long. You will want about 1″ on each side of the sign for the dowel rods to stick out so that brings us to a width of 34″.
Grab your scissors and cut out your sign using the measurements you just gathered.
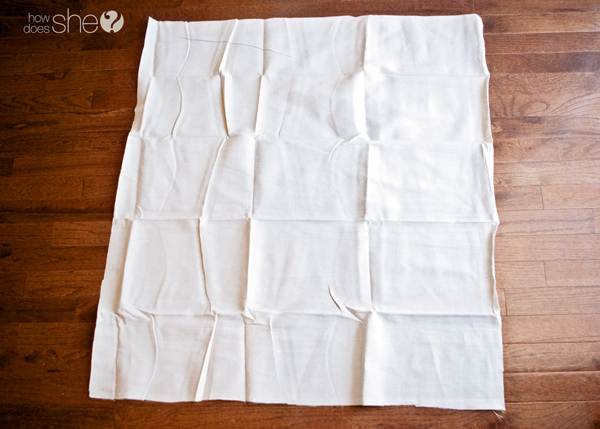
Here’s my 34X36″ block of wrinkles. 😉 Grab and go get those wrinkles out! You may have to spray with a little water before you iron. The wrinkles were really set in!
After you get those wrinkles out, iron down your casing at the top and bottom. Remember! Fold over 2″ for your top casing and only 1″ for your bottom casing. And make sure you are doing this on the sides that are 34″, not the 36″ sides.
Now for a little sewing. Grab your heavy duty needle and install into your machine and also change your thread to a heavier duty thread. The drop cloth material is a little thicker than normal cotton weight fabric so it needs a little sturdier thread in it.
Sew your casing on both the top and bottom.
After I was finished sewing, I wanted to make sure the casings were correct so I inserted the dowel rods. Everything checked out fine so I removed the rods and had to take the fabric back to the iron and board one more time. Pesky wrinkles!
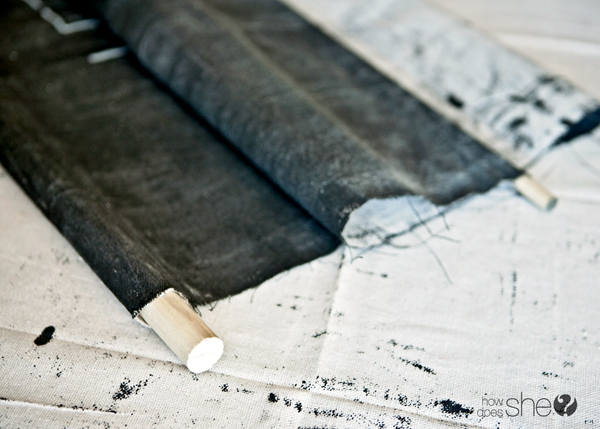
Now you’re ready to paint! Grab your sponge brush and chalkboard paint and go to town on the fabric. Make sure to place something underneath so you don’t get paint everywhere. Maybe put a drop cloth under the drop cloth. Ironic. 😉
Here’s the sign fully painted. Still showing some wrinkles but sometimes you just gotta let it go, let it go. I let it dry overnight but honestly a couple hours would have done the trick.
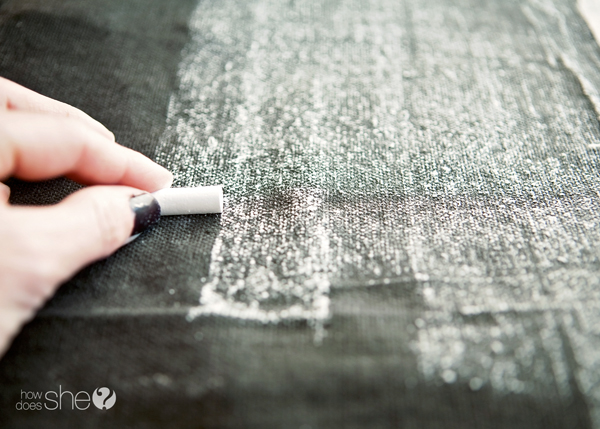
Take a piece of chalk (I “borrowed” some from my daughter….p.s. it takes the whole stick so don’t expect to get to return any!) and turn it sideways and start rubbing the sign.
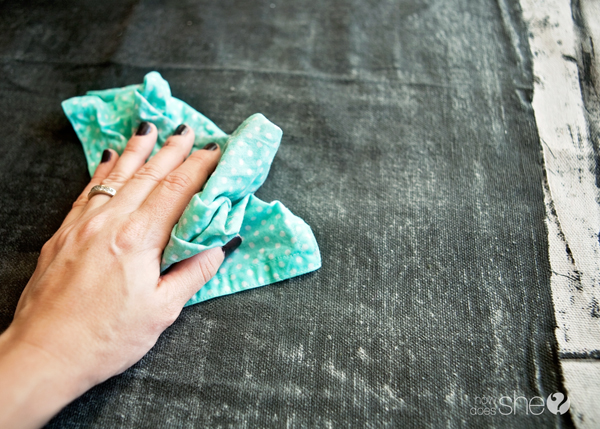
Now, take a damp cloth and wipe it all off. Seems pointless but it’s necessary to create the chalkboard look for the sign.
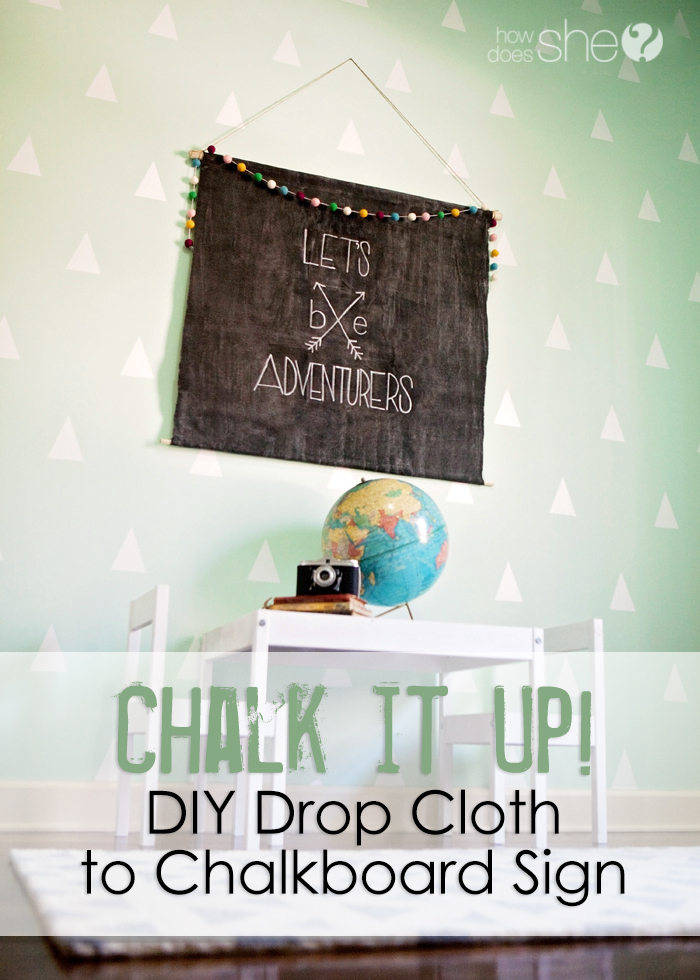
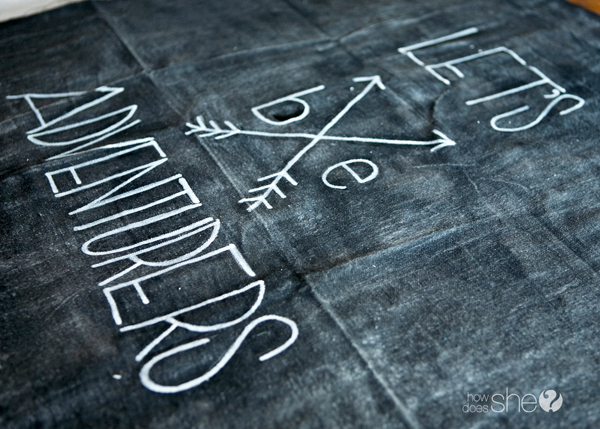
Now comes the hard part…what to put on the sign. I debated on globes, drawing out a map of the US and various quotes. I finally decided on “Let’s Be Adventurers”. I drew out a sketch of how I wanted it to look on my sign.
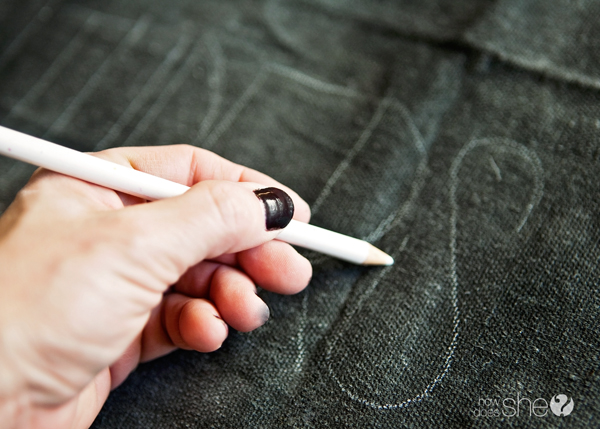
Then I used a white colored pencil (I borrowed again but this time I got to return it in near perfect condition ;)) to lightly draw out my letters.
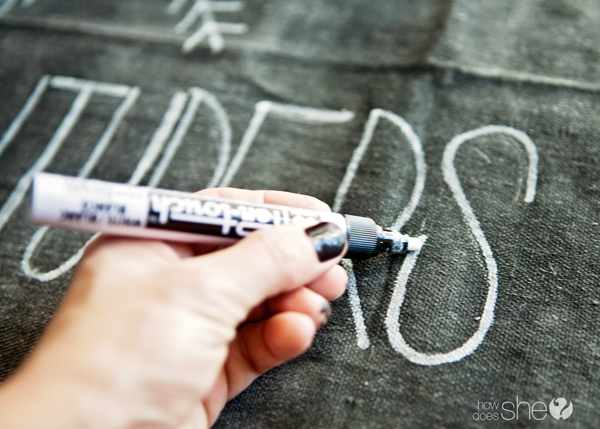
Next, I grabbed my chalk pen and went over the colored pencil.
Let it dry for about an hour.
Insert the dowel rods into the casing.
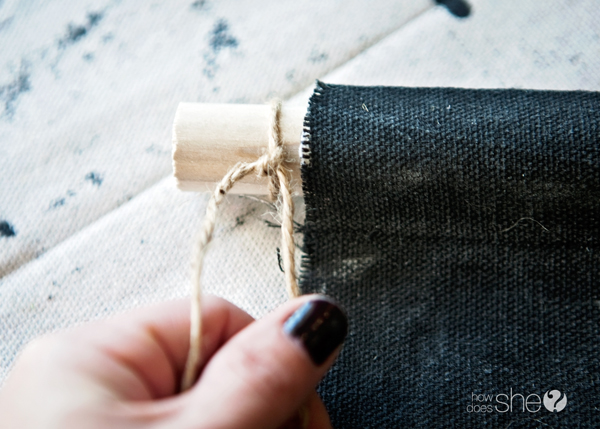
Now you’re ready to attach the jute rope so you can hang your sign. Simply tie a double knot on the big dowel rod on both ends.
Hang up your sign and have your scissors handy. I have a couple of loose threads on the sides of the sign that had to be trimmed down.
And that’s it! You’re own scroll chalkboard sign! Easy peasy and most importantly, cheap!












Kate says
I had no idea you could use paint like that on fabric. Love it.