
Once I removed all the black and orange glitter Halloween decor from the entertainment center – it felt so bare and was begging for some fall/Thanksgiving love. It was time to bring on some natural elements so I turned to one of my favorites – wood – to make this simple DIY Give Thanks wood banner.
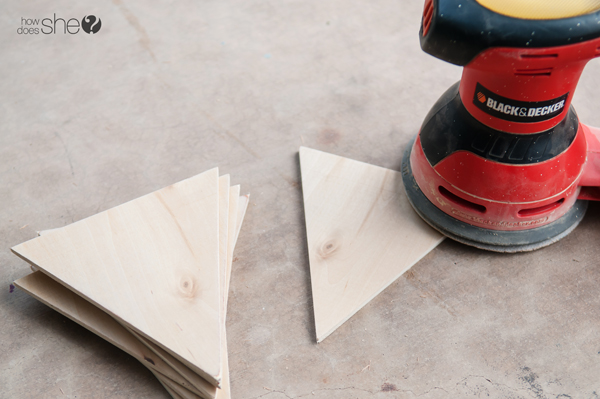
I used my miter saw to cut 6″ wide triangles out of a thin plywood and sanded them really well. You could go to most craft stores and find something similar in their wooden hobby section if you really wanted to simplify the process.
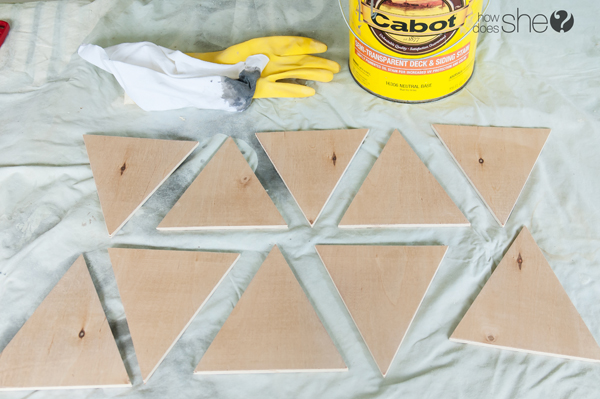
I love multi-purpose decor so to make this banner versatile – spray one side with chalkboard paint. Your “Give Thanks” banner could turn into a Christmas or birthday banner.

After the chalkboard paint dries – turn it over and stain one side with your choice of stain.
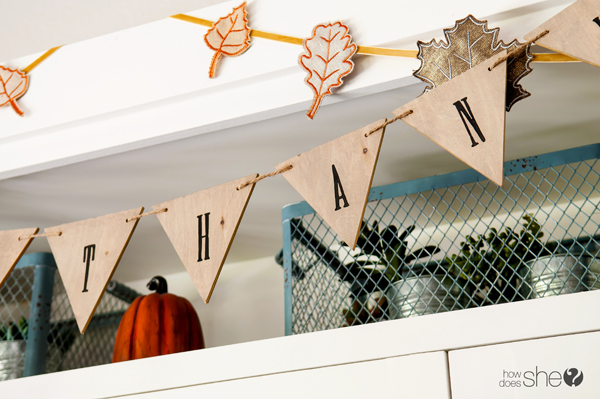
After the stain dries you can use vinyl letters, your amazing hand painting skills, or in my case a foam stamp to spell out “Give Thanks”.


Drill some holes in the corner and string the wood on a piece of jute or ribbon and you’re done! Hang it on it’s own or drape it with some leaf or felt ball garland for even more fall love.


See more of my adventures and projects at www.lifewithfingerprints.com
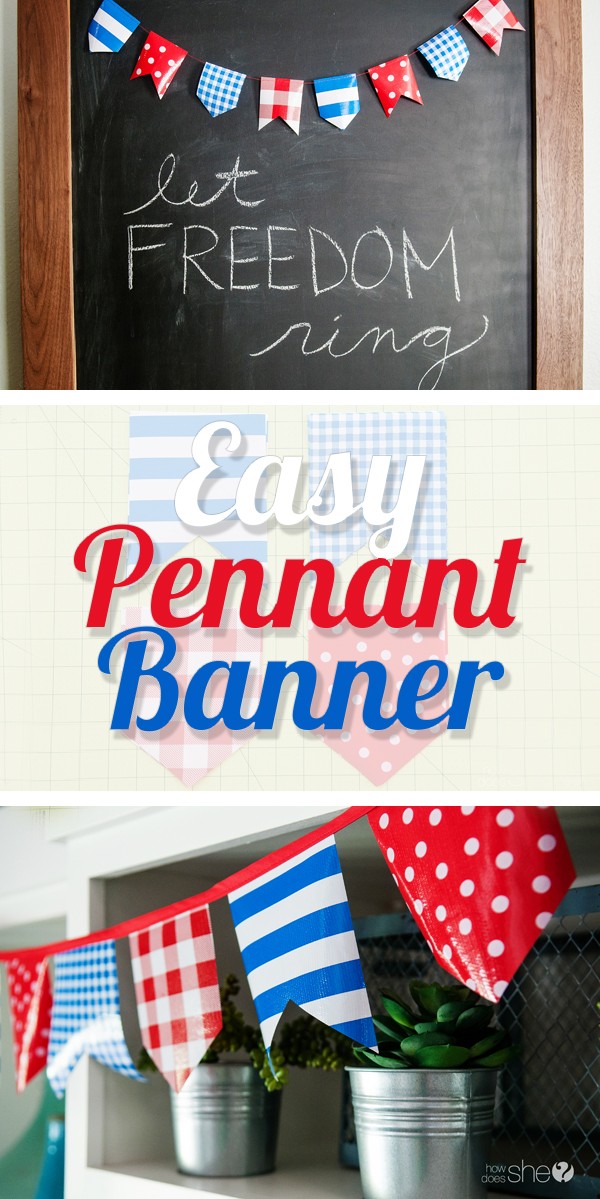
We love banners around here – check out a few more of our favorites:


Leave a Reply