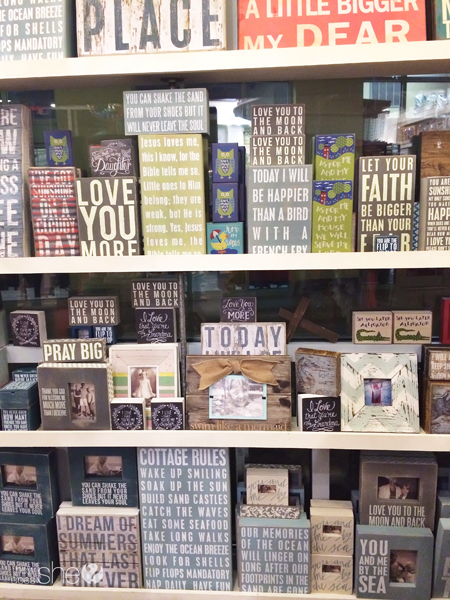
We went on a recent family beach trip this summer to Seaside, Florida, which is the most charming beach town I have ever been to. One of the boutiques in town sold a bunch of hand-painted wooden signs with charming sayings painted on it. I started picking out the ones I liked and planned to buy them for my kids, sisters, and friends until I realized how much it was going to be, and then I thought how easy it would be to make! I walked out of the store empty handed, except for this picture I snapped of their wooden sign wall, and lots of cute sayings swarming in my head.
The project is quite easy, and will require a trip to the craft store if you don’t have paint, graphite paper, and a wooden block. You might be surprised…you might have a wooden block in your toy room that won’t be missed. Here are the supplies you will need:
- wooden block–I picked up mine at hobby lobby in their wood section
- paint–you can use acrylic paint or chalk paint. I like the chalk paint because it gives the block a little more rustic, worn look.
- white graphite/chalk paper–also pick this up at the craft store. I love using graphite paper. You might remember the pillow project I did using graphite paper.
- paint brush, sponge brush
- pen or pencil
- a font to use and a cute saying
- sandpaper
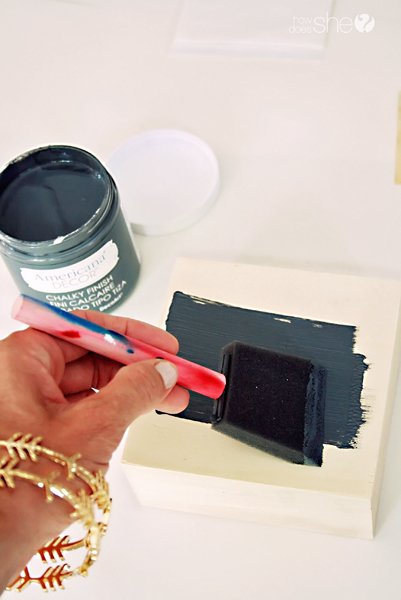
After you protect your work space, start by painting your wooden block with chalk paint (or acrylic). I chose to use chalk paint because I also wanted it to have a chalkboard look. My wooden block is hollow in the middle, so it made it easy to paint the sides.
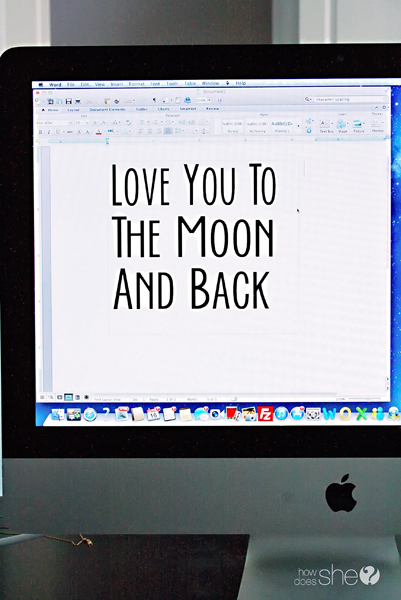
While the wooden block is drying, head to your computer and open up your Word processing program. Format the page to the size of your wood block–so you will adjust the right and left margins. Then pick your font, and type out your cute saying. I formatted my saying to be justified so it would equally cover the length of the block. As you can see I picked out a very basic font, but you can choose any kind of font you’d like.
Once your block is completely dry, you are ready to transfer the font onto the block. Take your block and place the graphite paper down on the surface, and then place the font page on top of the graphite paper. Tape down the sides so it doesn’t shift. Use your pencil or pen and trace the letters of your word. The graphite paper will transfer the the font style word script onto the wooden block. As you can see, my graphite paper (or in this case chacopaper) is white because my background is dark, and I want to make sure I can see my font on the block.
Once you have traced each letter, remove the papers from the block and you will see the transfer to the block.
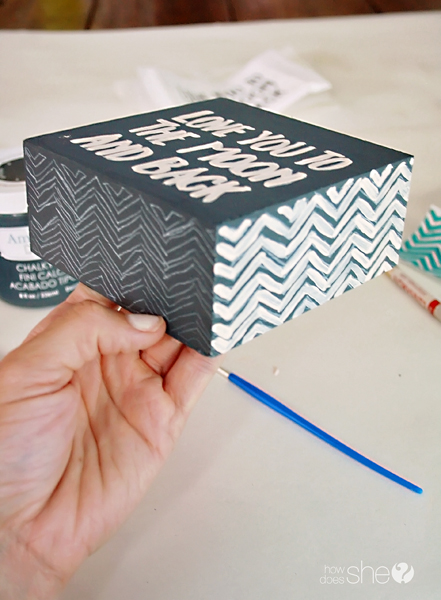
Now you are ready to paint the letters. I used acrylic paper for my letters and a thin, tip paintbrush. I painted a couple of layers for each letter. If you want to have the saying look more rustic, then just paint one layer.
I wanted to add some detail to the sides of my block so I painted a simple zig zag design around the sides. You don’t have to do that. You could keep it same color or paint the sides a different color. When you are done painting, let your block completely dry.
The last step of this project is to sand the sides to make it look more rustic and weathered. I sanded the corners and where the joints meet and sanded until the wood was slightly exposed under the paint.
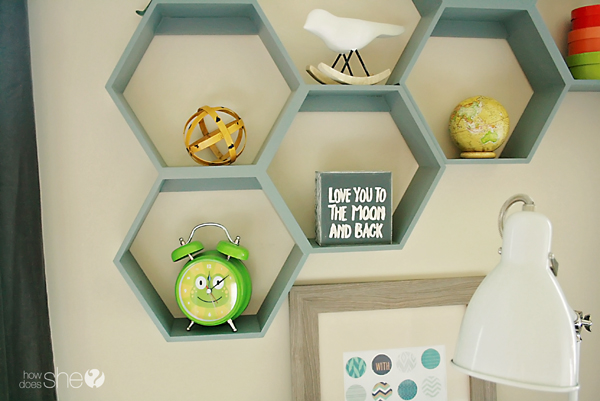
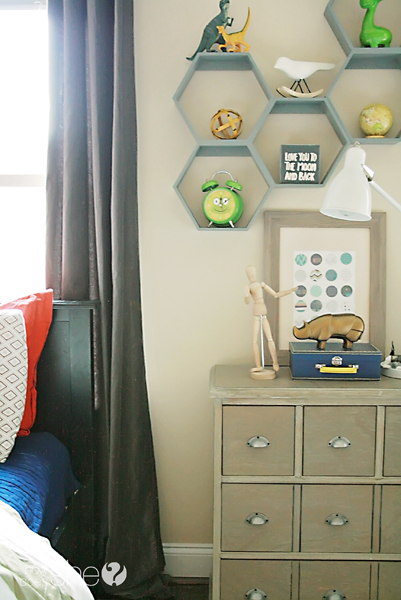
Once done, your wooden sign is completed and ready for display. I made my wooden sign for my boys’s room. They love it and it looks darling on their honeycomb shelves! There is so much you can do with hand painted wooden signs. This project comes in handy for weddings and parties too!










Christy says
Aww this is really cute (:
Lazy River Studio says
Thanks for the valuable info about hand-painted wooden signs.
Ashley says
So cute and easy!! Love this Darleen.
Lindsay says
I love this idea — to decorate a shelf or to put on a wall!
Darleen says
The honeycomb shelf is from The Land of Nod
Alison says
Darling!!!! Now where did you get the shelves to put that on? Super cute layout!
M Reed says
Where is the honeycomb shelf from? Did you make it or buy it? I love it!!