Making your own changing pad cover is easier than you think. Sometimes you just need a cheerleader saying, you can do it! Let me be your cheerleader and teach you how to do a super easy and quick changing pad cover.
You will need:
- 1 1/2 yards fabric
- 1/4″ elastic
- changing pad
Let’s get this party started!
We will start by doing the no fun part….measuring it all out. Remember: changing pads will differ from brand to brand. Typically they are similar in size but your measurements might be a few inches off from my tutorial. I’ll show you how to measure yours so yours will fit just as perfect as mine.
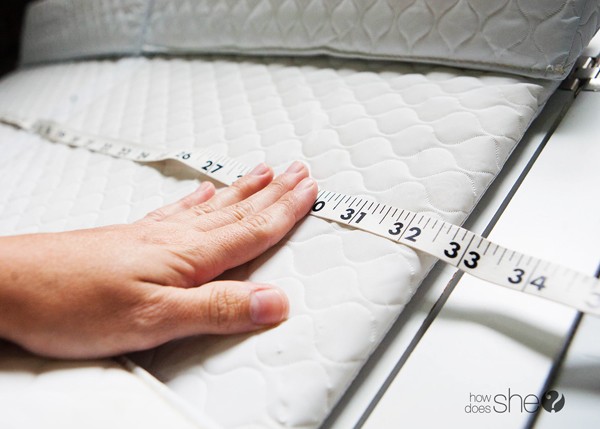
Measure the longest side. Mine measured to be 32 1/2″
Measure the sides. Start at the bottom of the contour of one side all the way to the bottom of contour on the other side.
The short (contoured) sides measured to be 27″.
And since I’m a visual person, I drew out my changing pad with the measurements. 32 1/2″ for the long side and 27″ for the short sides. And now you will need to add 3 inches to both sides of the contour side. 27″ + 6″ = 33″ for my short side. See how I did that?!
I cut my main piece of fabric at 32 1/2″ by 33″.
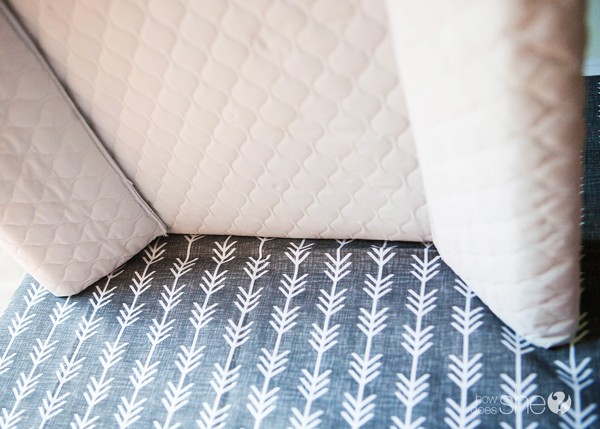
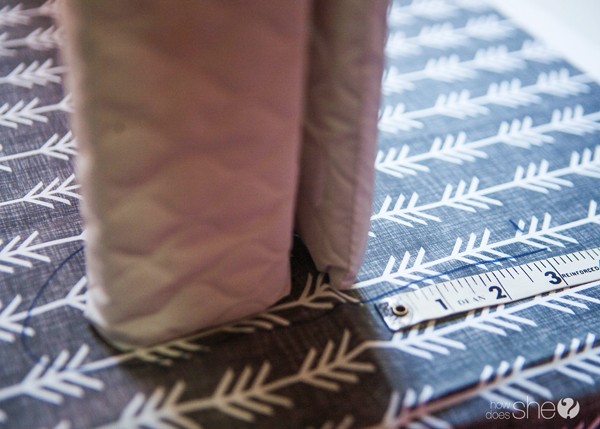
Now we need to cut out 2 pieces for the sides. Start by turning your changing pad onto the fabric.
Grab a pen or marker and get ready to trace.
Trace around the mat. I tried to stay about 1/2″ away from the actual mat to allow for the seam allowance.
Instead of tracing around the backside, we will need to add 3 inches to the bottom.
Cut out your piece of fabric from your tracing.
Now lay it on your fabric and trace around it and cut another out.
Here’s what they should look like:
Grab your main piece of fabric and now we want to mark the half way point. Mine was measured at 32 1/2″ so half of that (using my trusty calculator) is 16.25 inches. Mark that measurement on your fabric on both ends.
Now, we will mark the halfway point of our smaller fabric pieces. Mine measured out to be 17 1/2″ so the halfway point is 8.75 inches. Place a little mark on both of your smaller pieces of fabric at the halfway point.
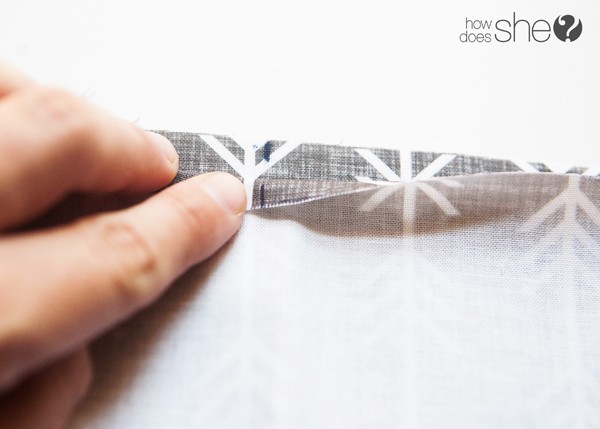
Simply match up the marks of your main fabric piece with the mark on one of the smaller pieces. Right sides of fabric together. Pin in place.
Now is the trickiest part of the whole project….pinning in place. I’ll admit, I HATE to pin, however you can’t avoid it with this project. You’ll have to do some working with your fabric to get it to pin together correctly. But you should end up with it looking like this:
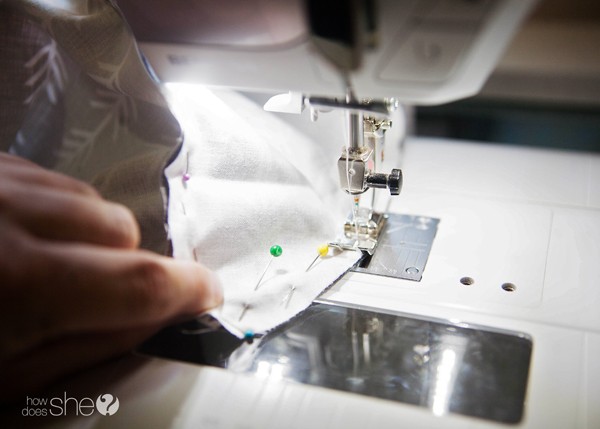
Sew carefully taking pins out one by one. I used a 1/4″ seam allowance. Sewing around the curves are a little tricky but don’t let that deter you from this project. It’s easier than you think! My cheerleading is kicking in again and I’m shouting YOU CAN DO IT! GO! SEW! WIN!
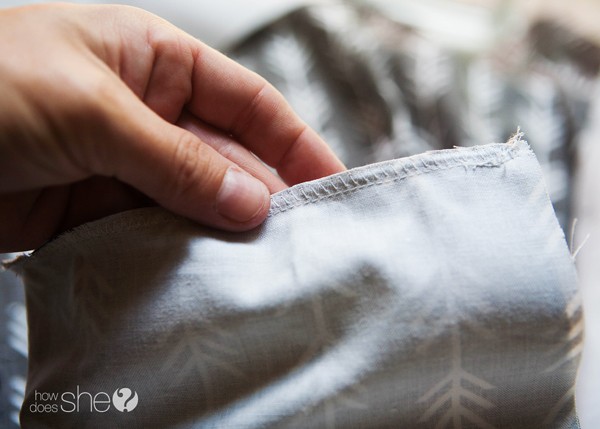
After I finished sewing a straight stitch, I went back and did a zig zag stitch just to prevent the fabric from fraying too much.
Almost done! Now for the easy part….iron a casing for the elastic. You will want to iron down 1/4″ around the perimeter of the raw edge. Then, iron down another 1/2″ around the perimeter. Sew a straight stitch all the way around, leaving a 2″ opening for the elastic.
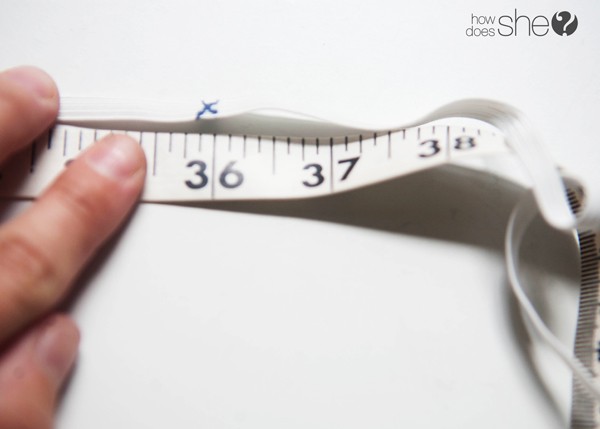
Measure out 36″ of 1/4″ elastic and place a mark at 36″. Do not cut your elastic at 36″. It makes it easier to pull through if you wait to cut the elastic after it’s threaded through the casing.
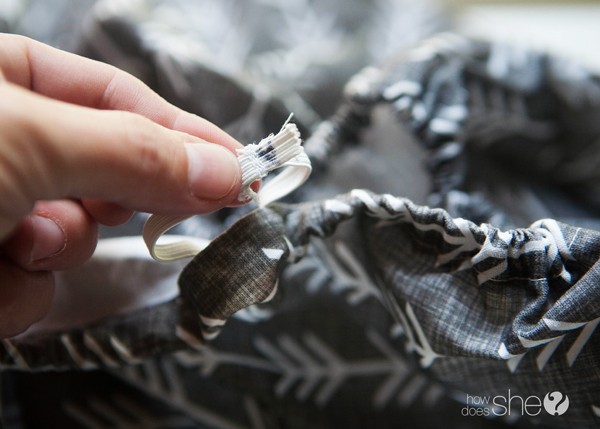
Attach a saftey pin at the end of the elastic and slip it in where we left the 2″ opening in the casing. Pull the elastic all the way through the casing til it comes out the other side of the 2″ opening.
Sew the elastic together at the mark you made at 36″ and cut the tail of the elastic off. Simply slide this into the casing and sew the 2″ opening shut.
And done! A perfect fit every time!
Now that you’ve got your changing pad cover made, you can whip up a crib sheet to match! Check out this tutorial:
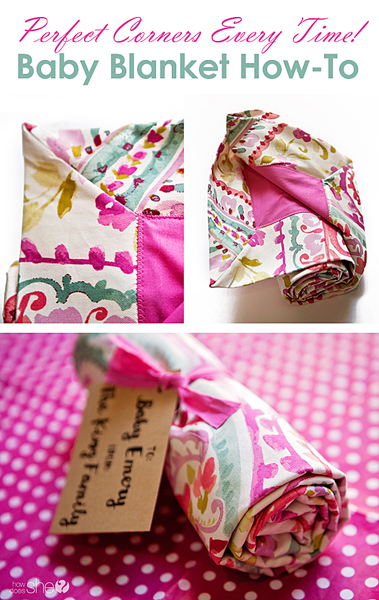
And while you’re at it, why not make a coordinating baby blanket, with PERFECT corners every time?














Rachael says
What kind of fabric did you use? Would duck cloth work?
Sue says
I really love this and making a sample one before I use the expensive minky. My question: You are starting with a rectangle of material and then sewing the “wings” onto it – easing the straight piece onto the “wings” ? The picture kinda looks like you made “wings” on the rectangle fabric and put the small pieces with wings attached to the rectangle “wings”. I hope this makes sense.
Sharon says
Brilliant tutorial. I’m a visual learner and this really helped explain the steps. Thank you