My daughter has been chomping at the bit to learn how to sew. I think I was a little intimidated (remembering back to how many times I messed up my mom’s machine when she taught me so many years ago) so I kept putting it off. It seemed like a much better summer activity and when summer finally rolled around she was more than excited to get started.


This is when the 5 Week Summer Sew School was created. It was never my intention to teach my 8 year-old every function of the machine and every detail of sewing. Instead, I wanted to create an interest and passion for creating – something to get excited about and look forward to, sewing for fun. You’ll want to help cut patterns out (perfection in cutting always equates to easier sewing) and pin fabric together, but the rest is completely created by the child. Not only did our 5 Week Summer Sew School create interest, it created confidence.
Lets get started!
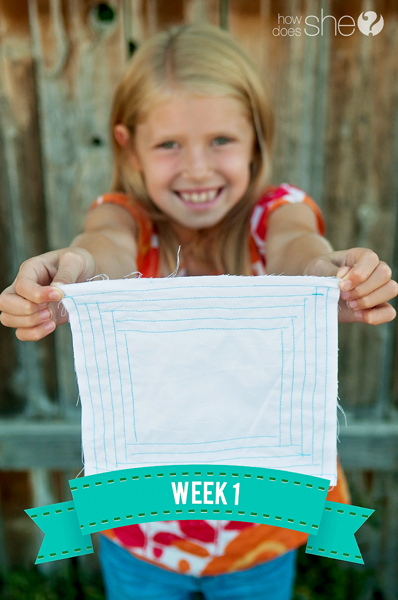
 Week 1 – Get comfortable with the machine
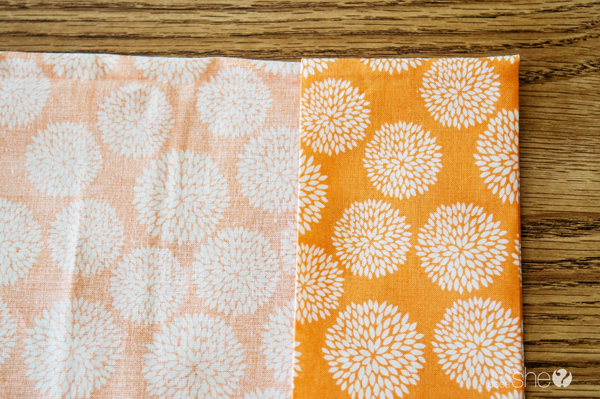
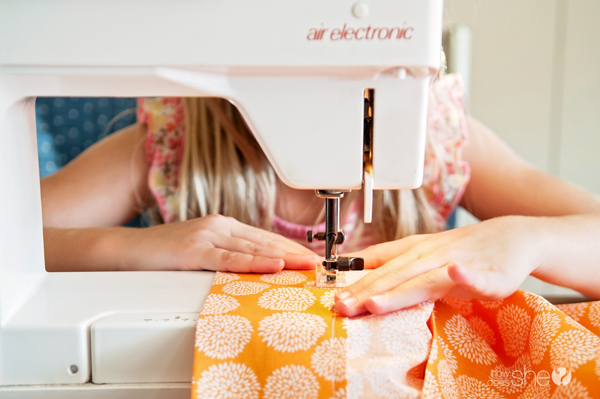
Every machine runs differently and week 1 is all about getting a feel for it. Nothing fancy – straight lines and stitches. I’ve seen many people print out lines on paper and have the child sew on paper, but it’s not the same. The machine doesn’t pull paper the same way it pulls fabric so I would go straight to sewing on fabric. Cut two scraps of fabric, put them together and have your child use the edge of the presser foot as a guide. Have them sew straight stitch after straight stitch. And when their scrap of fabric is full of straight stitches, get more scraps and keep practicing.

Week 2 – Sewing a marble necklace
This project builds on the few skills built from week one: Straight lines. We modified the tutorial found right here on How Does She. Here are some modifications to make this a week 2 sewing project:
1. Instead of marbles, we used wooden beads (made the necklace much lighter for my little girl)
2. Instead of curved edges, just sew straight lines – if your child is more advanced and can follow lines with the presser foot, you can draw a curved line on the edge and have them sew a curve.
3. Hand sewing can be difficult for children, so we left the opening to put the beads about 3 inches from one of the ends. This allowed my daughter to put the beads in and then top sew – which won’t show in the end because that is where the knot sits.
4. We got away with 45″ wide fabric (instead of sewing two pieces together to make 60″) and just put 7 marbles/beads in instead of the recommended 10.
Quick tip: After sewing the necklace and turning it inside out – insert all beads, fold the necklace in half to find the center point and knot the fourth bead in the center. Continue knotting 3 beads on each side of the center to ensure the necklace sits centered.

Week 3 – Sewing a pillowcase
It’s time to sew more straight lines! By this point your child should be more than comfortable sewing straight lines. Sewing a pillowcase is very easy and what they’re familiar with, it’s just dealing with more fabric and longer runs of stitches.
We took an existing pillowcase for measurements. Take two pieces of fabric, right sides facing each other and sew two long sides and one short side. On the open end, fold down 1 inch and then fold again an additional 3 inches – this creates a nice cuff on the end of the pillowcase. To make it easier to sew, I recommend pressing it with an iron and then turning it right side out to sew.
Week 4 – Sewing a knit headband
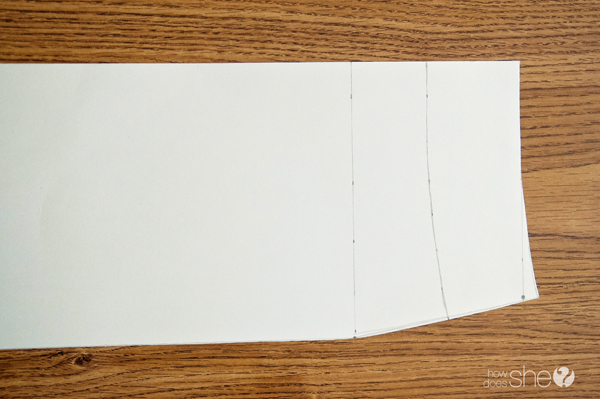
It’s time to venture away from straight lines! But don’t get nervous – by week four, your child has mastered straight lines and is ready for a few simple curves. Get the pattern from How Does She found here. The pattern was created for a baby – so I added an inch and a half to two inches to the pattern (on the fold) to make it fit my 8 year-old. We also used a knit with spandex so it stretched nicely.
We followed the directions from the website and it went together smoothly. The most difficult part was the sharp curve on both ends. To make it a little easier, coach them on how to lift up the presser foot while the needle is still in the fabric to rotate it around just a bit and continue sewing the curve.
Week 5 – Sewing a skirt
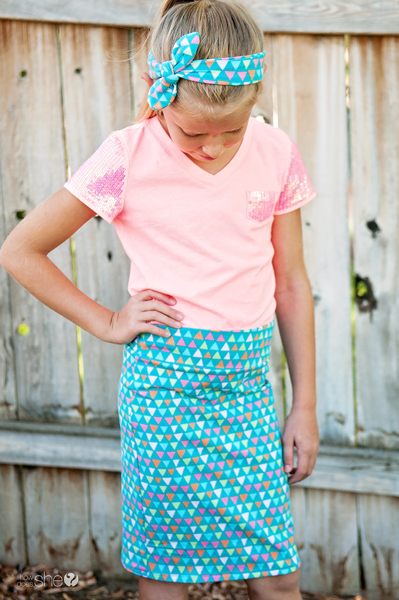
This is the final and culminating project of our 5 Week Summer Sew School. My daughter was beyond excited to get to this project. She had picked out the fabric when we purchased the fabric for the pillowcase (which we also used in week four’s project) and she couldn’t wait to wear a skirt she had sewn (just like the skirts she had seen her cousins sew and wear).
If you have a simple skirt pattern already, perhaps with an elastic waist band – use week 5 to make that pattern. If you don’t have a skirt pattern in mind, let me introduce you to my new favorite easy skirt – a knit pencil skirt. Simple Simon and Company gives detailed instructions how to size the pattern here (it’s not rocket science – you’re making a “sloper” pattern based on waist, hip and length measurements) and detailed instructions on how to make it here.
It is seriously easy and completely adorable – even an 8 year-old can do it.
Of course I cut out the fabric and pinned when needed but she sewed the rest. Very similar to the pillowcase, they’ll be sewing in a continuous circle as they attach the waistband, which won’t be a new skill!
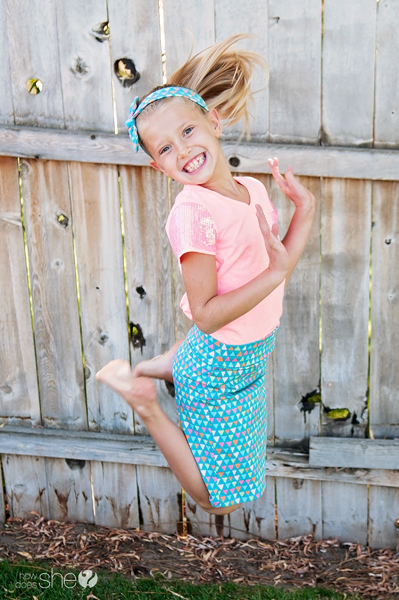
I wish I would’ve recorded her reaction as she put on the skirt for the first time – a skirt she made. She was oozing with happiness and quickly declared the skirt as her first day of school outfit. One proud child!
Within 5 weeks your child will have completed a wide variety of projects and if they’re anything like my daughter, they won’t want to stop. We can’t get back to the fabric store fast enough for her. Aside from the week 1 practice scraps, she wants to make every single project again and again, she’s got big plans for the rest of summer!
See more of my adventures and projects at www.lifewithfingerprints.com





Sharlyn says
Awesome! Tell your cutie she did a great job 😉
Kara says
Will do, thanks Sharlyn!
Helena says
Do you have a 5 weeks course on sewing both by hand and by machine adjusted for 26 year olds that left sewing at 8 years old?
Now for real, if you could do a series of incredibly easy videos starting from 0 to sew by hand and machine and make it affordable for broke people, but expensive enough for it to give you money, you could record it once and sell it forever… Just add a few skype sessions for doubts and follow up, and you have an easy money source.
Rosemary says
Excellent job for both Mom and Daughter!
Tanya says
Excellent post! I would love to see one for boys! 🙂
Kara says
So would my son! Here’s a comment I made to someone else requesting a boy version: Boys are a little bit harder, because most everything is geared towards girls, but you can tailor it to their interest. Boys can do Week 1 and Week 3 and change Week 5 to a pair of pajama shorts (for some reason I find the project kids most excited for is one they can wear!) I know the website danamadeit.com has some great boys shorts tutorial. A drawstring bag is a great idea or even a simple tote for books, I’ve also looked into a “crayon/colored pencil” holder. Essentially you sew a lot of straight lines to hold crayons or colored pencils and then it rolls up and ties. Let me know how it goes!
My son is really into legos right now, so we’re working on a little travel tote to come in the car with us. The possibilities are endless as long as they have interest!
Tammi says
My daughters are off to college and I’ve started teaching my friend’s 12 year old how to sew. Your day 1 project is a great idea. We went straight to making a small pillow with back flap to put in her small pillow for her bed. Next we may do a pillowcase or small simple tote bag.
Your daughter is so cute with her new skirt! That would have been me. I started with Barbie clothes and now have a sewing business in my home. Sewing is a skill everyone should know because we all wear clothes! 🙂
Kara says
I agree sewing is a skill that everyone should know the basics of. A tote bag is a great idea! Good luck!
Cathy says
This tutorial is wonderful. I just bought my granddaughter a sewing machine and these ideas are great. Thank you.
Jen says
This is a great idea, but do you have any suggestions for boys? My 8-yo son is interested in learning to sew, but all of the sewing books we look at are geared primarily for girls: skirts, hair accessories, flowers, etc. My only ideas right now are pillowcases, blankets, a wallet, and drawstring bag. Any other ideas? Thanks!
Kara says
Boys are a little bit harder, because most everything is geared towards girls, but you can tailor it to their interest. Boys can do Week 1 and Week 3 and change Week 5 to a pair of pajama shorts (for some reason I find the project kids most excited for is one they can wear!) I know the website danamadeit.com has some great boys shorts tutorial. A drawstring bag is a great idea or even a simple tote for books, I’ve also looked into a “crayon/colored pencil” holder. Essentially you sew a lot of straight lines to hold crayons or colored pencils and then it rolls up and ties. Let me know how it goes!
Carla says
Looks like your daughter has learned something she’ll be using the rest of her life! Tell her it looks like she did a great job on all her projects.
Kara says
Will do, thanks Carla!
Christina says
I love this- thanks! My 6 year old son has been asking to learn how to sew and I think it is time.
Kara says
I made some comments above as to how to tailor it to fit a boys needs and one more thing I thought of (as I work with my own son) is a cape. They have some really easy patterns online and many just use straight lines with a drawstring to tie it. Good luck.
Beverly says
I started learning to sew when I was 8. My first project was a scrappy patchwork throw pillow (and I still have it). My 8-year-old is now wanting to sew. (I bought her a toy sewing machine for Christmas and she’s hardly used it.)
Thanks for the easy ideas. I remember practicing my stitches on a piece of paper with no thread in the machine. We also made the necklaces like you did, but used cotton balls for the spacers. I think she’ll really like the headbands … maybe it will get her to brush her hair!
Kara says
No guarantees that it will get her to brush her hair – hasn’t worked for my 8-year-old – instead she has really messy hair with a headband! Maybe your experience will be different! Have fun.
Christy says
I love this! My youngest has been begging me all summer long to teach her how to sew. This tutorial is exactly what I have been looking for! Thanks for putting it together and sharing it. 🙂
Nancy says
So fun to find this! I just bought my granddaughter a inexpensive machine for her 7th birthday! She will be able to do many of these projects. I have kept the machine here at my house and she gets weekly lessons.
Terri n da Hood says
This is such a great resource! My 22 yr old nephew surprised us all and took all of my mom’s sewing things when she passed, so I’ll be passing this link on to him!
With the headband, I’m having a hard time just using a zig zag with slightly stretchy/thinner fabric….did you change any of the other settings for this project?
Thanks for sharing!
Sue says
love your ideas to get beginners off to a good start in their sewing adventures and your pictures are lovely.
It made me slightly nervous to see your daughters long hair so near to the sewing machine though and reminded me of my high school days where we had to tie our hair up before every sewing lesson. Yes, I know I am a bit of a stickler for OH &S but better safe than sorry.
Keely says
I think you should make earring ,necklace,, hair bands
Reba says
Thank you so much for this. My girls have been bwgging to learn to sew and this is perfect. So while Big brother goes to engineer camp the girls (7 & 8) will have fun doing this.
Tanis Winter says
I am a grandma with time on my hands after retiring but I am now mentoring a 12 year old girl with Downs Syndrome. I was given an old copy of your sew book for kids and just wanted you to know how very helpful it has been for her in learning to sew! She loves it and is doing very well. Has made several pillowcases as gifts for Xmas gifts. Thanks so much.