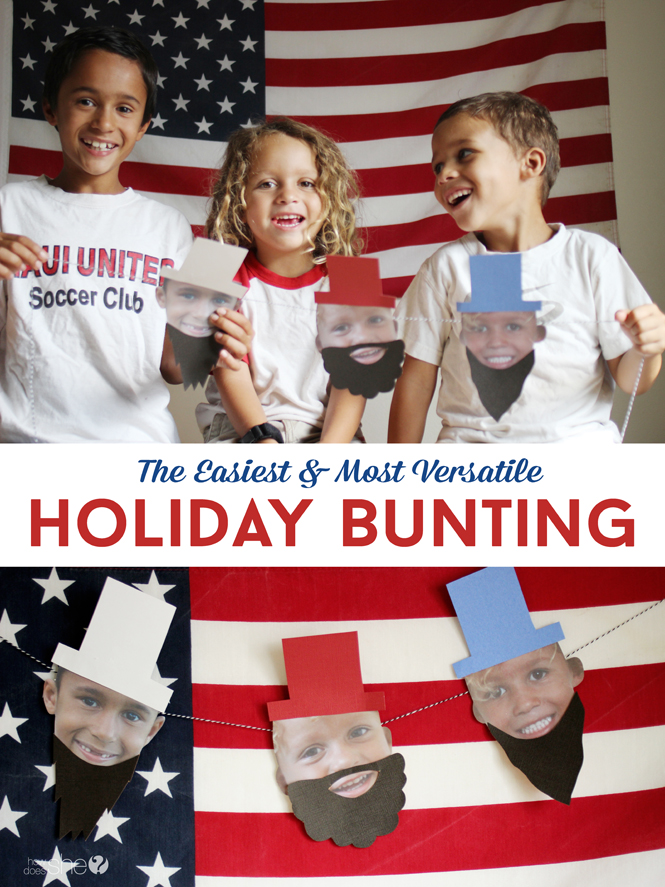
Over the past two years I’ve made a conscious effort to downsize & minimalize. I’ve learned that I thrive in an orderly & clutter-free environment. I’ve donated bags full of clothing, dumped waste baskets full of unneeded papers, & passed on countless goods calling my name in the shopping aisles in my effort to reduce, reuse, & recycle. But one area that has continued to plague my minimalist self is holiday decor. I just love it. And I swear I need every last wreath, ornament, & bunting. So in an attempt to reduce the holiday decor boxes clogging up my spare closet I came up with this super easy, super versatile, & very much kid friendly DIY bunting.
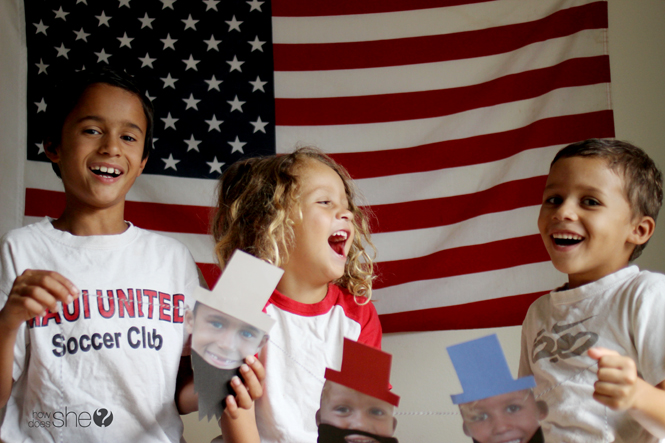
My kids loved helping me make this & it’s their favorite item to pull out at each & every holiday. In fact, they think it’s hilarious & it’s easy to see why. I originally put this together for Christmas a few years back & my kids loved it so much I switched out the props & kept it up for New Year’s, come Valentine’s Day I just could resist updating it, & it was too good not to pull out again for St. Patrick’s Day. We’ve used it for Easter, Halloween, birthdays, graduations, & now I just couldn’t wait to put it up for the Fourth of July in a few weeks. I helped my son’s teacher put together a rather large bunting strand full of all the students’ faces & it was the highlight of their classroom all year around.
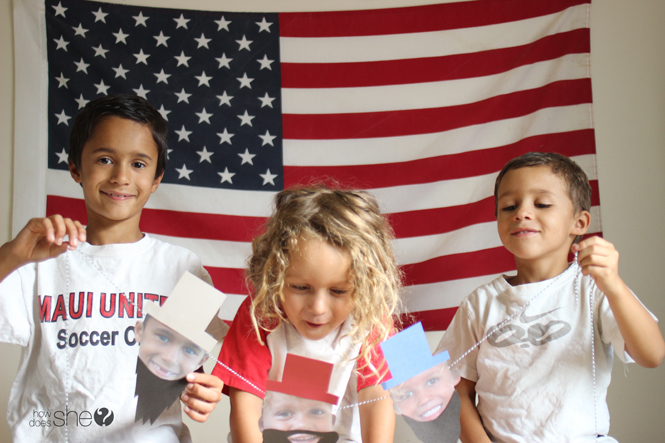
So this bunting is fun & versatile, but did I mention that this is really super easy? Because, it is. Do you have a printer? How about some paper? Glue? And some string? All right then, you are set.
MATERIALS:
- Printer paper
- Construction paper
- Glue
- String
INSTRUCTIONS:
- Take a close-up photo of your child’s face from straight on or find one on your hard drive.
- Enlarge the image & print several copies of the picture(s) in black & white (How many you print just depends on how long you want your bunting to be I have three boys so I printed two photos of each child for a total of six pictures. This fits nicely over our tv.)
- Cut out the image leaving no border around the faces.
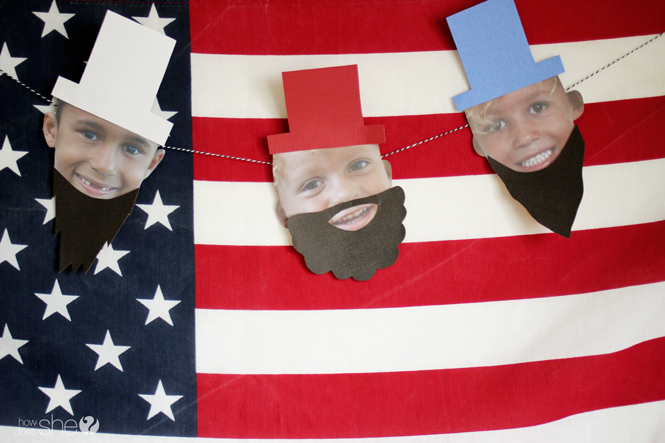
- Lay out the pictures in the desired order & glue to the string. Be sure to leave 4-6 inches between each picture to allow for holiday props.
- Optional: If you want to make your bunting a little more durable you can laminate it.
- Get creative! Cut out & tape on your festive accessories. Your options are endless when it comes to this bunting: kiss lips for Valentine’s, red beards & green top hats for St. Patrick’s Day, bunny ears for Easter, top hats & beards make the cutest little presidents for Fourth of July, pilgrim hats for Thanksgiving, beards & stocking caps for Christmas, party hats go great with New Years & birthdays, & graduation caps are adorable for commencement ceremonies. Honestly, you could probably leave it up year around & just switch out the accessories.
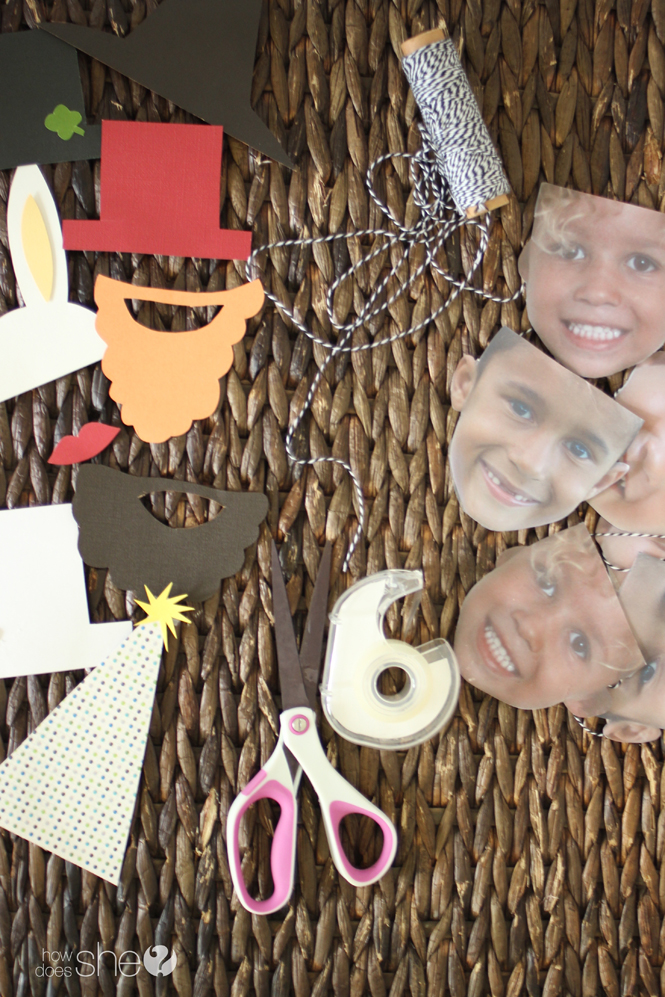

Get your glue gun out & get crafty! Your imagination & cutting abilities are your only limits with this easy & versatile bunting.

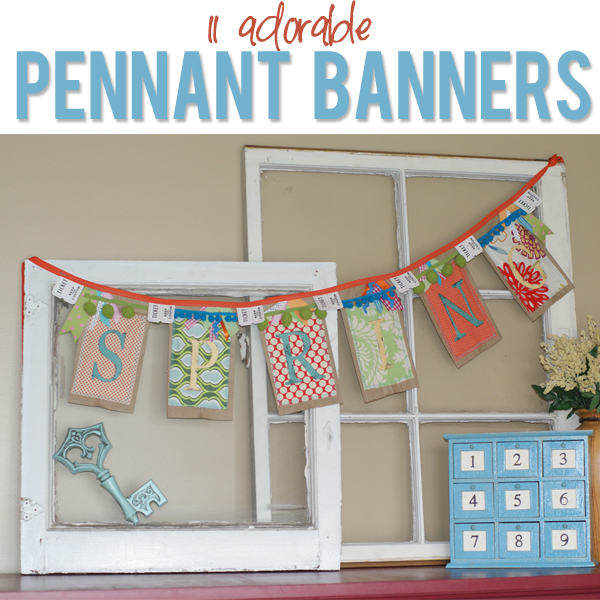
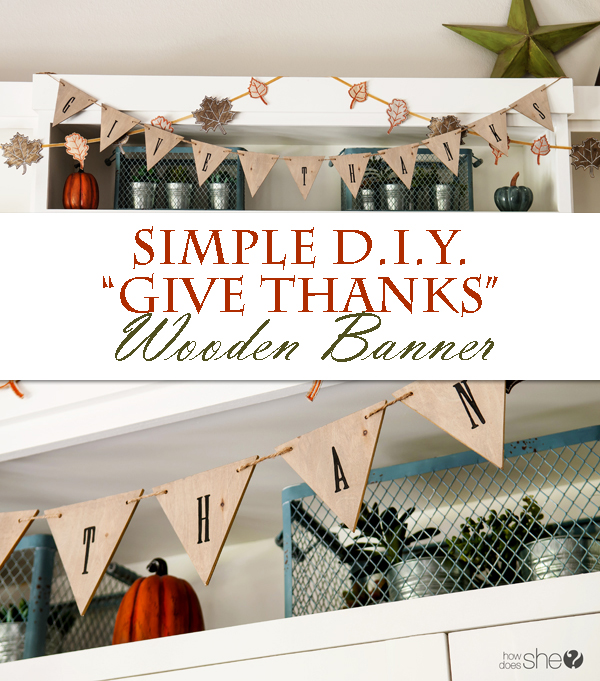
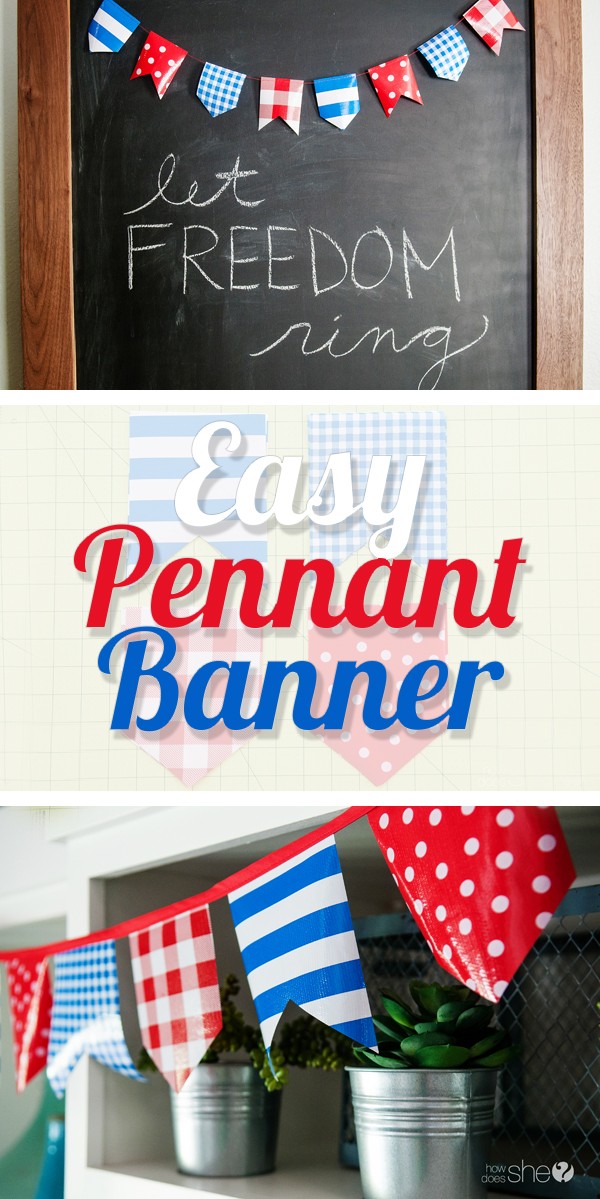
Okay, how fun are these? Decorating for any holiday doesn’t have to break the bank and really adds to the magical feeling in your home all year long – buntings are the perfect way to achieve this. Here are a few more fun and kid-friendly bunting ideas that you are sure to love:
Simple DIY Give Thanks Wood Banner


Leave a Reply