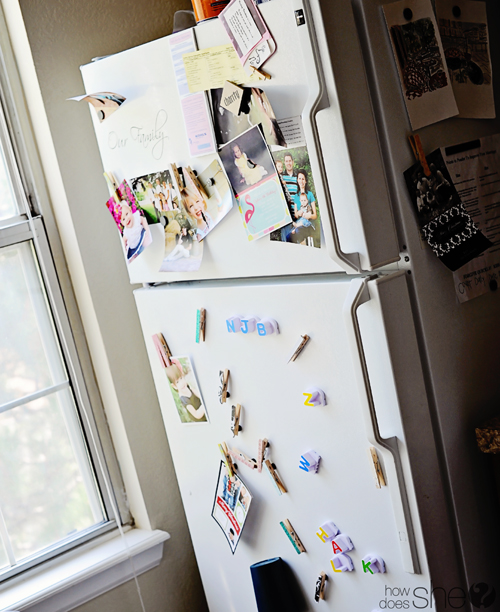
If you were to come over to my home and see my kitchen, most likely this fridge would be the first thing to greet you.
Not necessarily anything wrong with it. A typical messy, chaotic fridge. (Ok, so maybe this messy isn’t typical?) But it doesn’t exactly convey the feeling I want to create in my home.
I decided it could use a little TLC. Did you know you can decorate your fridge? Yep. Here’s how.
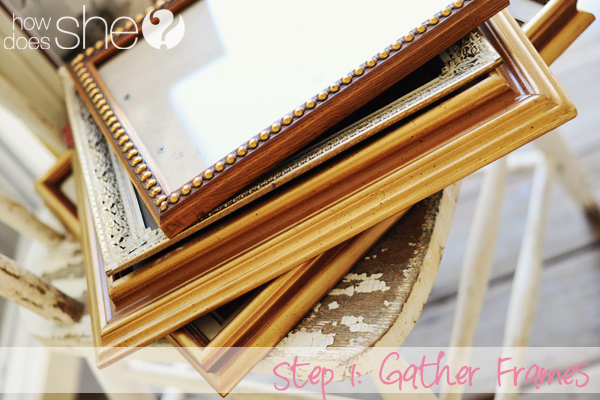
Step 1: Find frames.
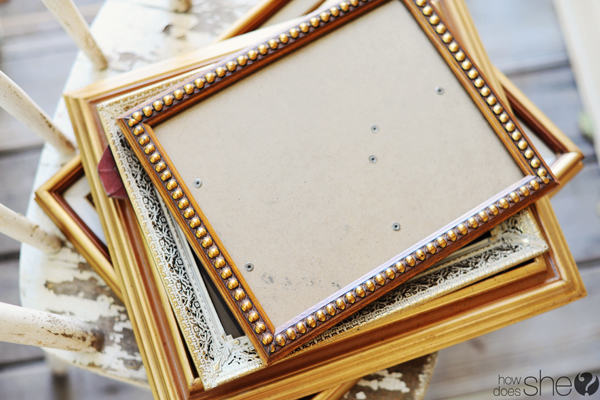
Any frames will do. I just hit up my local Goodwill and picked up a few of these gems.
They were only $1-$2 a piece. Score!
Hint: The lighter they are, the easier they will be to stick to your fridge. I found that the light metal ones work best.
Step 2: Prime.
You don’t necessarily need to do this, I’ve painted frames without primer. However, I’ve found you end up using less paint in the end because the paint adheres and covers better with the primer.
Step 3: Paint.
Pick out some fun colors and go to work. I decided my kitchen could use a little color, so I went with my favorite color these days, aqua.
Spray paint ended up being quicker for me, but you could use the cans as well.
Let the paint dry completely before going to the next step.
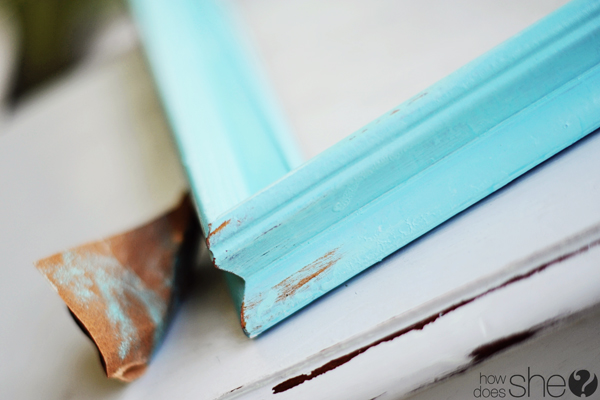
I like distressing anything and everything, so I took a little sandpaper to them.
Step 4: Attach magnets.
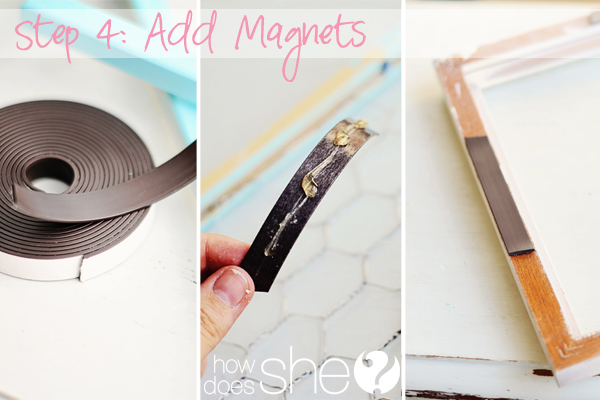
You can use any magnets you want for this part. I used this magnet tape I found at Home Depot for $3.
I decided to reinforce it by adding some hot glue to the tape side.
For the larger frames, I added larger round magnets in the corners because the magnet tape wasn’t quite strong enough to hold up the frame on its own.
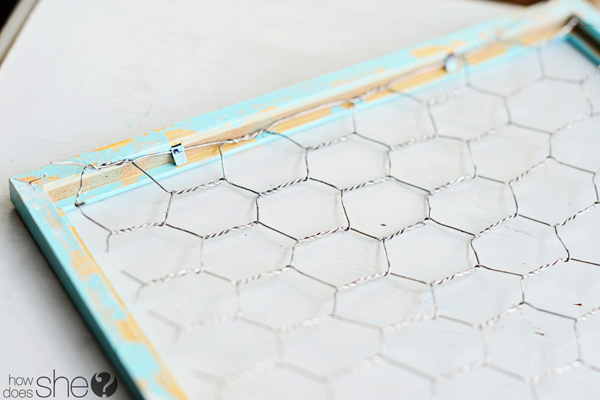
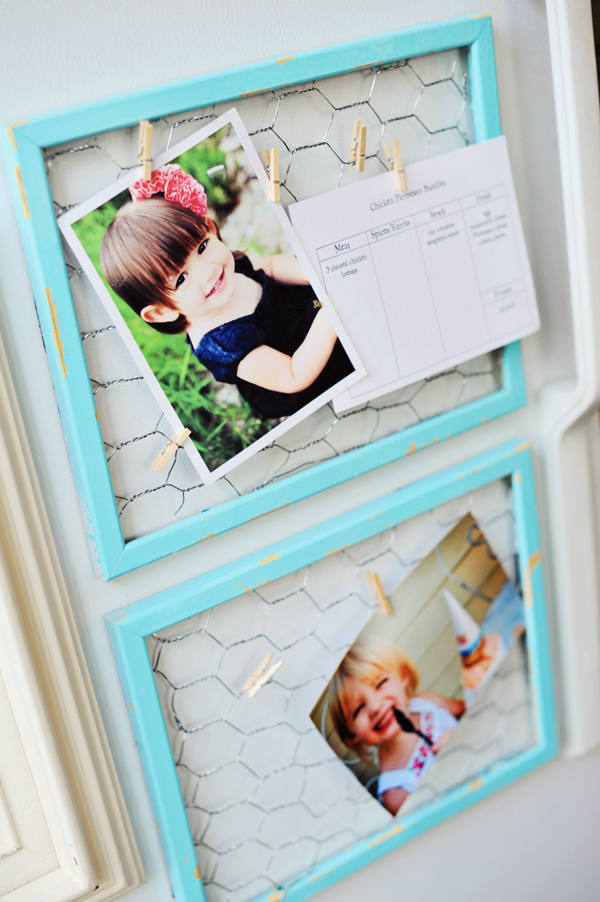
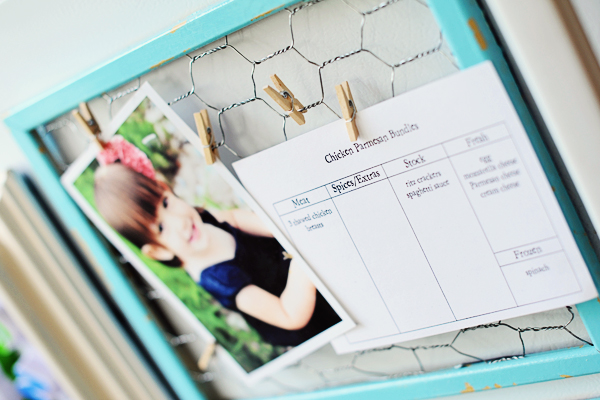
For a couple of mine I decided to add a little chicken wire to add some texture and charm.
First I measured and cut the wire the best I could.
My frame still had those tab thingy’s that I just pulled down to hold the wire in place. I used a little hot glue in a few places as well.
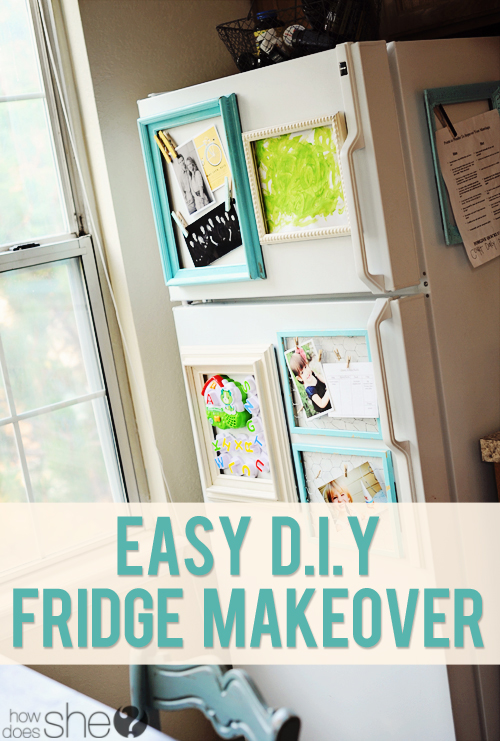
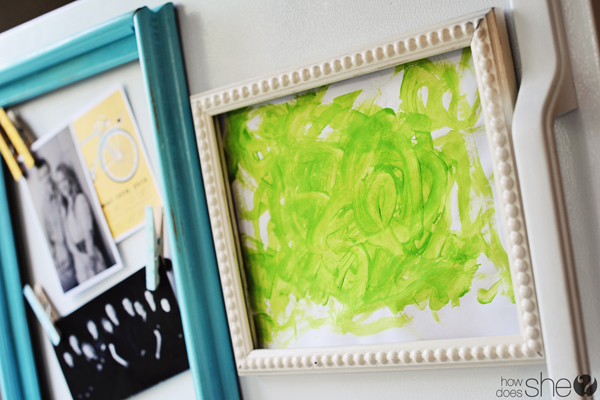
Arrange your frames on your fridge and ta-da!
Use the frames to help organize whatever you feel like.
Frame your children’s prized artwork.
Or organize alphabet magnets.
Hang photos, wedding announcements, invitations…
Or hang the recipe you’ve been planning on making, or even frame a calendar.
So many possibilities! And so easy to change it up if you feel the need.
Ah. Much better. What do you think?
The best part? This entire project cost me less than $20. Hot diggity dog!










Heather Lynne says
brilliant! I love this idea!
Jillian {Her Split Ends} says
So in love with this idea!! What a brilliant way to organize the crazy fridge {mind is currently out of control!!}
Cheers {& so doing this!}
~ Jillian
http://www.hersplitends.com
lbau says
Awesome!! Where did you get the tiny clothes pins?
Shelley says
Ah! I love this. THis just made my day. Why didn’t I think of this?!
Heather @ WhineCountryLiving says
Love this! I want to try it.
Stacy @ {share&remember.blogspot.com} says
Super cute!
Emily says
in LOVE with this makeover!! you’re so talented! thanks for the idea!
Sara says
I love this idea!
Linda says
I love it!
Missy says
Love the color pop – such a fantastic idea!
Jamie says
Um, amazing transformation!
Crystal says
I’m not normally a blog following kinda gal, but THIS one is a cant miss! I love the stuff you put up here!
Jean says
I really like this idea especially the frame around the children’s artwork!
Strum and Sparkle says
LOVE this idea. I just moved to an apt that has an open concept and really, my refrigerator looks like yours did prior to the makeover. Thanks for sharing this with us. Yipee!
Cali says
Wow this is soooo cute and am making this for us and also giving some as gifts. where did you find the cute mini well they look mini clothes pins? Thanks for sharing this great idea…I so enjoy your blog!
Nikki Kelly says
Cute! I love that you added some chicken wire to clip smaller things to. I did just about the same thing with some clearence frames from target. I used some really strong magnets that I found at HoLo but I would love to make some more. I think I’ll use you’re idea with the clips next time!
Nikki Kelly @ the ambitious procrastinator
alysha says
Hi Nikki! I really like what you did with your yellow frames on the silver fridge. Thanks for sharing!
Asia says
So cute!
Happy Home Fairy says
As I read this post I couldn’t help but think, “Ahh… Creativity at its finest!” I love how you see potential in anything – even the messy fridge. This was such a fun idea – thank you for letting us all take part in your masterful crafting brain! 🙂
alysha says
Aw, that comment was so, so sweet. Thank you!
Lisa says
Love this idea! Especially the chicken wire and little pegs. Genius.
Charmaine says
Darn! Not a good time to have a stainless steel (?) fridge! I love your idea.
Becky says
Alysha!
Ohh I’m so glad you were the one to purchase my OWL at the auction…otherwise I may not have investigated so deeply into the HowDoesShe Site and see what LoVeLy posts you have! I love your style! I’m actually in the mode for redoing my refrigerator right now…it’s soooo the magnet board for EVERYTHING! lol
I think I’m going to chalkboard paint the front, and then do what you’ve done here with the frames. Ooooo…I’m so excited!
I’ll send ya a pic when I’m done,
Thanks for the inspiration,
Becky
alysha says
Becky that is so sweet! I’m so glad I bought your owl as well, it’s SO cute!
Your fridge sounds awesome! Please please send me a pic when you are done, I’d love to see it. 🙂
engagement invites says
So pretty! Where were the frames from? I’m looking for something similar!
anita says
Love your fridge makeover idea, mine is always full of notes, grankids art and colourful magnets family buy for me. Heres an idea make one of the frames with a blackboard back for notes or messages.
Love your howdoesshe.
Roberta says
Great way to display a child’s art work. I am sharing this on Pinterest.
Maria Srisamang says
What can I use on stainless steel fridge since a magnet won’t stick?