I have an obsession with hair accessories.
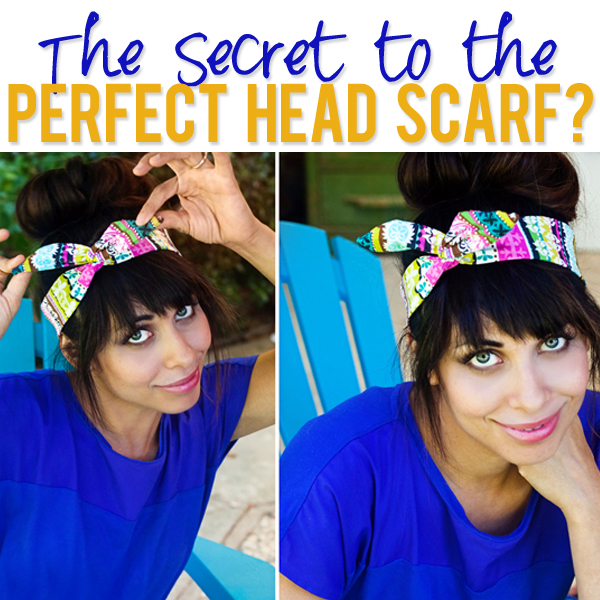
With a tie of a head scarf – I can pretty much hide any bad hair day or sign of unwashed hair. It’s a total time saver for me while adding a little something extra to my outfit. But the one I am about to show you is my all time favorite this season. It was inspired by a ribbon I used to wrap a gift with that had the little wire in it- you know the kind I am talking about? Why not make a head scarf with that same concept? Then in doing some research I came across several in stores that were priced at around $16 or more! So, being too cheap to spend money on a strip of fabric and wire- I set out to make my own!
They are so EASY- trust me- this is coming from the girl who has limited sewing experience! In fact, you don’t even need a sewing machine really- you could hand-stitch or tacky glue it if you’d like! You can also pretty much use any strip of scrap fabric you have around or even a sleeve of an old blouse!
So here’s how!
1. Get supplies:
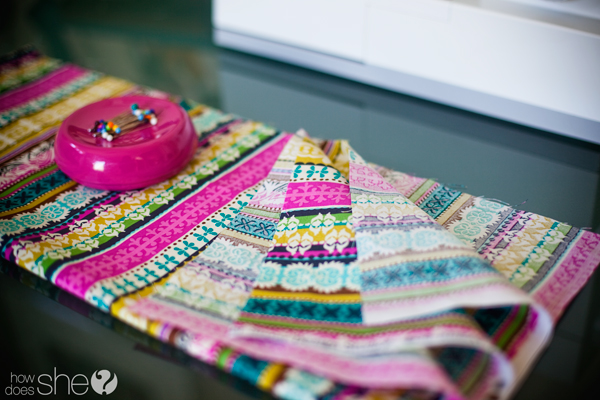
Fabric, sisscors, wire cutters, thread, sewing machine or sewing needle, framing or floral wire.
You will be cutting out two long strips so I folded it in half to make it easier to cut.
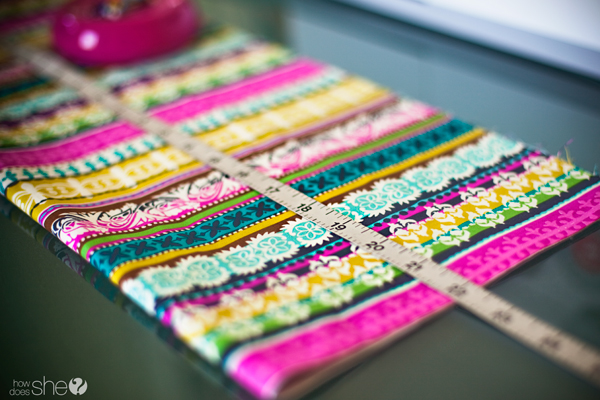
2. Measure your head and decide how long you want your piece to be and mark it on your fabric.
3. Cut it out. I wanted to experiment so, I cut out a longer and shorter one at these dimensions:
Long: 42 inches long (21 in. folded) and 3 inches wide
Short: 32 inches long (16 in. folded) and 2inches wide
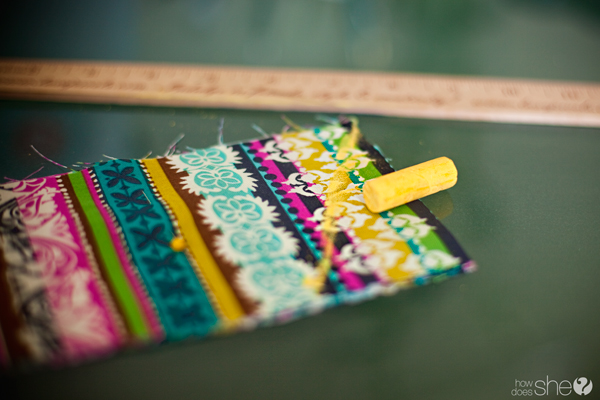
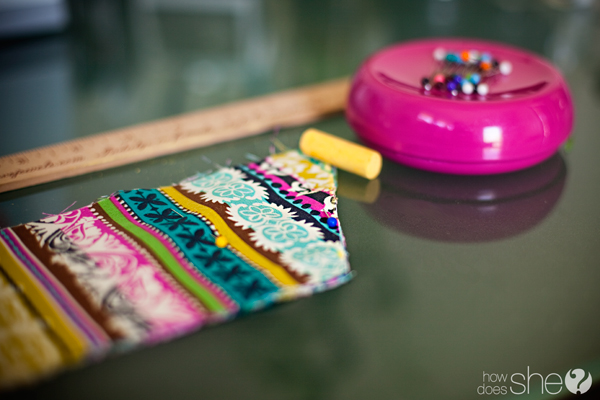
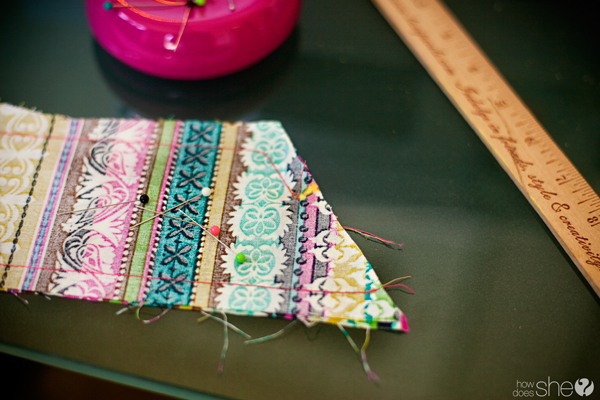
4.Use a ruler and mark the corner where you want to angle and cut it off.
5. Cut off the corners.
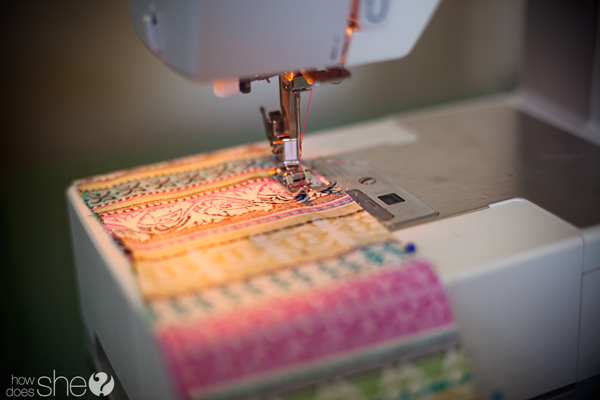
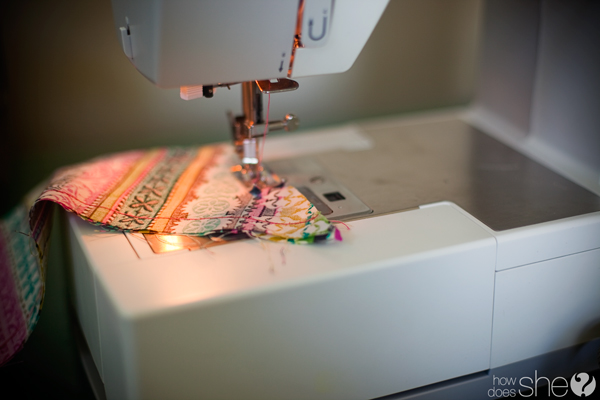
6. Sew the “right sides” together. I used a 1/2 inch seam.
7. Sew all the way until you approach two inches before the end of the last corner.
8. Leave that opening to pull your fabric through it.
9. Pull the fabric through to turn it right side out.
10. Now time for the secret in the scarf… wire! Cut out wire and round the ends. I added duct tape just as extra reinforcement so it doesn’t cut through the fabric.
11. Once you have it pulled through- hand stitch it shut and sew a few stitches around the wire loop to keep it nice secure.
Then….tie it around your head!
There are endless ways to sport your new headband and so many ways to tie it! Stay tuned as I will show you more ways to be able to wear these soon!
For more of my styling tips head over to TrulyModlyDeeply.Com!
xo





Jen says
Love this! What a great ideas for gifts for my daughter’s friends!
Shelley says
This is gorgeous. You can pull anything off though. I might just give this a try, but you ROCK this look. 😉
Caley says
This is brilliant! I’ve been wanting one but haven’t been able to find one I love. Thanks so much for a tutorial…I’m excited to give it a shot! Yours is gorgeous, by the way!
Veronica Almeida says
Thanks for posting Criti. You are awesome for doing this. I have a lot of random pieces of fabric that could be put to good use.
Penny says
Cute! I love it 🙂
Ruthie says
So in terms of short and long which was best? I love this idea I think I’m going to make them for christmas stocking stuffers!
Jan says
We did these back in the 80’s but narrower. They were worn around the neck and twisted into a rosette sort of things. I guess my mom was right, what goes around comes around. Lol
Anita says
So cute! And thankyou for sharing nice ideas.
Sarah Norman says
What about that cute matching arm candy??? Love it! Can you give a brief description of how you did those?
Ashlyn says
This is awesome Hun! Thanks!
I have a question tho.. What is the wire for an where does it go an do you use not for both parts? I’m just little confused about it.
Becca says
I have one I bought that is kind of satiny and it slips around a lot. I recently made an elastic one with velvet ribbon on the back and it grips so well. I may have to try this with the same concept.
Thanks for the inspiration.
Janis says
Does the wire just float around in there except for the ends?