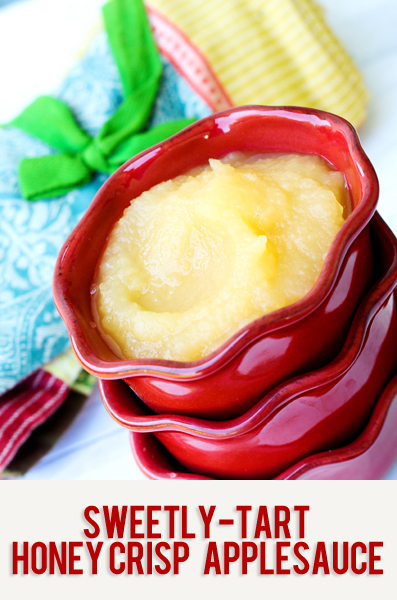
With school in full swing, the cool night air whisking in the Autumn season and apple trees bursting with fruit, this homemade applesauce recipe is an easy and satisfying project on a brisk Fall day.
Whether you choose to can the applesauce for long term storage in your pantry, make a small batch to eat fresh in your refrigerator or freeze in zip-top bags, homemade applesauce is a delicious way to celebrate the season.
Ingredients
Makes about 8 pint jars or 4 quart jars
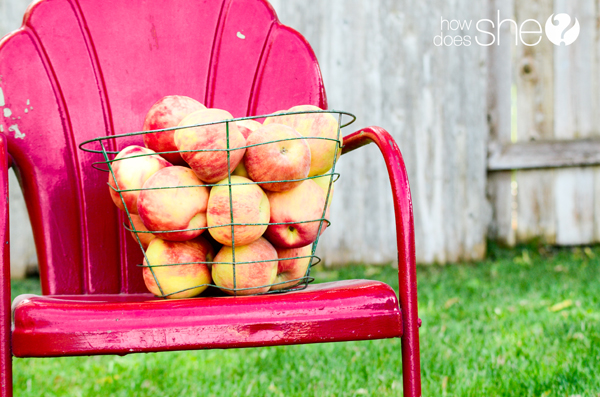
12 lbs. Honey Crisp apples or any apple combination of your choosing *
2-4 Tablespoons apple juice or water*
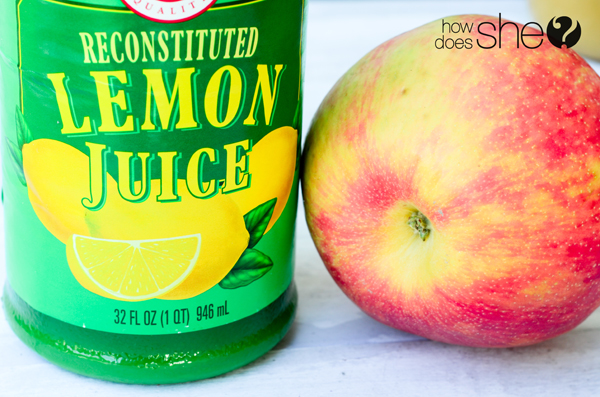
4 Tablespoons bottled lemon juice- absolutely, positively necessary for safe canning and will help prevent browning of the apples
Directions
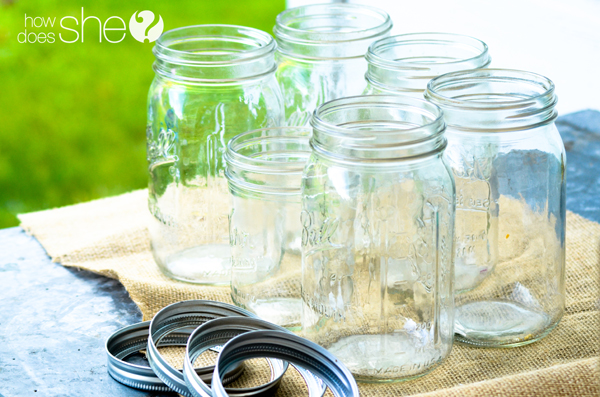
- Prep canner, jars and lids if canning for long storage. * see notes below
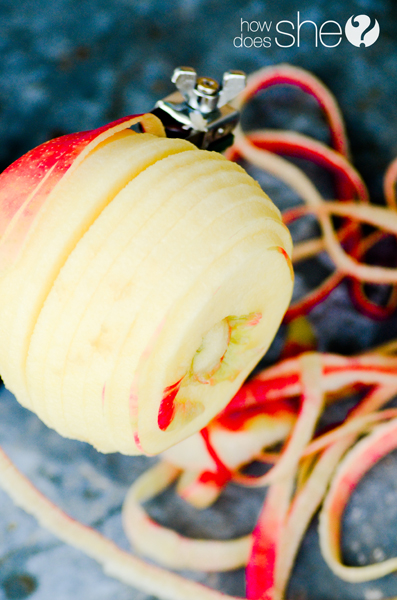
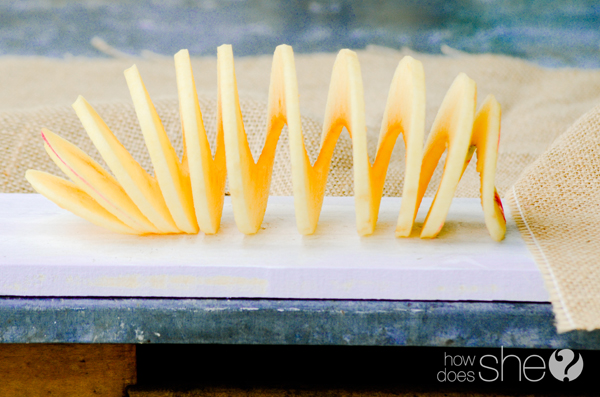
2. With an apple peeler or a paring knife peel, core and slice the apples, plop them in a large stock pot with just enough apple juice or water to create steam and to prevent the apples from sticking to the bottom of the pot.
3. Place the pot of apples over medium heat while stirring them intermittently for about 20 minutes until tender enough to puree.
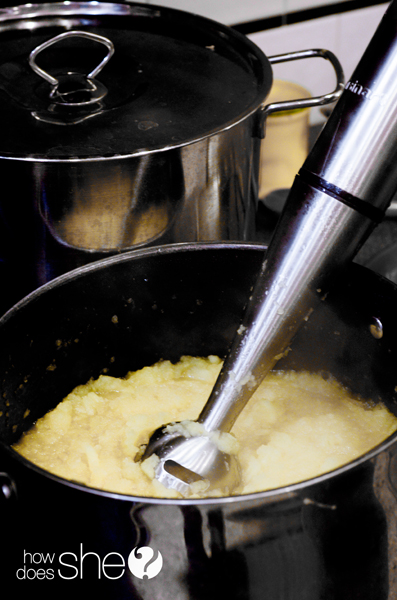
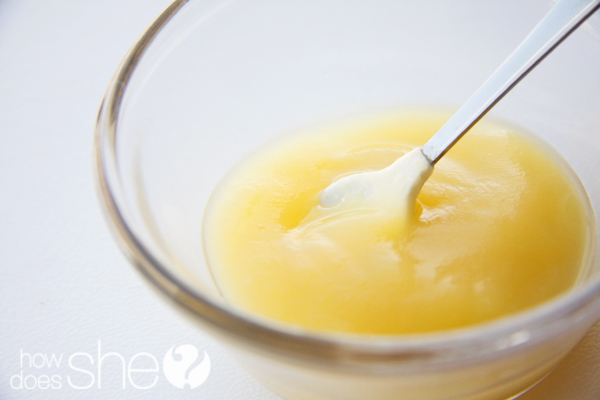
4. With an immersion blender, puree the soft apples until smooth or to whatever chunky- applesauce-ness you enjoy. If you don’t have an immersion blender, use a regular blender and work in batches.
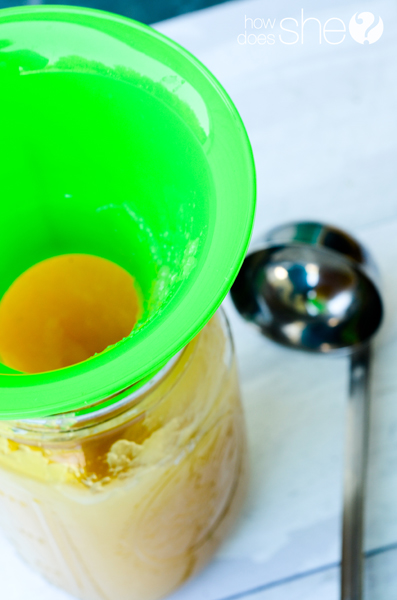
The vigorous boil should continue through the entire processing time. At sea level, these pint and quart jars will both be processed for 20 minutes. After the 20 minutes is up, the canner lid is removed, the heat is turned off and the jars are allowed to cool down for 5 minutes more in the canner.
Very important, don’t skip this step; yes, you are almost done, but this allows the pressure in the jars to stabilize, resulting in less liquid loss of the final product and it’s part of the calculated processing time.
8. Carefully remove the jars and allow them to cool on your counter for 24 hrs. This is to allow time for the vacuum seal to take place and who are we kidding? It’s nice to step back and see all your beautiful hard work! Finally, something in the house that will not be undone five minutes later!
After 24 hrs. the lids should have sang you a chorus of popping sounds as they sealed. Before storing, check the flat lids to make sure they are all curved downward. Refrigerate and enjoy any that are not sealed or if you wish, they can be reprocessed again at this point.
Finally, how all good canning stories end: Label and store in a cool, dark place. Enjoy!
Extra Notes:
For short term refrigeration: follow steps 2-5 and store in glass jars or plastic food grade containers
For freezer storage: follow steps 2-5 and store in a freezer safe zip-top bag for convenient flat storage.
*This recipe comes from the well tested Ball company, “The Complete Book of Home Preserving”. I omitted the optional sugar from the original recipe because fresh applesauce doesn’t need it!
* I added the apple juice option because it doesn’t affect the scientific outcome of the product and it seemed like a great way to add extra apple-y flavor.
*Honey Crisp, Gala or Pink Lady create a delicious sweet/tart flavor. Get the same outcome with a combination of tart Grannies and sweet Golden Delicious .
*3 medium apples = about 1 lb.
Prep for canner, jars and lids:
*Make sure all your jars and lids are washed in hot, soapy water; well rinsed and kept Hot.
I wash my jars then put them on a sheet pan in a 200° F oven until I am ready to use them one by one. You could also heat them up along with the water in your canner to 180°F, but it seems like more work and a drippy wet mess to me when you fill them with product later.
The flat portion of the lid needs to be kept hot until you are ready to use them. This could be done by heating them up in a pan of water to a gentle simmer, about 180°F. The rings do not need to be heated.
*Finally, have fun – be creative with your apple choices, but follow the guidelines and keep everything clean and Hot. Your family will love this sweetly tart homemade applesauce!
[amd-zlrecipe-recipe:24]
If you want to know more about canning check the USDA website: http://nchfp.uga.edu/index.html
For even more delicious ideas to use up those apples, check out these fun ideas:







Janette says
I got a great deal on Honey Crisp apples and found your recipe on Pinterest. I don’t have the equipment to can so I plan on freezing it in freezer bags or in freezer jars. Can you tell me how long they will last in the freezer?
Carlee says
Hi Janette, Wow! Can”t pass up a great deal on Honey Crisps when you see one! Nice find!
A few tips on freezing the applesauce:
1. You can use a freezer appropriate plastic bag or freezer proof jar; each have their own merits when it comes to freezing and space saved in the freezer. Just remember, to leave at least a 1 inch head space to allow for freezer expansion. If using a plastic bag, press out as much air as possible then leave the required head room.
2. For ease, divide into 2 cup increments for quicker thawing or to use as a substitute for oil baking recipes.
3. I would use 1/2 the required lemon juice for your freezer applesauce. It’s in the original recipe for safety and as a prevention for browning during the canning process; however, in the freezer, microorganisms remain dormant in cold temperatures around 0 degrees F, so it is not necessary to use as much lemon juice.
3. Applesauce will keep frozen in the freezer for 8-12 months
4. Once opened, store in the refrigerator and use within a week.
Thank you for finding my recipe, it’s delicious and simple. Have a great Holiday season!
Thanks! Carlee
ashley says
I love honey crisp apples and never thought to make applesauce!! I love your posts, fantastic food and gorgeous pictures!! I have tried several of your recipes and have not been dissappointed. thanks
Nesleirbag says
I love your photos! Makes me hungry for a good apple!
Natalie Tingey says
Wow this looks amazing! I have always wanted to know how to make homemade applesauce and with this recipe and inspirational photos I’ll actually do it! Beautiful photos! Wow!
Missy says
You read my mind – I just made some applesauce this weekend! I didn’t think to make enough to freeze of can, though. I may have to go get more apples! Love seeing the process in your gorgeous pictures!