
So after 8 years of marriage I decided to finally make a wedding band for my husband! Took me long enough, right? I’d have to say organizing my desk was the catalyst. Being able to actually see my jewelry tools got the creative juices flowing! The tutorial I’m going to share with you is about carving a wax ring model for “lost wax casting”. I studied jewelry design at F.I.T. in Manhattan, NY and this particular skill absolutely fascinated me!

All of these tools can be found around the house, on amazon.com, or riogrande.com (riogrande.com is used by professional jewelers and has any jewelry tool you can think of!)
Here is what you will need (from front left back and then front right back):
1. Center punch
2. Pencil
3. X-acto knife
4. Ruler
5. Wax carving tools (if you ask your dentist he might give you his old dental scrapers, they’re the same thing!)
6. Double-end hand wax file
7. Saw frame
8. Spiral saw blades
9. Nail file
10. Sketch pad/paper
11. Ring tube sizer
12. This tool is know by several different names on different websites: Divided caliper or divider or metal compass. (Amazon)
13. Green wax ring tube, flat top, center hole
14. Standard width finger gauge set (you can also just take your husband to a jewelry store, or jewelry department to find out his ring size)
15. Soft cloth
16. Fine sand paper (shown later in the post)
17. Ring sizing mandrel (shown later in the post)
18. Bench pin (shown later in the post)
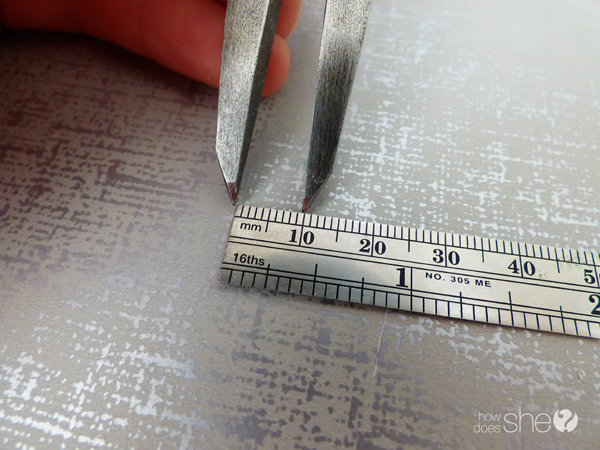
After sketching your design, decide how wide you want the band to be and set your divider to that measurement.
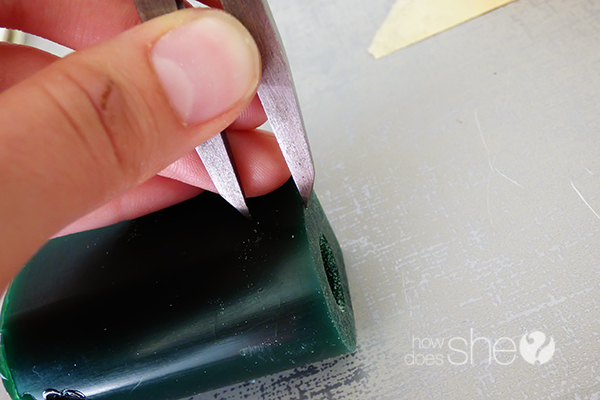
One side of the divider will be slightly longer, place that end on the outside of the wax tube.
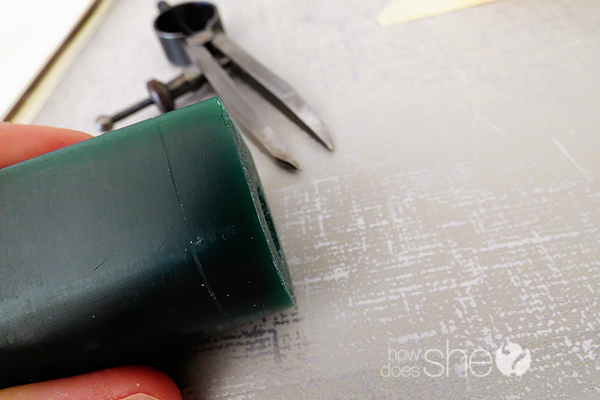
Lightly draw a line with your divider all the way around the wax tube.

Next you’re going to insert the spiral saw blade in your saw frame. You want to insert the spiral saw blade with the teeth facing down.
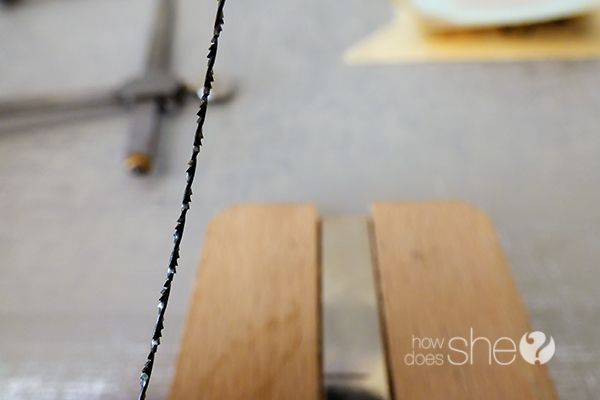
Right. (the teeth on the saw blade are facing down)

Wrong. (the teeth on the saw blade here are facing up)

The spiral saw blade needs to have a certain amount of tension. You can test this by gently plucking the blade like a guitar string and it will have a ring to it.

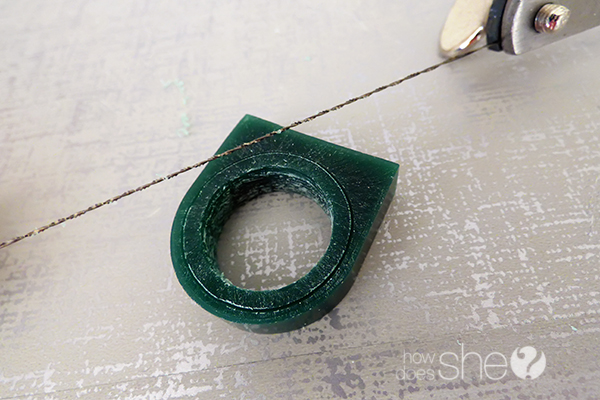
Place the saw blade just outside of your traced line. With the saw frame held vertically and straight, slowly start to saw through the wax tube following the line.
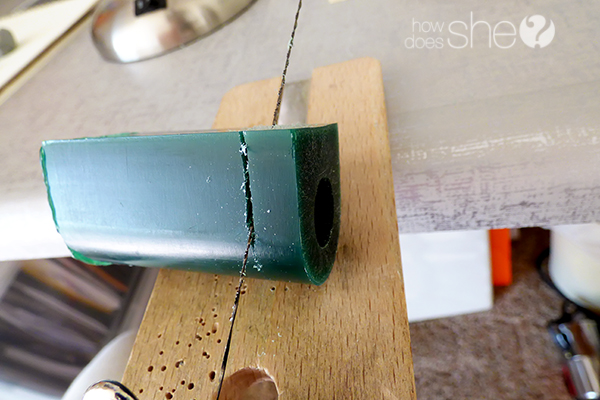
Almost there!
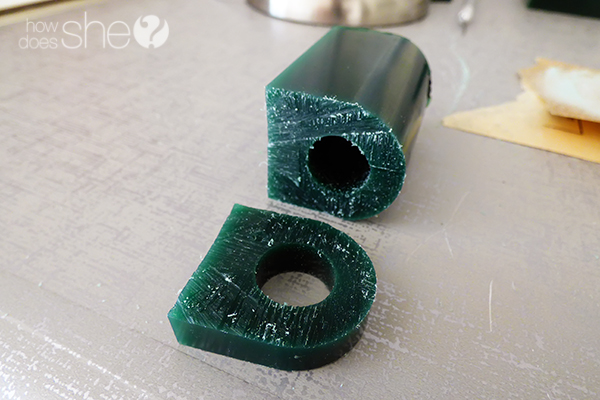
Ta-da!

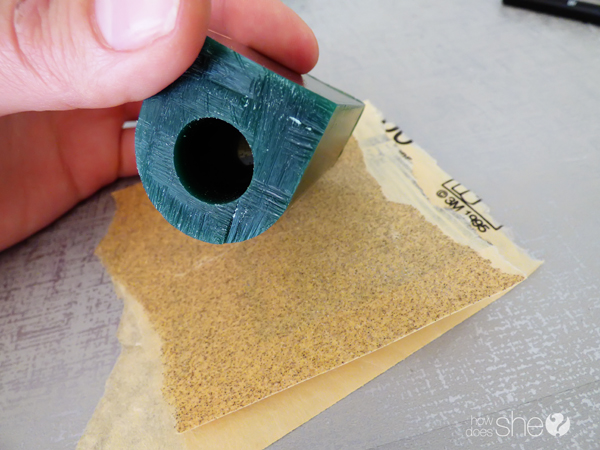
Grab your sand paper and place the side of the wax you just sawed through, facing down on the sand paper. Sand in a circular motion, rotating the ring, so the ring doesn’t become lopsided. Also, sand until you can’t see the saw blade marks anymore.

Now, for sizing the ring. Once you know your husband’s ring size, use your ring tube sizer to carve the wax to his size.

It will look like this. Slowly rotate the ring on the sizer, and try to keep the wax ring as vertically straight as possible to keep it even.
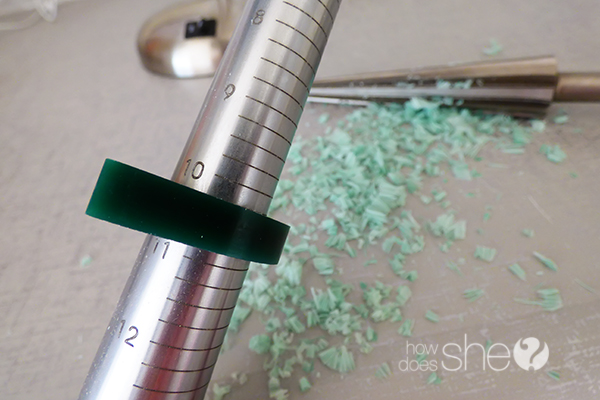
You’ll want to continually measure the wax ring on the ring sizing mandrel. You’ll want to make sure you don’t carve past your husband’s ring size. The wax carves away pretty quickly, so stay on top of it!

Now that you have the correct ring size, decide how thick you want the band and set the divider to that measurement.

Place the long end of the divider on the inside of the ring and lightly trace around the center on both sides.
Just like this.
Get your saw frame and saw around the outline of the ring. Remember to hold the saw frame vertically and straight. Make sure to check the other side of the ring periodically to make sure the cut is even. Don’t get discouraged if you make a mistake! This process takes practice. I had to carve multiple rings before I was happy with the finished wax model! That’s why you have a whole wax tube!
If you have to start over, just repeat the first steps. Before you saw a new ring, you will need to sand the end and make it even again.

Hold the wax tube vertically on the sand paper.
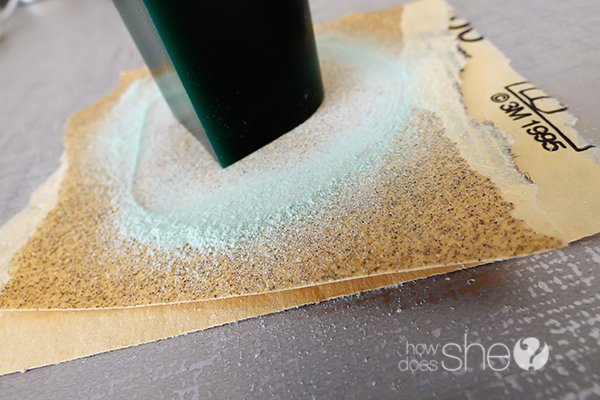
Sand in a circular motion while rotating the wax tube just like you did with the ring.
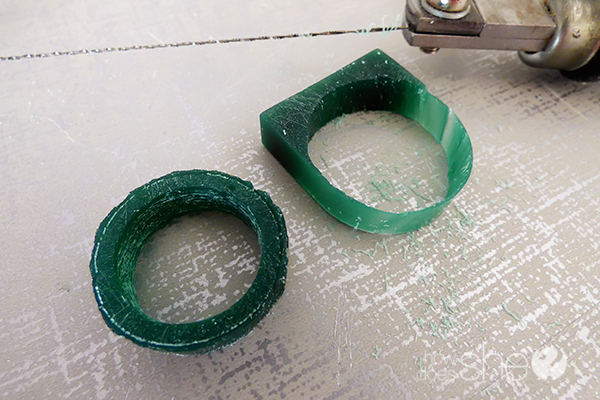
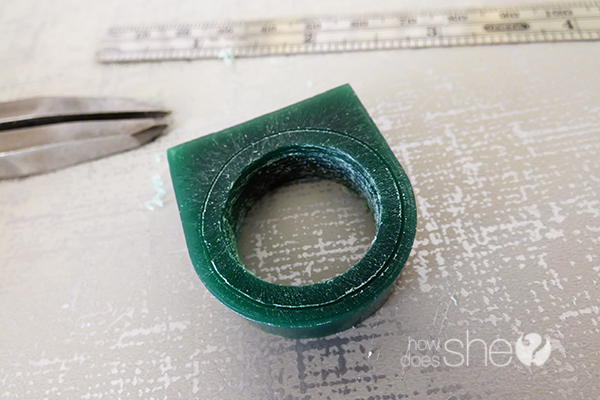
Okay, back to where we left off. This is what the ring will look like after you saw around your line.
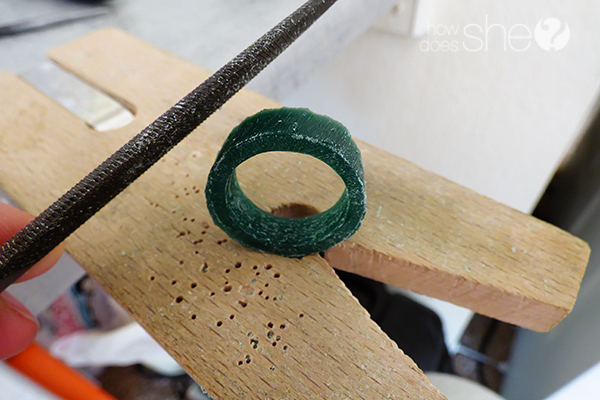
Now, take the double end hand wax file and holding the ring on the bench pin start to file the ring. Rotate the ring while you file and have consistent movements so your measurements stay even.

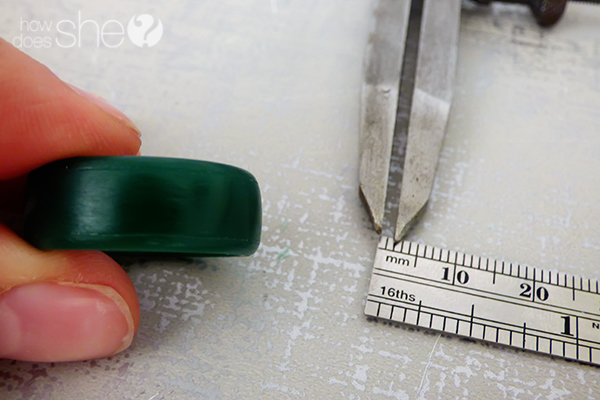
Your wax ring will start to look like this.

Use an even finer sand paper and again sand both sides of the ring to reduce scratches. As you refine your ring, your goal will be to have as little scratches as possible. Reason being, when your husband’s band is cast into metal the scratches will show.

Tear a piece of the finer sand paper and sand the ring to reduce the file marks. You can then use a nail file to smooth the ring even more and then use your soft cloth to polish the wax.
Now I’m going to start carving my design. So at this point you can be done or you can carve your own design in your husband’s band. I’ve decided to carve a border, so I used my divider again.

The x-acto knife works great for carving a straight line. I used the middle of the blade and gently dragged it a long the line around the ring until I was happy with the depth of the groove.

Then I used one of my wax carving tools to widen the grooves a little bit.

Seriously, the file nail works amazingly! I used it again before I traced my design on the ring.

I measured the middle of the band and marked it on paper, so when I drew my final design I knew it would fit. After cutting the strip of paper, I ran a glue stick over it so it would stick to the ring while I traced my design.

You can use the x-acto knife or center punch to perforate a dashed line following your design.
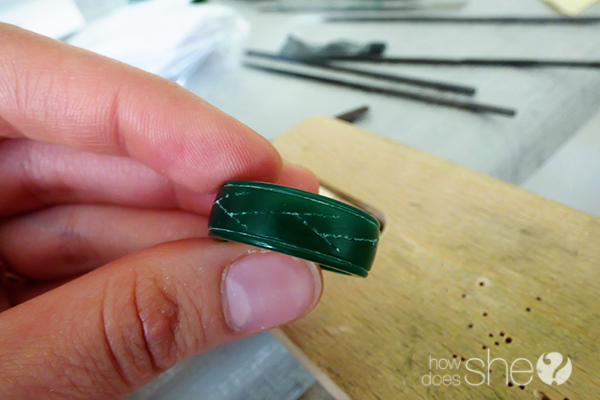
It will look like this.

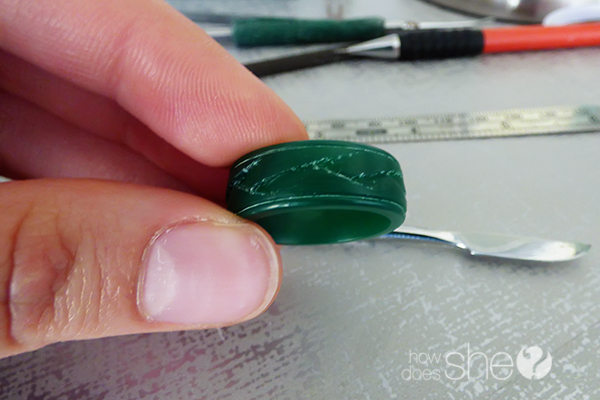
I used the x-acto knife and another wax carving tool to carve the design into the band.
In my excitement of bringing the wax model ring to be cast, I forgot to take a picture of the band with the design cleaned up! So use your imagination and pretend that I did :). Okay, after cleaning up and smoothing the wax model I found a jewelry store that would cast the ring for me. I told the jeweler I wanted yellow gold, specified the karats, and they gave me an estimate. The estimate included clean up of the cast ring and polishing.
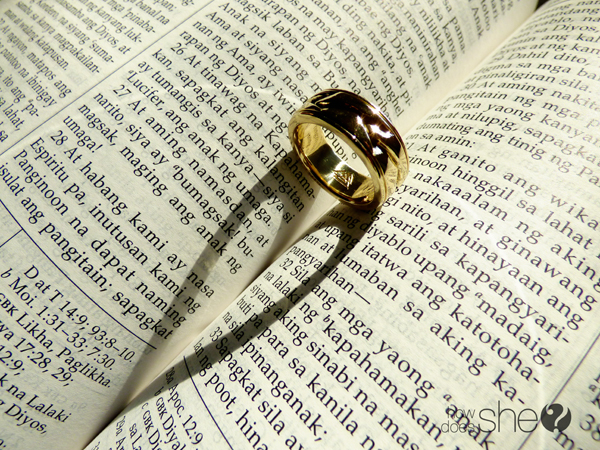
Drum roll please…

What do you think? I was so happy with how it turned out and so excited to give it to my husband! …And he loved it!! I even engraved a little something special inside the band. My husband has Norwegian ancestry and is really interested in Viking history. I engraved an old Viking symbol called the “valknut” inside, which means eternity.
My husband does so much for me, I was overjoyed to make something special for him! He is my inspiration and I love him with all my heart.
I hope this tutorial was an interesting read, if nothing else. 🙂
Are you looking for even more gift ideas for the man in your life? Try some of these DIY gifts on for size:


Yang says
where to buy the ring tube sizer?
much thx