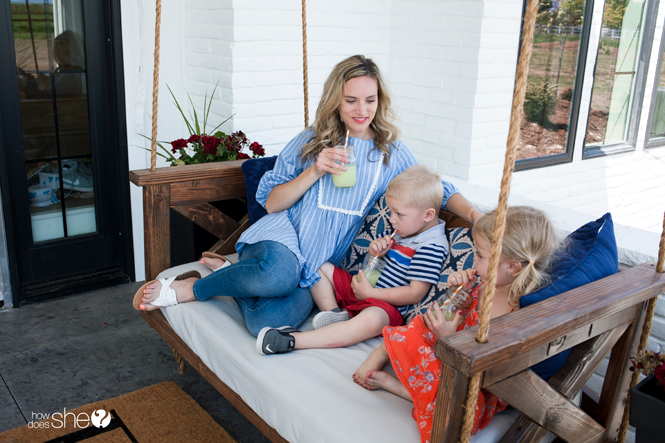
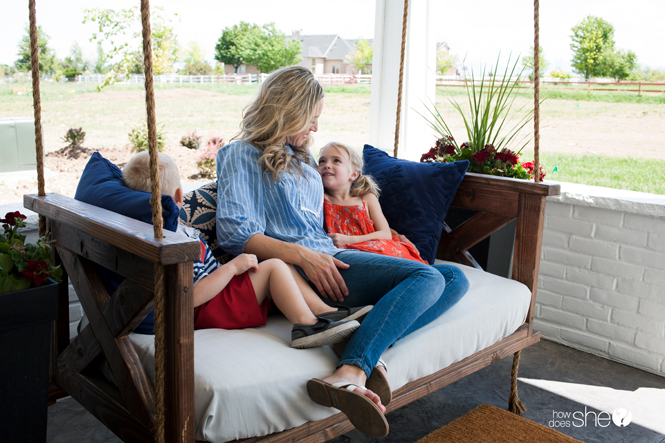
When I imagine the most perfect summer, I see wispy clouds streaking across a blue sky with a light breeze blowing. I’m swinging slowly in a porch swing while the kids play in the yard. No matter how many versions of my dream I conjure up, there is always a porch swing.
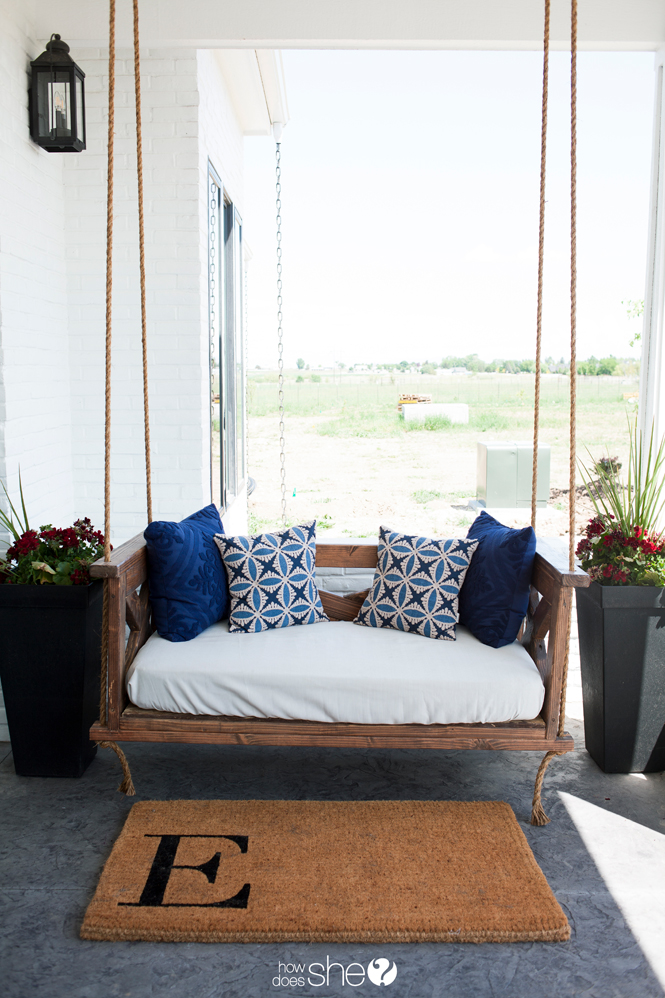
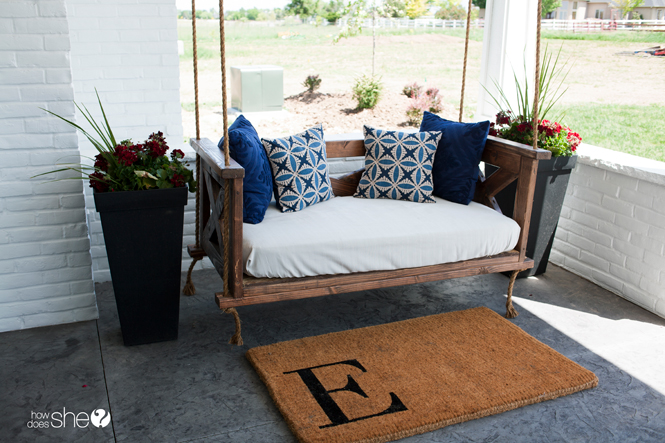
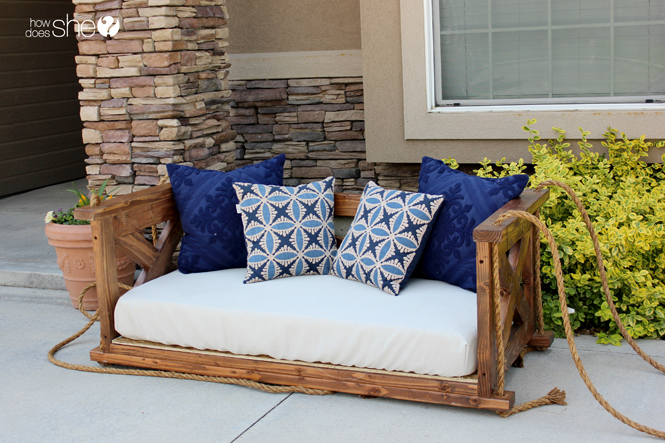
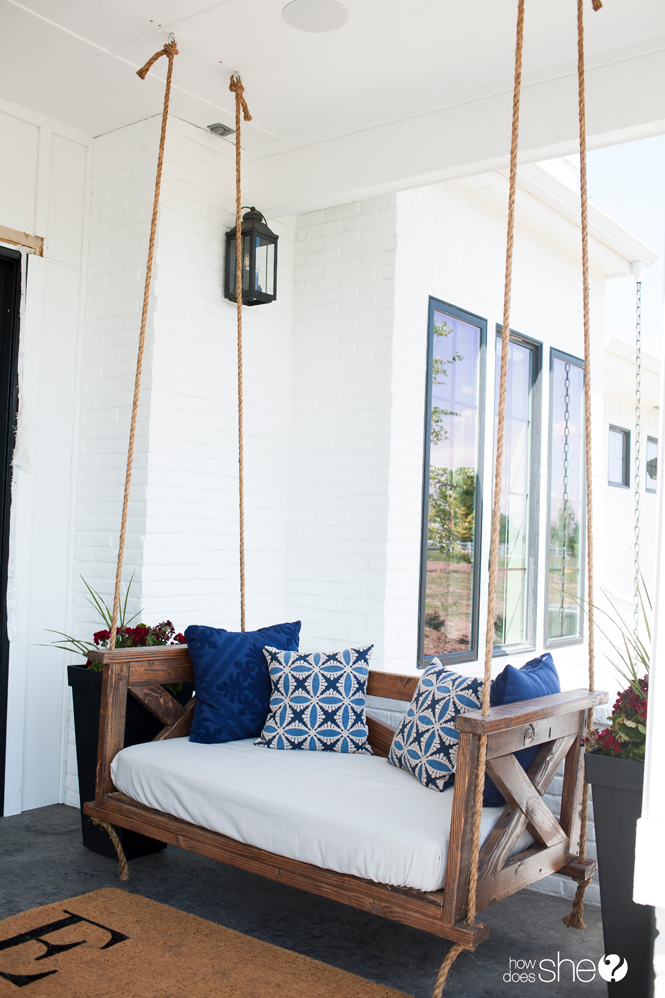
You can make your own fairly easy and this DIY farm-inspired porch swing is both gorgeous and functional. It’s sturdy and deep, and the secret is that it uses a crib mattress for the seat. How brilliant is that?
Beautiful DIY Farm-Inspired Porch Swing
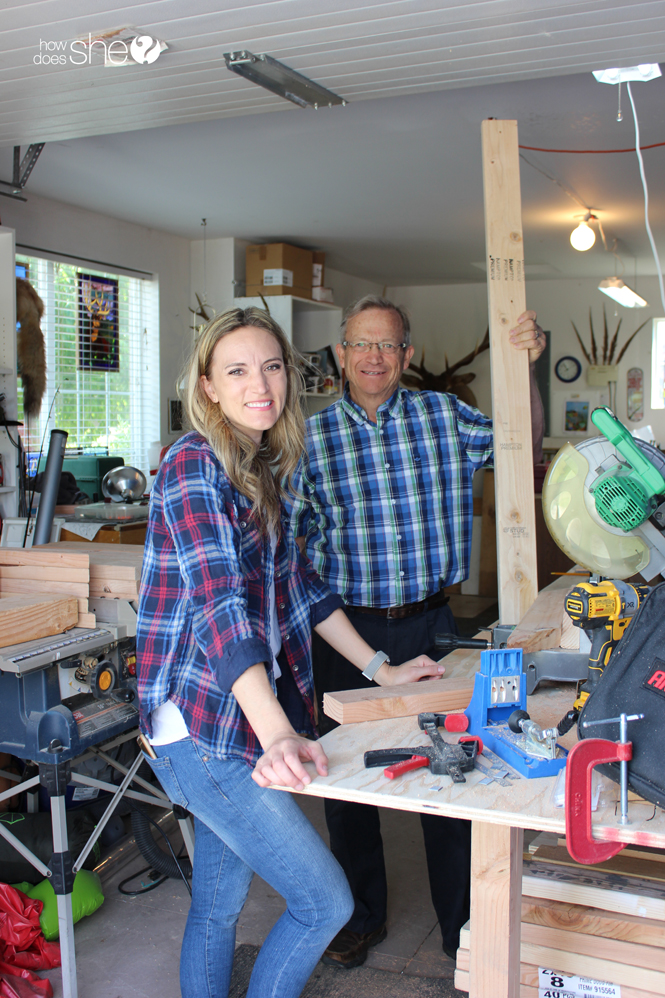
My father-in-law has been making these beautiful porch swings that he sells to locals for some time now. We live in Idaho where farmland spans the landscape and stately red barns still dot country roads. If you love the modern farm style, then you’ll love this project!
*Caveat: This is a custom design that my father-in-law has perfected while never really writing down directions. Use the pattern sketch and directions below as a general guideline, although you may need to tweak construction as you get going. It’s like your grandmother’s famous meatloaf recipe that she’s never written down…she just knows how to make it!
First, a big shout-out to Arrow Fastener tools that help us complete all of our DIY projects, large and small. From their iconic T50 staple gun (which I’m sure you’ve seen everywhere), to the Arrow T50AC electric nail and staple gun featured in this project, Arrow Fastener has been helping us “put things together” since 1929—that’s 90 years!
Check out the video tutorial!
Supplies Needed:
(See diagram below for all boards and sizes required.)
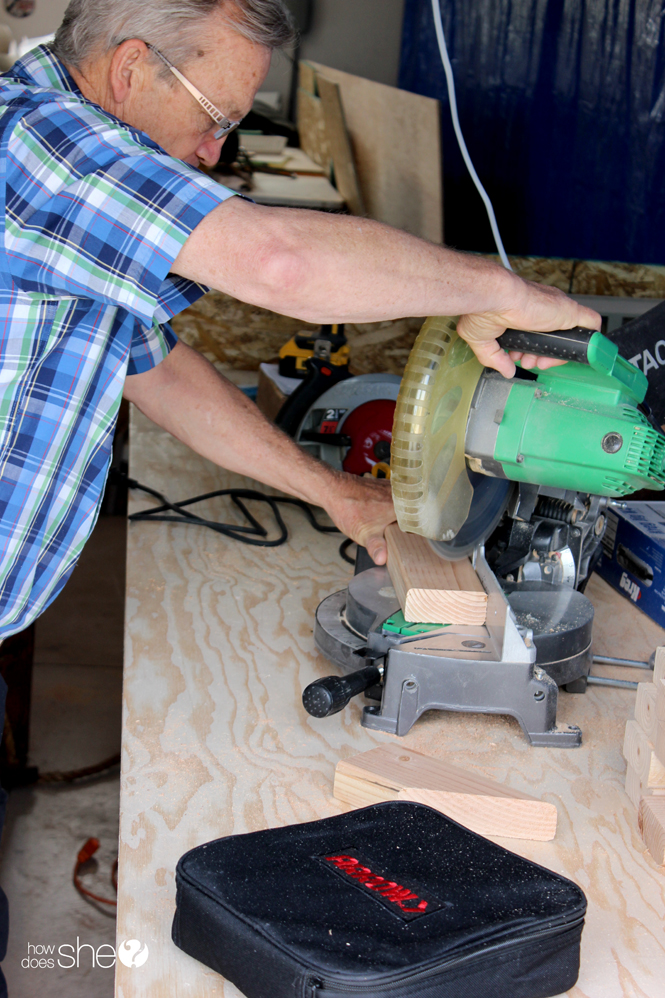
- Skill saw or chop saw
- Drill
- Sander
- (7) 2x4x8 pieces of lumber
- (1) box of 2.5-inch wood screws
- (1) half-inch 4×8 piece of plywood
- (4) 2x2x22.5 boards
- (2) 2x2x24 boards
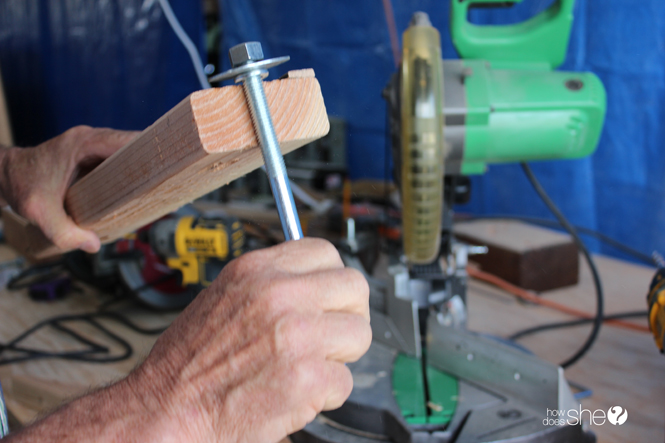
- (8) half-inch loop eye bolts 4-inches in length (with washers and bolts)
- A pint of wood stain
- A pint of polyurethane sealant
- (1) 1-inch thick rope 25-30 feet long
- Crib mattress with dimensions 5.5 inches (H) x 27.25 inches (W) x 51.63 inches (D)
- (4) Heavy duty eye bolt screws
 Step 1: Cut boards
Since the seat of this porch swing is a crib mattress, this tutorial and lumber dimensions are sized to fit a standard crib mattress approximately 5.5 inches (H) x 27.25 inches (W) x 51.63 inches (D).
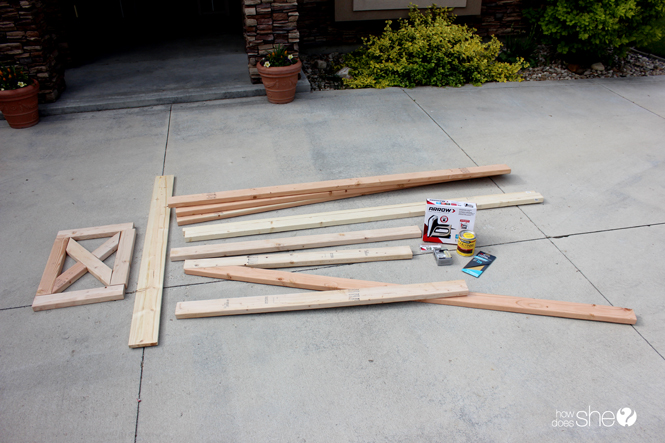
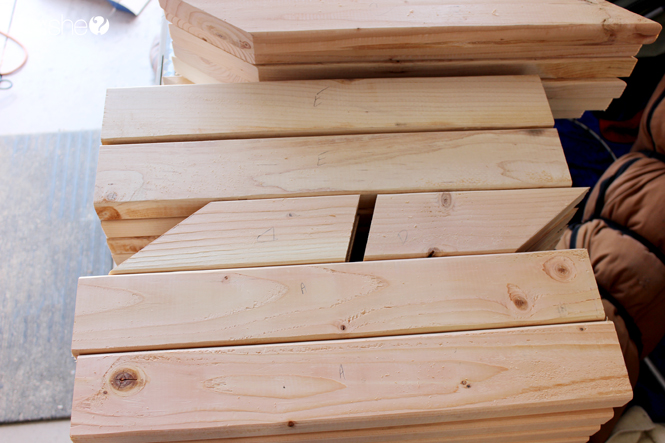
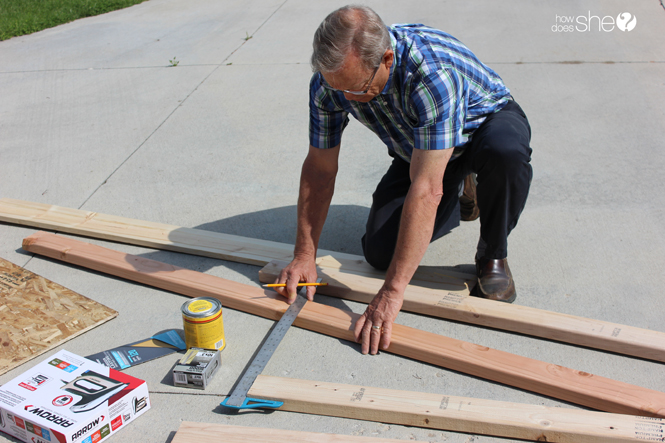
Cut lumber to the following dimensions. (Printable sketch)
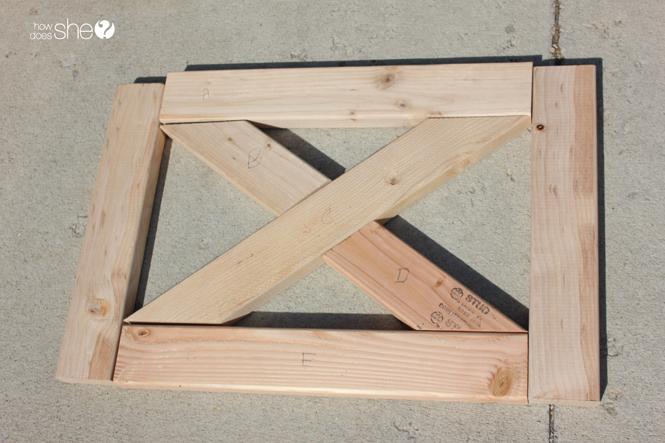
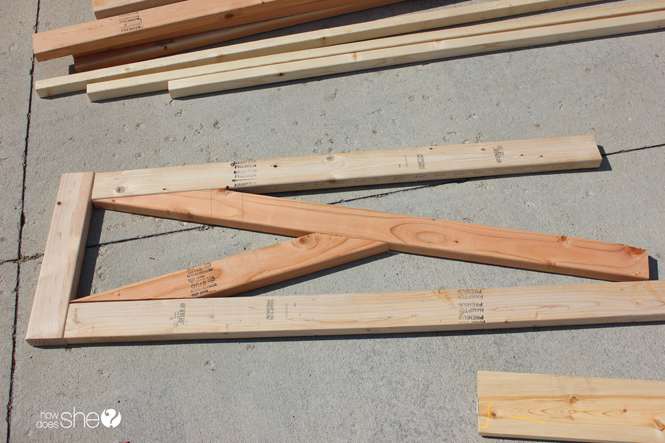
Step 2: Set them up in form.
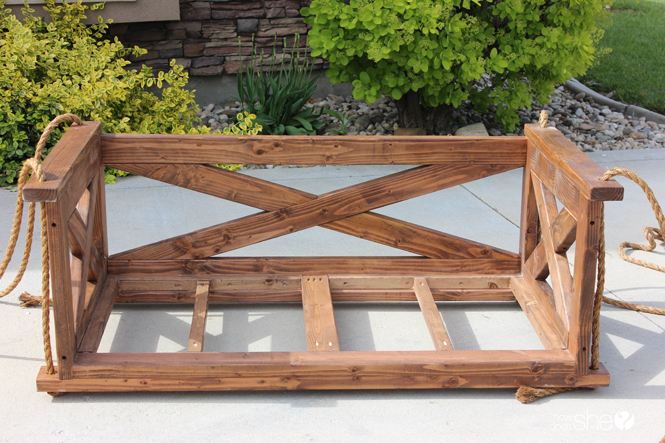
Before you begin fastening the pieces together, first set them up in form. Two side pieces, one back piece, and one bottom piece. It helps to label all cut pieces as “A,” “B,” and so forth in order to keep everything straight.
Step 3: Screw all wood pieces together, starting with criss-cross sections.
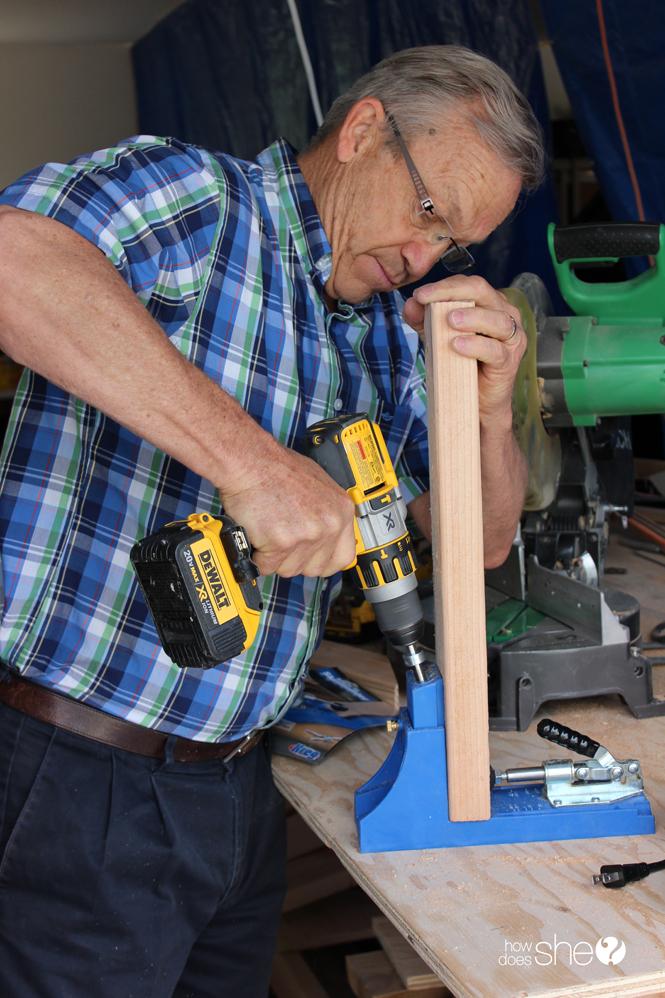
If you prefer not to see visible screws on your porch swing, use a pocket hole jig to make deeper, angled holes for your screws to go in. This is a simple step that makes a big difference stylistically. It just creates a clean, classy look.
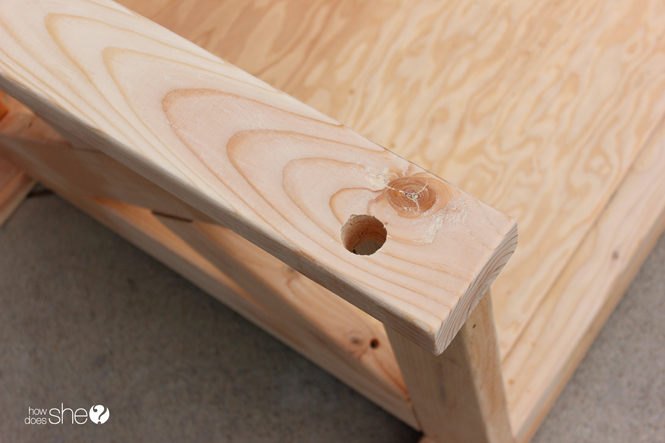
(Below: the angled holes a pocket hole jig will make so that screws aren’t exposed.)
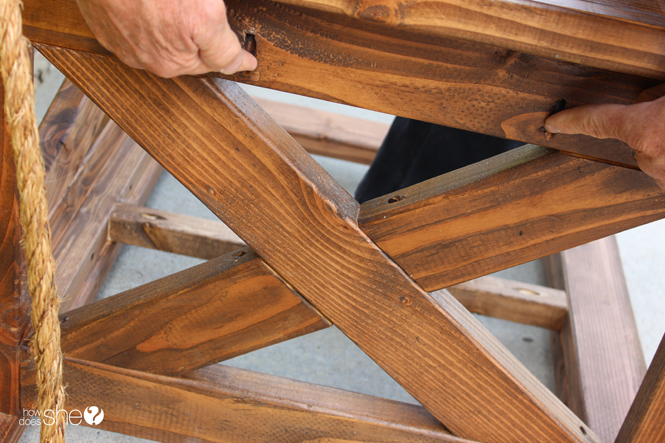
Step 4: Use a 1-inch drill bit to make holes for the rope.
Since a rustic farmhouse look was what we were going for, we used a 1-inch drill bit to drill eight holes in the 2x4s where the rope will go to suspend the swing.
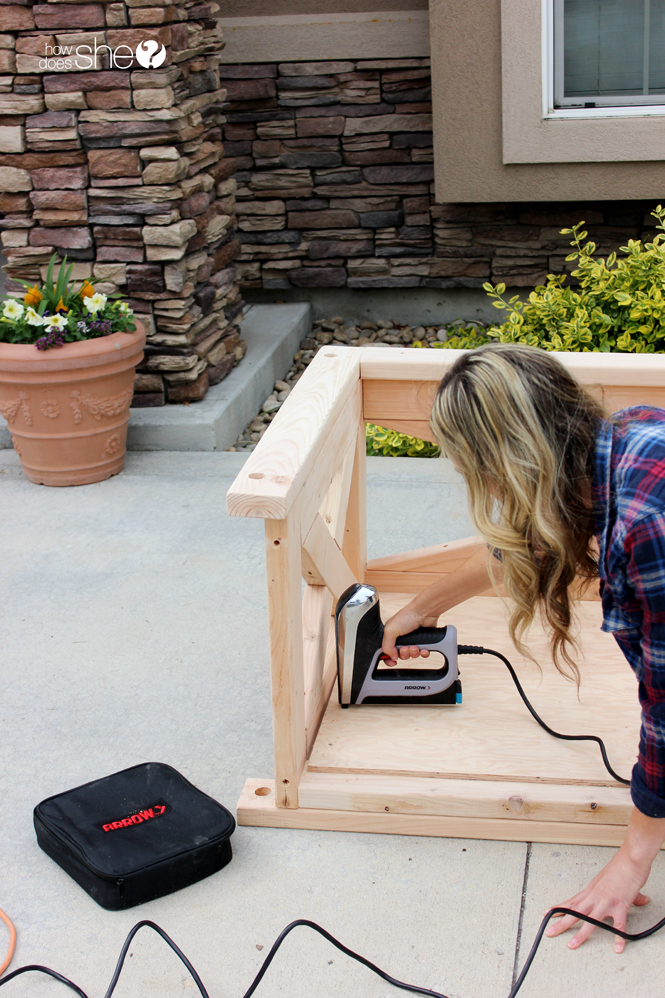
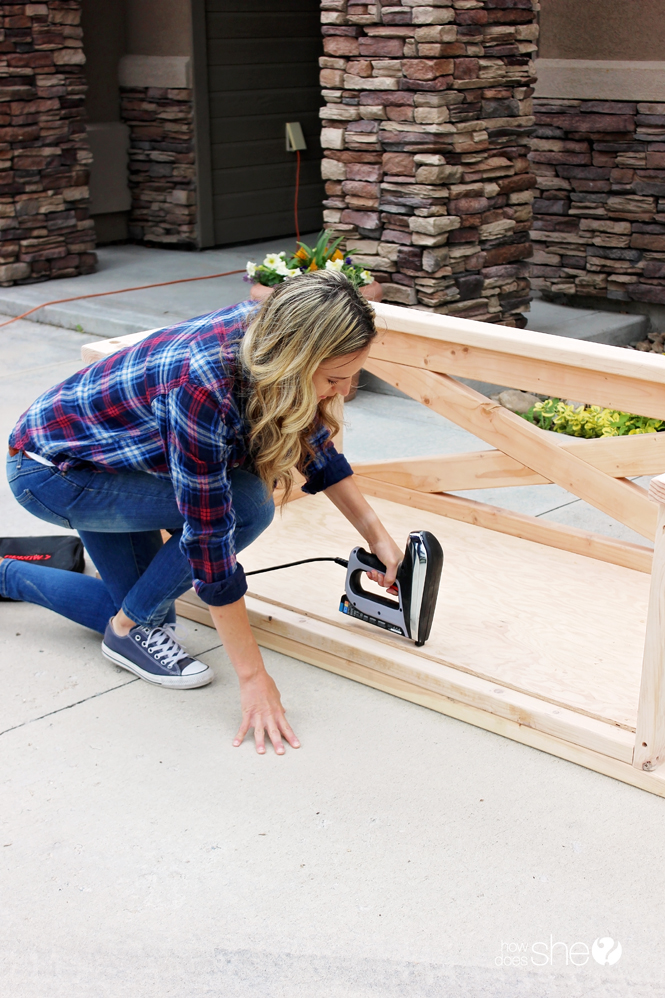
Step 5: Use the Arrow Electric Nail Gun to fasten the bottom of the swing.
The bottom and final piece consists of four 2x2s and one 2×4 in the center for support. Fasten all 2x2s and the 2×4 into place. Next, take the half-inch piece of plywood measured to fit and use a nail gun like the Arrow T50 Professional Electric Nail Gun to fasten the plywood to the frame of the swing.

Step 6: Stain and finish with a polyurethane finish.
Finally, stain your farm porch swing and finish it with a coat or two of polyurethane finish to help protect it from the elements.
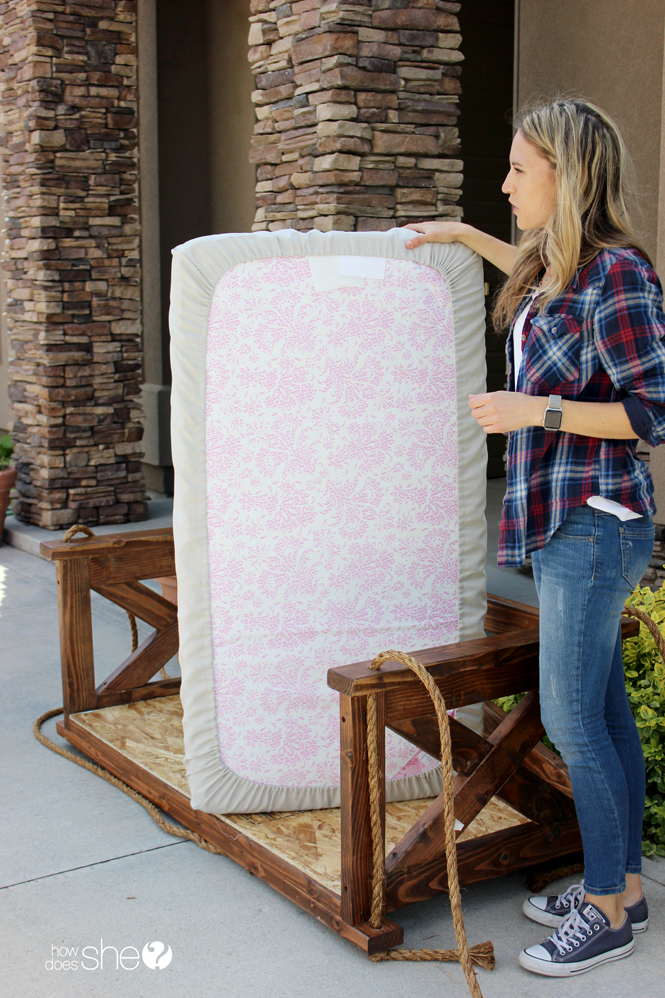
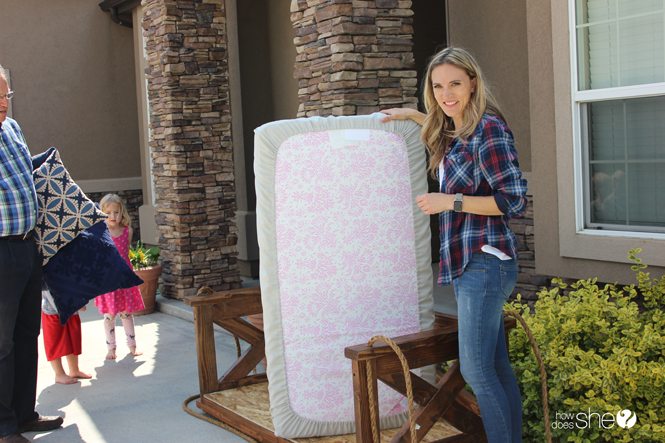
Step 7: Use a crib mattress for the seat.
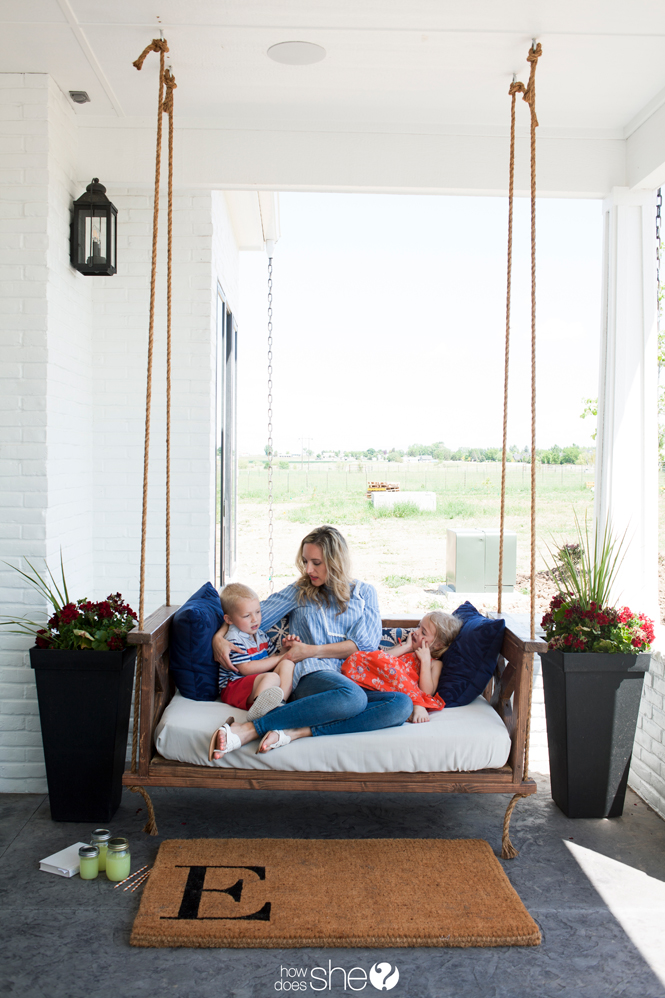
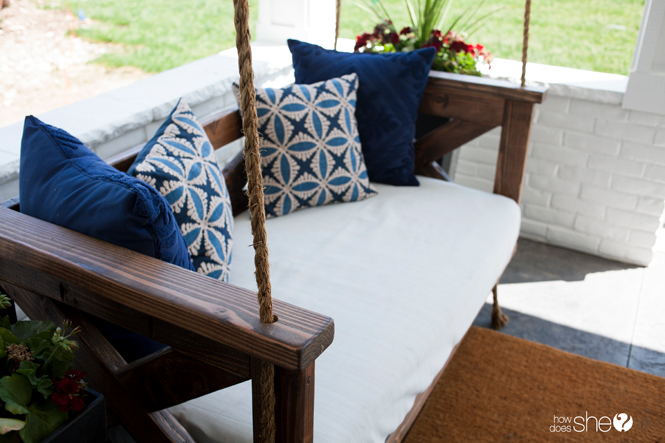
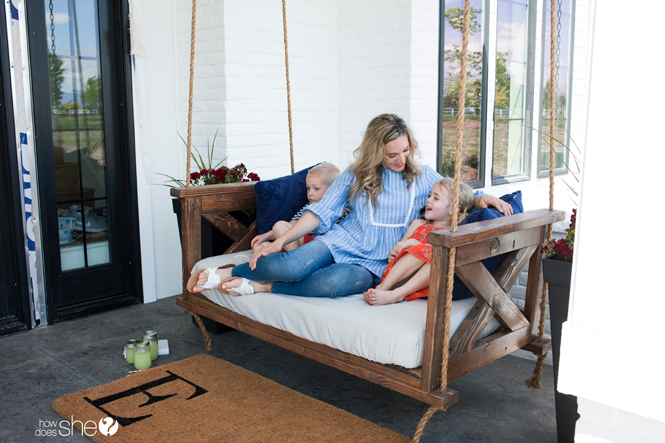
The genius behind this particular porch swing is that it uses a crib mattress for the seat. It creates a deep swing that everyone can fit in and it is perfectly comfortable seating.
I bought this new crib mattress for $50, brining the grand total for this entire porch swing project just under $200! If you have some of these supplies on hand and an unused crib mattress, this porch swing can be very inexpensive to build.
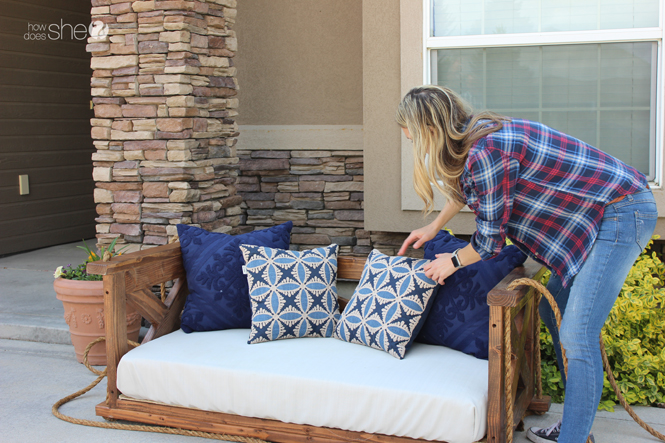
Cover the crib mattress with a sturdy crib sheet, add some pillows, and it’s ready to hang!
Step 8: A few tips on hanging
Make sure to get heavy-duty eye bolt screws for hanging the porch swing. We also recommend attaching it to a beam if available, something sturdy.
Step 9: Enjoy!
After checking that your new porch swing is securely fastened, grab some lemonade, find a breeze, and enjoy.
*Thank you so much to Arrow Fastener for sponsoring this post. All opinions are my own. Thanks for stopping by!







Arrow Fastener says
Great job on this! #MadeWithArrow
shelley says
Oh My gosh… GOALS!!! I want a porch swing now so bad.
Brooke says
Maybe I missed it, but how much weight can that swing hold including the weight of the swing?
Nicolette says
Good question Brooke. It really depends on how sturdy you plan to hang it. As I mentioned, hanging on a beam that you’re able to bolt is your safest bet. But this swing has been tested to support 300 pounds. Hope that helps!
Andy says
Hi Nicolette,
I am in the process of committing another weekend to the construction of my own porch swing! Several cuts, bruises and bumps in addition to hurling unhelpful tools across the floor of my garage have made it all an interesting experience to say the least! I wish I had seen this blog before I started my endeavour! Thank your father-in-law, he may well have saved my marriage! By the way, I have also come across this guy, who has some great ideas for around the home: https://bit.ly/2GuHj57
Kyle says
Hi, how did you use the 8ea. – 1/2” eye loops 4” in length with bolts and washers?
Nicolette says
Those are for hanging the swing outside. They are the sturdiest bolt for this type of swing.
Regina says
Hi Nicolette,
I’m absolutely loving how this swing is turning out for us! It’s beautiful! I just have a quick question. I understand the 8 1/2” eye bolts are for hanging the swing, but why 8 of them. I’m thinking 4 of them go into the porch ceiling. Where do the other 4 attatch to? Thank you for your help!
Blessings,
Regina
Isaacpak says
I love the way of making your porch swing. I was also made one for mine but mine was not such big as yours.
Sarah says
It looks so amazing! Thanks for sharing your tutorial. For a water resistant cover version, consider a Sunbrella cover for your mattress. 🙂
Michael says
So I like the swing, but you really need to update these instructions. My wife fell in love with the design and $140 later I found myself outside building the thing. It wasn’t long, however, before I started noticing that some of your instructions didn’t add up.
1. You didn’t mention 2×2’s anywhere in the supply list, yet they show up in your sketch.
2. Your sketches combine multiple pieces of the swing but give the appearance of being stand alone units.
3. Those angle cuts are not 45 degrees, they’re far wider. Wasted wood, wasted money.
4. Since your angled cuts are off, your measurements for the length of the cross-section boards are also off.
Honestly, once I ran into these issues I scrapped the project and returned what supplies I could. No refund on the rope or the cut 2×4’s, so thanks to the errors in your tutorial, I lost $40 and half a day between supply runs and beginning the project.
Please edit this post! Design is neat, but the instructions are bad.
Nicolette says
Hi Michael,
I’m so sorry and completely understand your frustration. I will go through these instructions and try to be more specific. Thanks for the feedback and I hope you feel up to attempting a porch swing again. They really are stunning.
Jill says
So have you updated theInstructions since this comment from Micheal? Just wanting to know if I should attempt doing this?
Nicolette says
Hi Jill,
The supply list and instructions have been updated as much as possible. My father-in-law builds these to sell and they are his custom design and he’s never actually written instructions down or engineered a pattern. The above is more of a napkin sketch and you may have to tweak to what works best for you. The swing is gorgeous when completed…such a stunning porch statement! Good luck!
Julie says
How far apart in the ceiling are the eye bolts?
Julie says
How far apart are the holes for the rope and how far apart for attaching to ceiling?
Grace says
Hi
What kind of wood material that you’re using for this? If you install the swing in the front porch I believe you need a wood that is weathered resistant, what wood is your best recommendation?
Lindy says
I agree with Michael. I was really excited to build this and even went out and purchased everything to do it. But after really going over the instructions, making some of the cuts and starting to put it together, nothing was working. The pattern is really bad and VERY frustrating.
I would suggest building it just using the plans you gave us and see where the improvements can be made.
Nicolette says
Thanks for the feedback Lindy. The sketch is definitely one of those “napkin sketches”–my father-in-law builds these to sell and to date has built about 20 of them and they are stunning. The swing project itself may require a little honing, as it’s his custom design and not exactly engineered. A agree, use these plans as a general guideline and then tweak to make your own.
Anita Oldham says
This swing is beautiful! You mentioned your father-in-law makes them to sell in the local area. I think I might live in that general area, and would love to have him build one for me. Could you let me know how I could do this?
Nicolette says
Thanks Anita. My father-in-law sells these swings in the Boise, Idaho area so if you are close, contact him at http://www.rexswoodworks.com
Jared Mahan says
Hello! I wanted to let you know that we have built this swing to go on the front porch of the new house we are building. and it has turned out really well. We used half-bands instead of cutting the boards (for the crosses) and pocket holes and gluing the joints worked really well! The only thing different was that we expanded the design for a full-sized bed. We have not hung the swing yet as we still have a little left to do but we will send pictures once it is complete. Also for those trying to figure out angles, I encourage you guys to clamp the 2×4 where you want it and mark your lines on the board. Then you can use an angle finder to determine the angle you need to cut or you can just wing it and take a guess and check approach with your miter saw. If you go slow you can get those angles really close. We used untreated pine for the 2x4s and spruce for the 2x2s. Tell your father-in-law thanks for the design, his design will be on our front porch!
Shelley says
I love this so much. We’d love to see a photo! Will send to [email protected]? Thank you!
Jared Mahan says
Still owe you a pic of the swing but it hung beautifully! We moved in 2 weeks ago and everyone loves this swing!
Nicolette says
Yes, we’d love to see a photo of how it turned out!!