There is just something about mint. Peppermint oil, mint leaves, mint frosting.. the color mint! Nothing pairs better with mint than some delicious chocolate! These brownies combine the best of both worlds: mint + brownies = HEAVEN! My mom worked at a bakery when she was younger, and we are going to teach you the gorgeous decorative frosting that she created on all their brownies!
Start off by making the sheet cake brownies. This is our favorite recipe, but you can use any recipe as long as it sets up well and bakes flat in a sheet cake pan.
Fudge Brownies:
Mix the following ingredients together:
1 1/2 Cups Melted Butter
3 Cups Sugar
1/2 Cup Cocoa
Add: 6 Eggs, one at a time
Then add:
2 1/4 Cups Flour
1/2 Teaspoon Salt
1 1/2 Teaspoons Vanilla
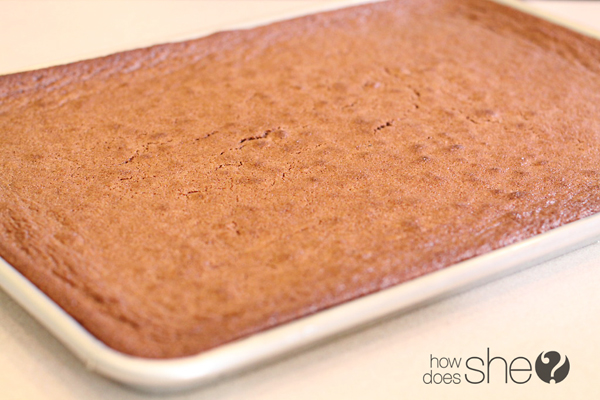
You could also add chopped nuts to the brownie mix if you want! Mix it all together. Pour the batter onto the sheet cake pan and Bake at 350 for 25-30 minutes.
Grease your sheet cake pan and pour the brownie batter into the center.
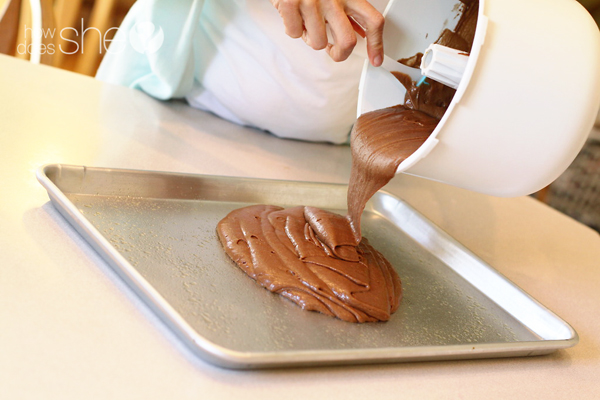
The spatula, you say? Don’t mind if I do!

Mint Frosting Recipe:
3 Tablespoons Butter
3 Tablespoons Milk
2 3/4 Cups Powdered Sugar
3-4 drops of green food coloring (to desired color)
2-3 drops peppermint oil OR 1/4 – 1 teaspoon McCormick Pure Peppermint Extract (varies depending on how strong you want the flavor)
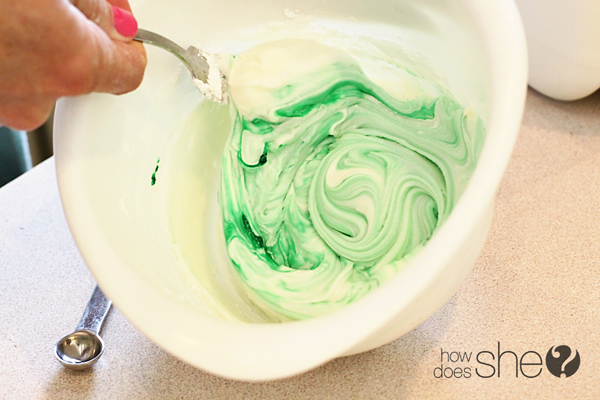
You can use a hand mixer or a fork whichever you prefer. Mix the ingredients together. You want the frosting to be fairly thick, if it is too thin add more powdered sugar. If it is too thick add a tiny bit of milk at a time and stir. Once you have reached the right consistency of frosting you will add the mint flavoring and food coloring.
You can really make the mint frosting any color you like! Pink would make for great Valentines day or Mothers Day brownies (hint, hint)!
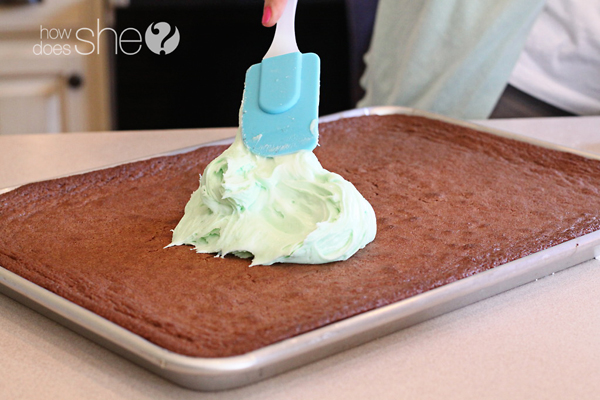
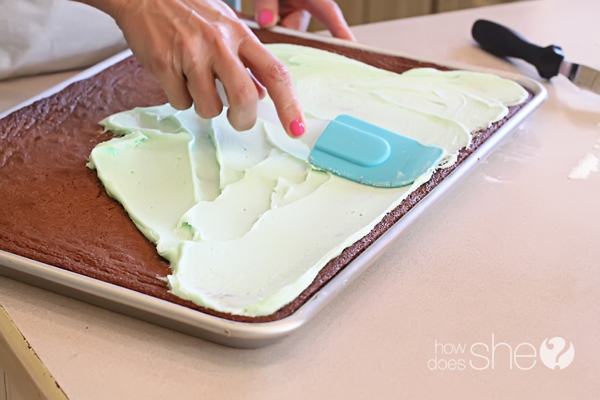
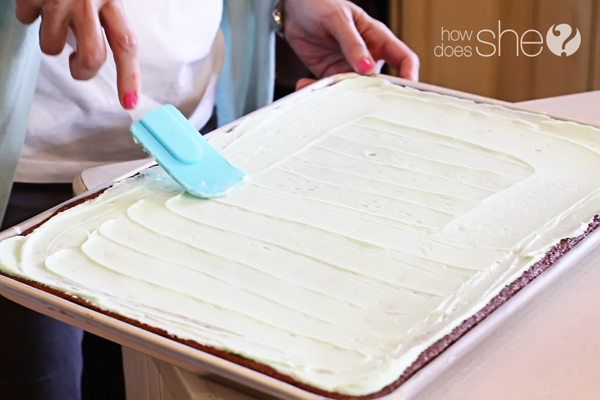
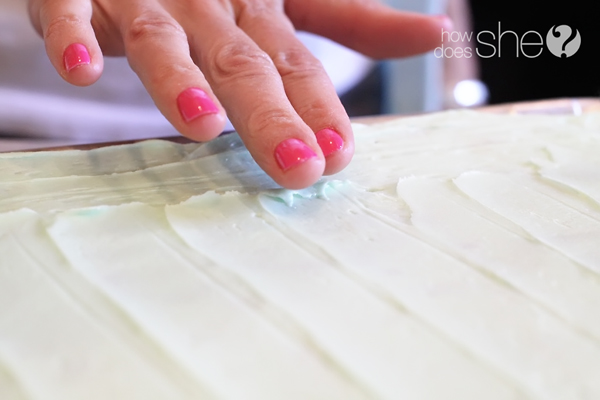
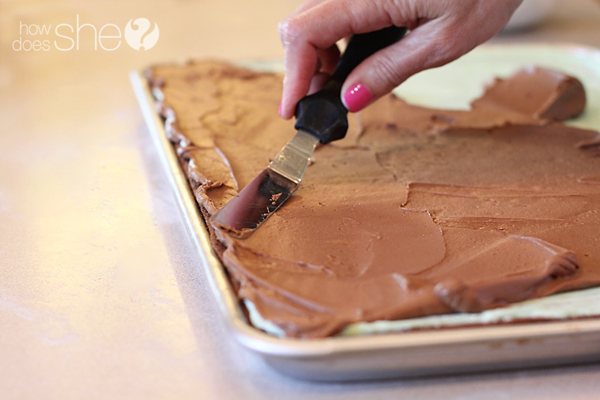
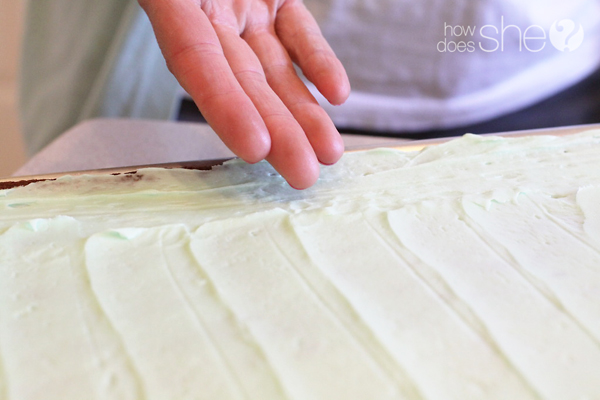
Dollop that gorgeous mint frosting on to the center of the brownies. Begin spreading it to the edges using a spatula.
6 Tablespoon Cocoa
4 1/2 Cups Powder Sugar
6 Tablespoons Soft Butter
3 Tablespoons Milk
1 Teaspoon vanilla
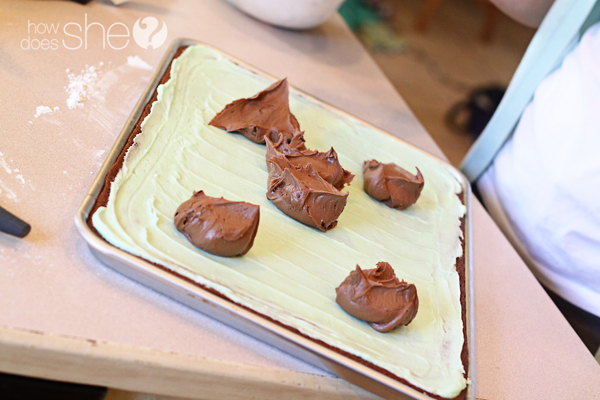
Mix the cocoa and powdered sugar together in a bowl, then add the milk, butter and vanilla and mix until smooth with a fork or hand mixer.
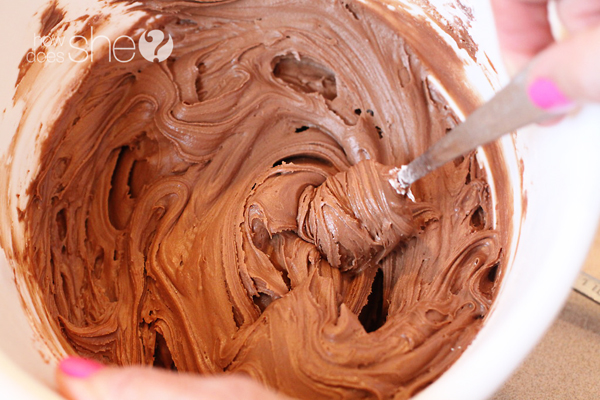
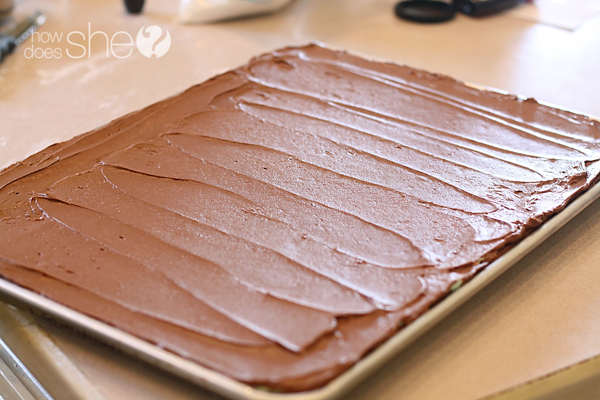
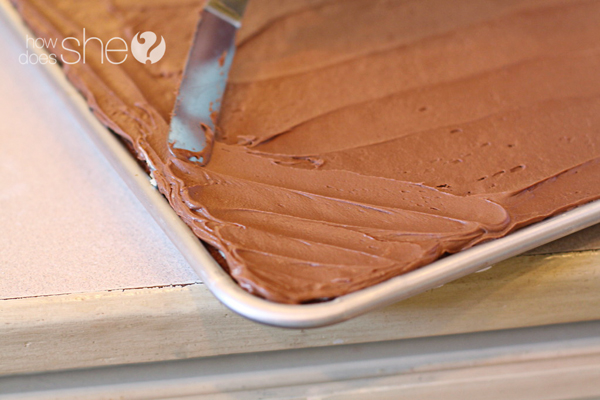
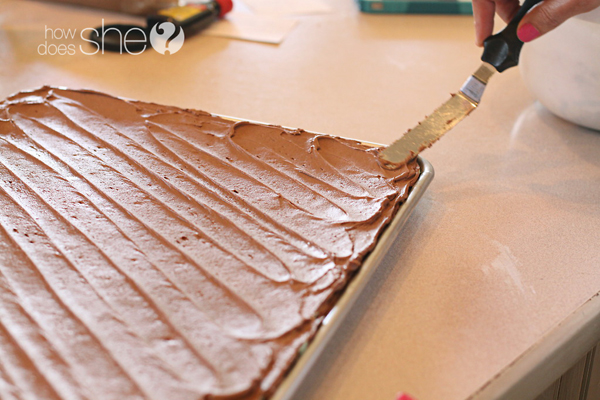
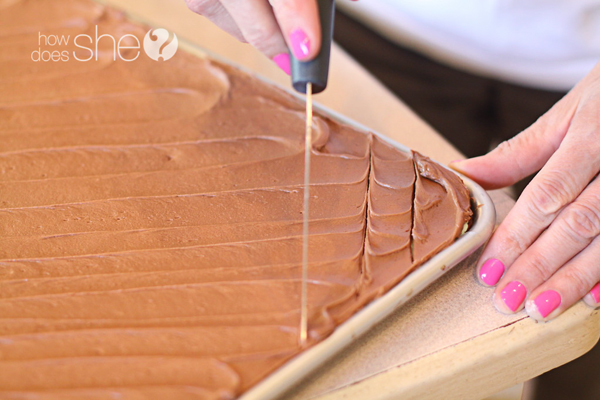
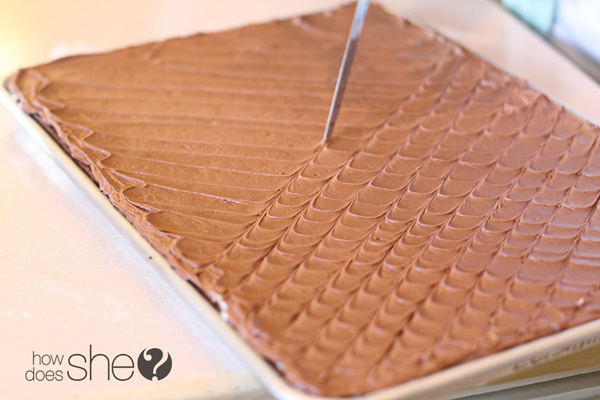
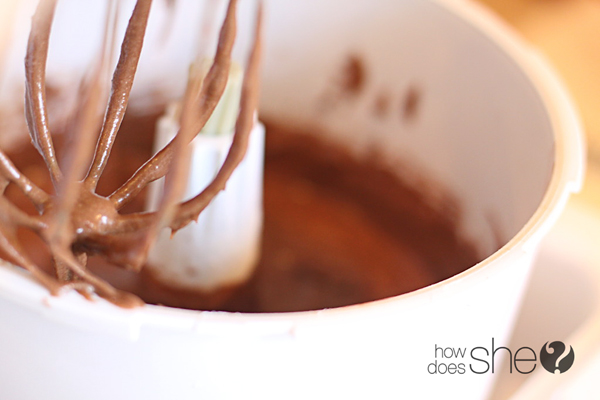
You also want this frosting to be thick. It needs to hold its shape when it is spread! So make sure it is looking something like this picture below!



ate could eat half a pan! 😉
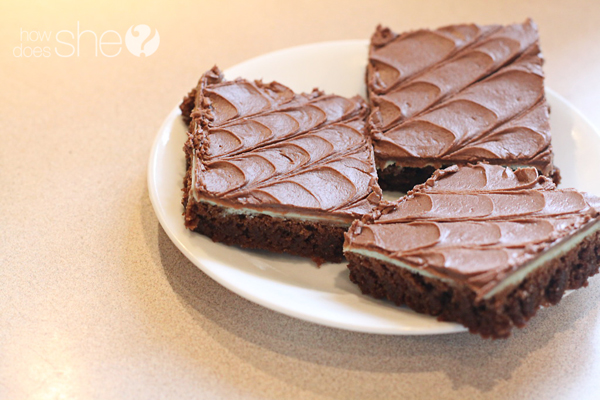
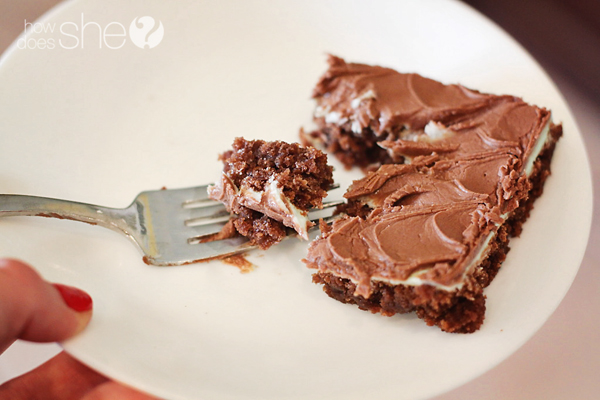
Make sure you get yourself a tall glass of milk with your delicious slice of heaven! mmm, mmm!
Are there any other chocolatey mint treats out there that I should know about?
I think it’s safe to say I’m a sucker for them 😉
[amd-zlrecipe-recipe:44]



Amber says
What size pan did you use? 9×13″ or a jellyroll?
Deana says
Please let us know the size of the pan. I just visited SLC and tried the mint brownies at Lion House and dying to try this recipe! Looks perfect for this mint chocolate lover!
Sarah says
These are really good but when making the chocolate frosting it was like there was not enough liquid. It was all chunky, hard, and dry. I don’t know what went wrong and I did everything the recipe calls for. But besides that everything tastes pretty good.
Mia says
These are fantastic except the chocolate frosting is extremely dry. We had to use 8 tablespoons of milk not 3 like the recipe said. Something’s wrong with the measurements.
Brooklyn says
I made these yesterday and they are really good, however I had the same problem that the one other commenter who has actually made them had. I think something is off on your chocolate frosting ingredients. I think it should be 6 tablespoons of milk not 3 tablespoons. It turned out way way way too thick and dry just like the other commenter said. My brownies turned out exactly like yours look, the green frosting also turned out exactly like your looks, but there is something wrong in the measurements for the chocolate frosting. Could you please check?? I have OCD so trust me I measured everything exactly and double checked it. I even compared the print out to what is on your blog to see if the print out had an error but it’s the same…. Anyway, thank you for the recipe. I do love it and will make it again after I figure out the adjustment on the chocolate frosting. Thanks for sharing!!
Ashley says
I love mint brownies. Thank you for the recipe. They look amazing.
Beverly says
These look fabulous, Lara!… Could you clarify for me please what size pan?… I’m not sure what a *sheet cake pan* is… Thanks!
Ruth Baker says
Yes, I too need to know the pan size. Thanks
Stephanie says
What a great tip for how to spread the fancy looking frosting – thanks!
Eva says
OMG! I love chocolate and mint together! I’m off work for two months (I’m a teacher) so I have no excuse for not making these. I will be getting my ingredients and making these tomorrow! The frosting is so pretty too. Thanks for sharing.
Judy says
Is there no baking soda or baking powder in these brownies?
Lara says
There is no baking soda or powder 🙂
Jaclyn says
Gorgeous frosting – can’t wait to try this technique. This recipe looks delish, thanks!
Whitney Baze says
I’m a sucker for the mint brownies at BYU Creamery, hopefully these are similar. I kiss them simce we’ve moved away.
Lara says
If you love BYU’s you will love these. This is a combination of the Lion House and BYU mint brownies. My mom did all the cake and brownie frosting for the lion house bakery when she was younger 😉
Lisa says
Looks delicious and I love that you had time to get a manicure while the brownies were baking! Yes, I am that observant. Lol.
Lara says
good eye! I wondered if anyone else would catch that 😉 I had to pay my mom back somehow for helping me with these brownies!
Heather Lynne says
Tried this recipe & love it! 🙂
My chocolate frosting turned out really thick- even after thinning it out, it was too thick to do a nice job of the ‘design’ spreading of the frosting, but they still taste GREAT & I’ll just remember to make it thinner next time.
Thanks so much for sharing this, I think it will be a long time favourite! 🙂
Lara says
bummer! I would just add about a tsp of milk at a time until it is thin enough. Now that you’ve tried it once you will probably have an eye for how thick/thin it needs to be!
Nicole says
Beautiful pics — I will definitely be trying this recipe sometime soon! 🙂 Thanks for sharing!
Caro says
Easiest mint glaze for brownies: Scatter Andes chocolate mints over brownies while they’re still hot from the oven. Use a metal spatula to spread slowly once the mints are melted. Since the Andes mints have a pale green layer in the middle, the glaze will have a subtle marbled look if you take your time spreading it.
Missy says
Yum. yum. yum. I know what I will bringing to the next girl’s night! Thanks Lara – loved the pictures too, as usual. 😉
Heather Lynne says
mmmm good idea! I have bookclub tomorrow night.. maybe i’ll give these a whirl! Thanks for sharing these, Lara! (and Joye) 🙂
Shelley says
I’ve personally tried these and can vouch for them. I love my Aunt Joye (Lara’s Mom’s) coooking. They are drool worthy. So pretty too! Thanks for sharing this secret recipe Lara!
Alison says
Oh those look grand! I love how you made them super fancy with the design too!
Jennifer says
Yum!!! Going to try these too:)