Blank wall + Love of pictures + Zero budget = Wall of pictures!
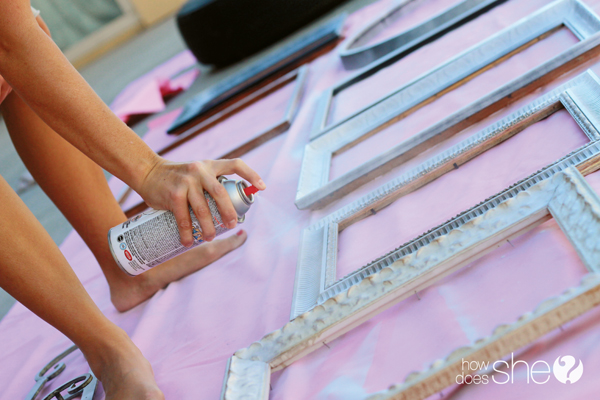
But how to do it? I didn’t want holes all over from arranging and rearranging. I didn’t want to spend a ton of money on new frames. My little sis to the rescue. We gathered up a bunch of frames I had stored in a closet and spray painted them all white.
Don’t you just love spray paint?!
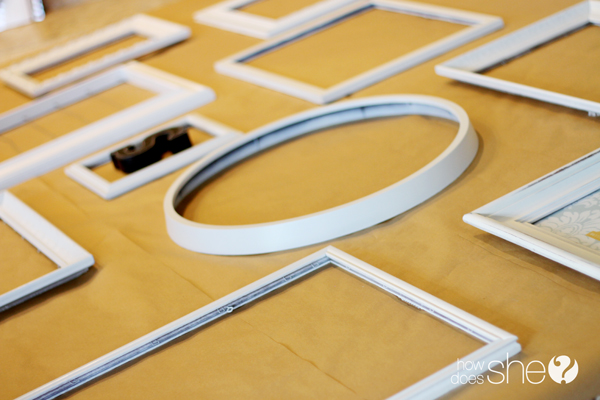
While the frames were drying, we rolled out some wrapping paper about the size of the wall we wanted to cover. Then we arranged and rearranged the frames until we found the perfect layout.
Once the frames were right where we wanted them, we traced them onto the wrapping paper and put a circle where the nail would need to go once on the wall. Also important step…take a picture of your layout! You’ll thank me later.
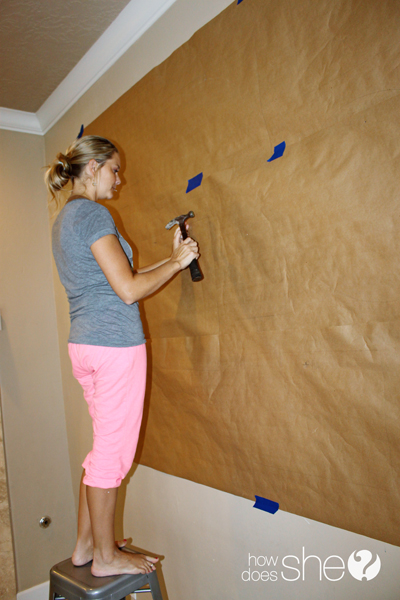
Then we enlisted some help to lift the wrapping paper up and tape to the wall with painter’s tape. The hardest part was making sure it was level – we mostly just eyeballed it.
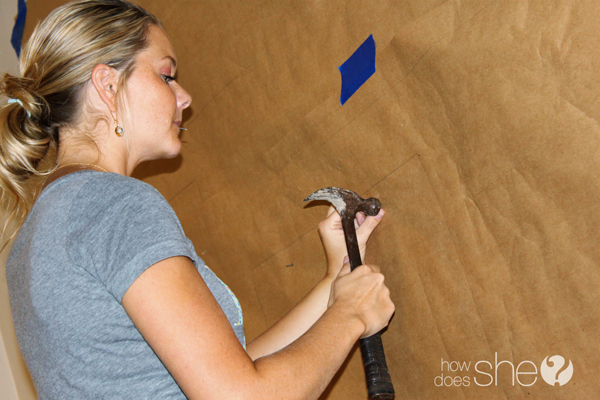
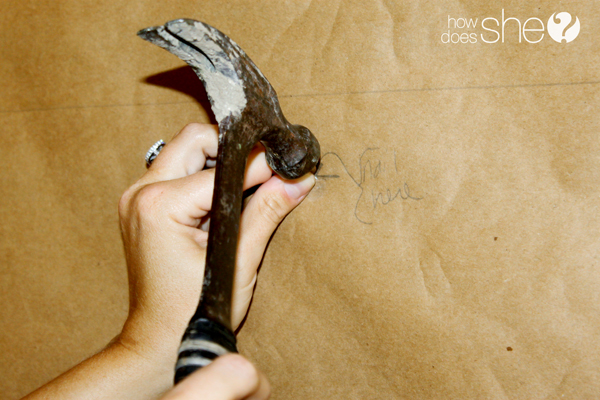
Then we (and by we I mean my sis) hammered nails into the circles we traced.
closer…
closer…
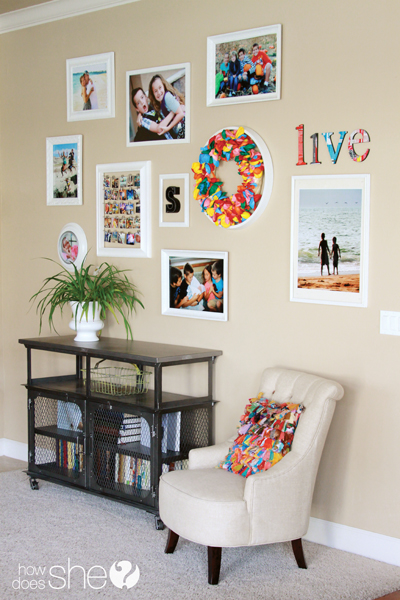
Now rip down the paper and start hanging those frames! Look at the picture you took to remember where each frame goes…now you can thank me. 🙂
This wall was the other side of an entry so we found that each time someone closed the door on the other side, the frames would move a little. To fix this Mindy used a little of that sticky removable mounting putty in the bottom back corners and it held each frame from moving. Genius!
Yes, we added one frame that we painted later.
Now the fun part – add pictures!
I haven’t found the right picture to put in my big circle frame so until I do, I put my birthday wreath in it! I think I found a new place to hang it when birthdays come around. 🙂
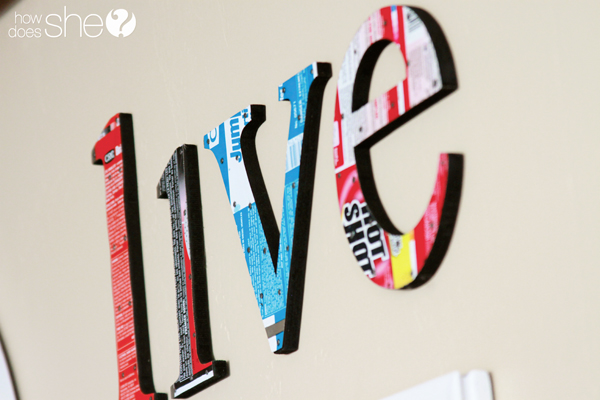
I added some letters to break up the pictures a little. Letters to spell live and then an S (first letter of our last name).
Now for some fantastic news!!!
Did you notice the instagram frame on the wall? I LOVE my instagram photos and wanted a way to display them.
I found this frame that is supposed to be used for a Christmas countdown, but I thought it was perfect for instagram pics! I love it! You can get one too, at a super discount next week starting on black friday.
Secret SALE!
Have you entered the Sihouette Cameo giveaway yet? If not, hurry over here and enter away!
We’ll announce the winner on November 28th and also reveal a super secret Black Friday Silhouette discount!
I love to just sit on my couch and stare at all the fun memories I have displayed on my wall now…LOVE IT!! Thanks Mindy for all your help…sisters are the best!
Have fun creating your wall of pictures!









Kellee says
That turned out so cute
Katie says
This is Genius! I have a wall that definately needs a revamp and this may be just the ticket. Can’t wait to try to get it done.
I love instragram pics also. Jaimee at livwithroses.wordpress.com made magnets out of hers! Such a great way to share it all.
Happy Turkey Day!
Katie
Mindy says
I didn’t know I was going to be shown in my mismatched paint clothes! And then in my sweats. I guess I should’ve known. Oh well. I love how the wall turned out! Good times. 🙂
Shelley says
I love this wall Missy! I am feeling inspired to do something instead of my boring ole 16×20. 😉 And yes, I want your instagram frame.
Alicia says
Your wall looks great. I like the colorful pictures with the white frames and also the entry table. Where is the table from?
brandi S. says
I just got a lot of old brown frames from my moms that I planned to spary paint black but after seeing the white I may just go that route! That looks awesome.
Tashina says
i love the colorful accents that bring out the white frames. How did you print your instagram pics? Thank you
Missy says
I pulled them into photoshop and sized them to fit my frame and then printed them all on a 10 x 12, then cut out.
Cate says
OMG, i’ve had a bunch of frames leaning up against my wall for 2 years now, because my brain couldn’t figure how how to position them (and i’m lazy) – thank you for sharing this awesome how to! x
Amanda says
How did you print your Instagram pics and where is the frame from?
Amanda says
Sorry! I see your above comment now.
Jane says
Looks fantastic and the technique was great. But I do have one question – how did you mark nail hole when the thing that hangs on the nail is on the back side of the frame and not visible to you when you were laying the frames out on the paper on the floor? Thanks!