In my never-ending quest to slowly, but surely, convert our family to non-processed organic foods, I quickly realized a problem. And it’s a big one since I have small children. I never thought about this until I started packing our own healthy snacks to take with us to play dates, preschool, and sporting events, but it’s a big deal (at least in the kid world!). Are you ready to hear my problem? Brace yourself….
Our snacks aren’t cute.
Not one bit.
They’re in clear plastic zip bags. No artificial dyes to make it colorful. No princesses, race cars or cartoon characters.
Nothing. Just a plain ol’ snack.
While I’m not on a mission to make our healthy snacks look like the unhealthy ones just to get my kids to eat them, I do feel bad that they aren’t as cute and colorful as the rest of their friends.
So what’s a momma to do?
I had a light bulb moment when I ran across some personalized tags online. Kiddo Tags are dishwasher and microwave safe, waterproof and weather-proof (UV-Resistant). Here’s the best part…
Drum roll please….
They have 150 cute characters that you can choose from to put on your tags. And that’s when I had the “light bulb” moment!
I would create snack bags that were fun and colorful and put these tags on them. Who says you can’t have your (organic) cake and eat it too?
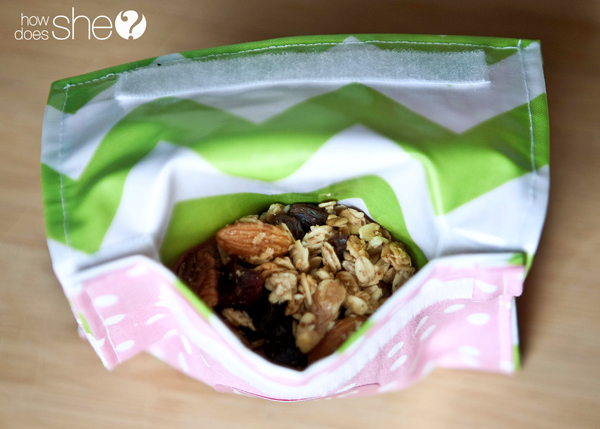
These are super simple to make, fold out flat to provide a clean eating surface for your child, and are easy to clean with a little soap and water.
Here are the supplies you will need:
6″X12″ cotton fabric
6″X12″ vinyl fabric (I used laminated fabric)
12″ sew on velcro
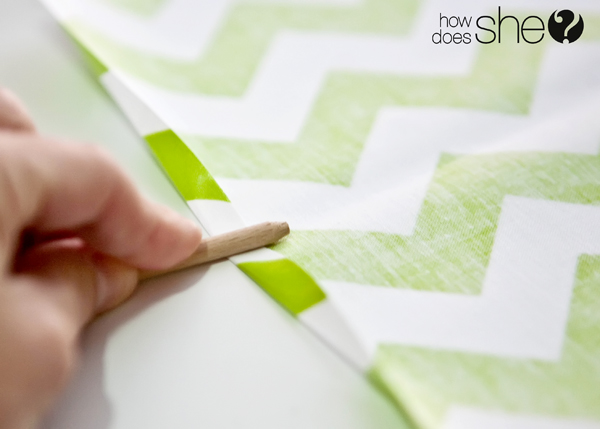
Start by ironing 1/4″ of your cotton fabric. Since the iron would have melted my laminated fabric I used a small dowel rod (a pencil or pen would work too!) and pressed it around all 4 sides. This will create a nice crease.
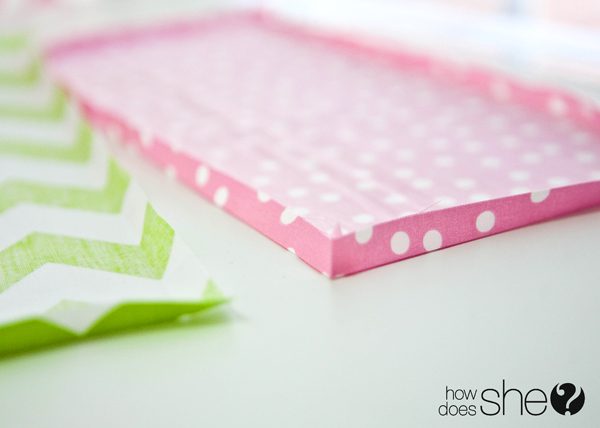
Here’s what your fabric should look like after ironing/pressing around the edges:
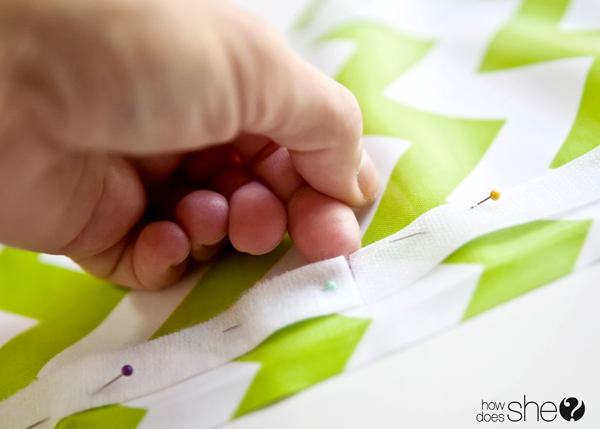
Now you will need to pin down your velcro. Take your 12″ velcro strip and cut it into three 4″ strips. Pull apart your first strip and pin it to your laminate fabric. Start pinning at the bottom about 1/4″ away from your bottom crease and 1/4″ away from the right side crease.
You will want to butt the fuzzy velcro side to the rough velcro side like this:
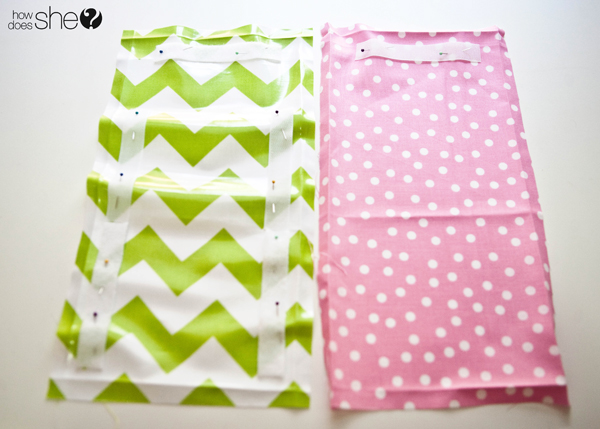
Repeat on the left side of your laminate fabric, making sure that you pin your velcro 1/4″ inch away from your creases. Then you will pin a strip of velcro to the top of your laminate fabric – 1/4″ away from the top crease. Pin your last strip of velcro to the cotton fabric – 1/4″ away from the top crease.
Sew around all 4 edges of every strip of Velcro (you will have 6 strips)
Now, you will pin your 2 fabrics together, making sure to keep your creases tucked inside.
Make sure your top velcro strips are on opposite ends when you pin together.
Sew around all 4 sides where you pinned the fabrics together. And voila! You now can Velcro the sides and top of your bag together.
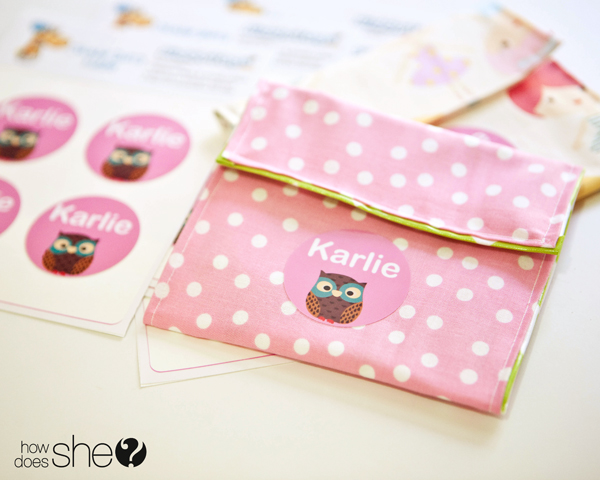
Then I attached a label to the front of the snack bag. Mabel’s Labels are our favorite way to personalize things! They offer labels for everything. Clothes, lunchboxes, pencils, or these darling snack bags. No change of getting things mixed up between kids!
Add your healthy snack (or unhealthy – don’t worry, no judgement here) and enjoy! You can feel good about yourself that you are doing your part to help Mother Nature.
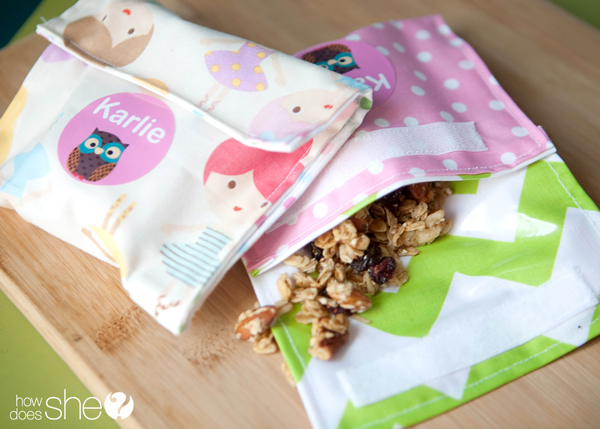
And look at this cute eating surface! Aren’t you so proud of yourself?!
And these Mabels Labels are perfect for my daughter to take to play dates and preschool. No more boring plastic bags for us! She loves to see her cute little name, personalized with an owl graphic she choose (among many to choose from!) on her stuff! Makes things even more fun.








embroiderydigitizings says
Thank you for a great explanation. I was looking online for a similar idea and really appreciate it
Marlene Michael says
Can’t wait to make these! I have six kids and two have many food allergies. This will simplify my life! And they are ridiculously cute too! Thanks!
Jaime says
Wow! This great! I was wondering if it was possible to make my own reusable snack bags just the other day, I’m so glad I saw this post! Thank you!
Katy says
These look brilliant – I’ve seen a few tutorials around, but I love the way these open out completely – fab.
Kerri King says
Aww thanks, Katy! Glad to know you like it!
Robin says
I have found nylon rip stop fabric works great for the lining. It isn’t waterproof just water resistant. I love making these.
Thanks for the pattern.
Amy says
Some vinyl fabric isn’t food safe 🙂
Just a friendly tip!
cassandra says
Thank you for the tutorial. 🙂 I am just concerned because I was looking at the laminated fabric, and it has a warning label that it may cause cancer. Are you concerned about this too, since it will be touching your daughters food? Do you think it would work if I used PUL fabric instead?
(If you missed that info, you have to click the proposition 65 link under the fabric description).
Kerri King says
Hi! Thanks for your question. 🙂 When searching for a slick fabric for this tutorial I did look into the Prop 65 info. The fabric I used is PUL, it’s BPA free and CPSIA certified. I feel comfortable letting my girls eat from the bags. Hope that answers your question. And let me know if you stumble across anything “healthier” than PUL. I know there’s got to be something else out there that’s a little more environment friendly! If anyone has any suggestions, please let us all know. 🙂
Victoria says
Absolutely love this!! So cute! This would be great for my daughter who has food allergies! Especially during playdates, so that other parents know which snacks are hers. We have a bag that I embroidered “Safe Foods” on it so that parents know it’s her lunch bag, but once the snacks are out, they all look the same in zip block bags! Thanks for sharing 🙂
Kerri King says
Yay! Glad you loved this tutorial! You could even get some Kiddo Tags that say “Food Allergies” or “Safe Food” to label her snacks!
Rebecca H. says
I might be great many things, but laundry is not one of my talents. How did these turn out after a couple of washes? Did you do anything special for the washing?
Kerri King says
I have only hand washed these with soap and water but they look just as good as the first time I used them. (p.s. I’m not talented when it comes to laundry either!) 😉