School mayhem has begun at my home, but in spite of the craziness, I wanted to create a blissful, (possibly unattainable), domestic memory for my children as they walked in the door; the smell of freshly baked chocolate chip coconut cookies. Chewy, gooey, gleefulness (real word?), with a solid milk mustache to boot.
I was in the middle of creating such cookies when Nancy, my good friend and fabulous baker of 3o years, dropped off some cookies for our family. I had one bite of her chewy oatmeal coconut chocolate chip cookies and abandoned my ho-hum recipe to share hers with you!
Chewy Coconut Chocolate Chip Cookies
Turns out she would bake these coconut chocolate chip cookies for her children to create the same experience I was trying to replicate for my family. Some sort of curious nostalgic, déjà vu –ish moment of events occurred as we were talking. Her children have said they loved coming home because it always smelled good (code: felt good).
Isn’t that what we want?
Oatmeal Coconut Chocolate Chip Cookies Recipe
Makes approx. 3 dozen cookies using a Tablespoon scoop
Bake @ 350°F for 10-12 minutes
Ingredients
butter, 1 cup(2 sticks)
2 eggs
white sugar, 1 cup
brown sugar, packed 1 cup
vanilla, 1 teaspoon
baking soda, 1 teaspoon
salt, 1/2 teaspoon
baking powder, 1/2 teaspoon
flour, 2 cups
1 cup coconut, unsweetened and finely shredded
1 ½ cup rolled oats (old-fashioned, regular oats – no quick cooking oats)
2 cups semi-sweet chocolate chips
Directions for Oatmeal Coconut Chocolate Chip Cookies
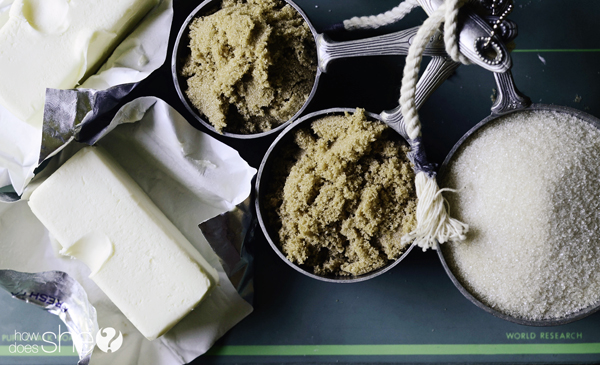
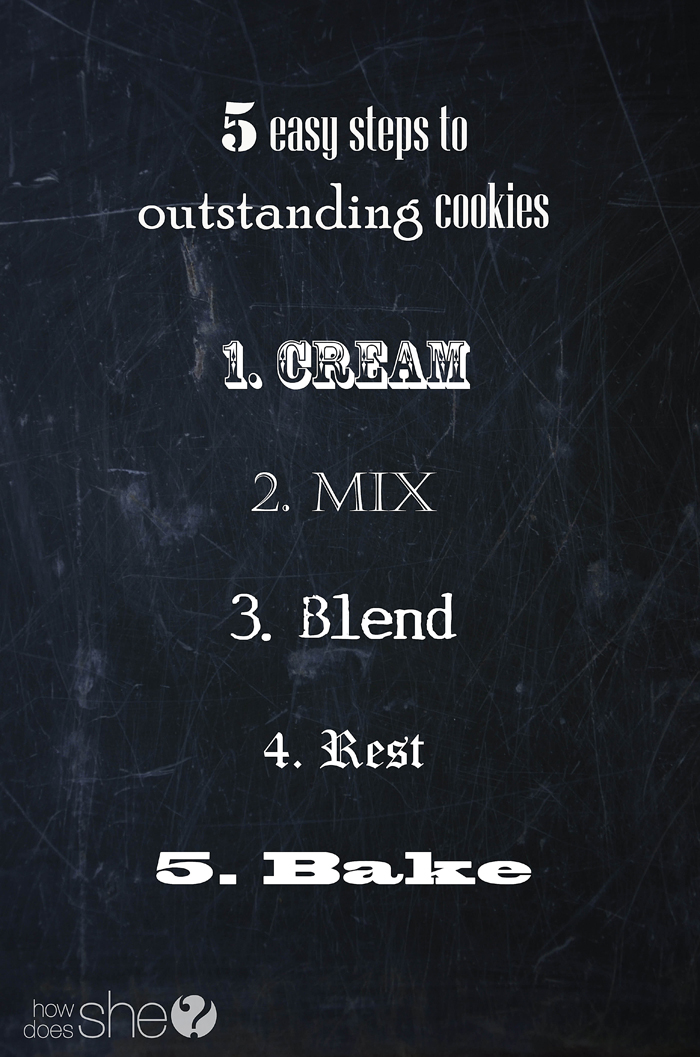
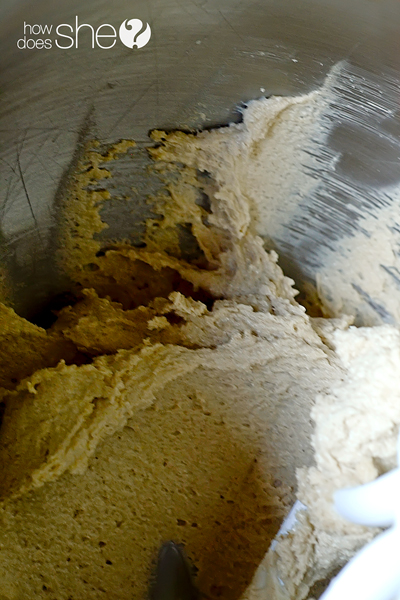
1. Cream butter and sugar together until the butter is lighter in color, the texture is a bit gritty and airy like a whipped exfoliating face cream. It should take about 5 minutes. This is the most important step to outstanding cookies so whip it good!
2. Mix eggs and vanilla into the batter one at a time until they have “merged as one”,(so-to-speak) with the mixture.
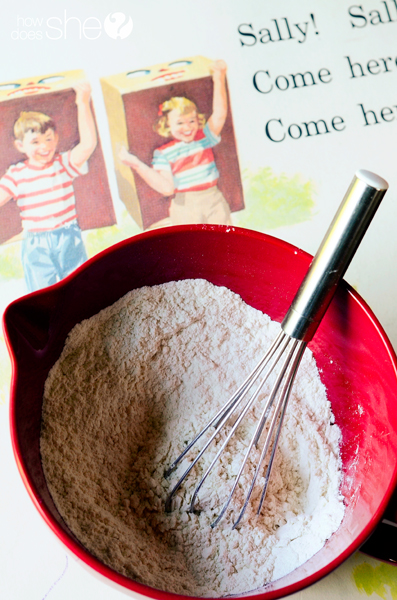
3. Blend together the dry ingredients in a separate bowl with a whisk to ensure even distribution of leavening agents, salt, flour, coconut, and oats. On low speed, gently Blend in batches the dry ingredients and chocolate chips into the cookie dough so as to not muddle with gluten in the flour.
4. Rest the cookie dough in the fridge for a minimum of 1 hour to 24 hours to allow the flavors to develop. The result is a well-balanced, sweet-all- the-way-through cookie.
5. Bake on a cookie sheet or pan with a lip (jelly roll pan) lined with parchment paper at 350°F for 10-12 minutes. Allow to cool for a minute or so on the pan, then transfer the baked goodness to a cooling rack until ready to package in an airtight container – tin cans work great!
Finally, to steal a line from the movie The Sandlot, “then, you SCARF!”
Right after school, gobble these oatmeal coconut chocolate chip cookies up with a tall glass of ice-cold milk….MMMmmm.
Chef’s notes:
A note about sugars: evaporated cane juice can be substituted for refined white sugar, look for a bit more grittiness in the creaming process.
Coconut: Nancy uses finely shredded, unsweetened coconut that can be found in bulk bins or the natural section at grocery stores. (Bob’s red mill has a great one.) Just to be clear, this is not coconut flour; it’s a different product. Also, she has used sweetened shredded coconut from time to time, too. If the shreds are long, I would give them a little chop before adding to the batter.
Chocolate chips: We used basic semi-sweet chocolate chips in this oatmeal coconut chocolate chip cookie recipe, but stroll down the specialty chocolates at your grocery store to mix up the chocolates and get creative with it. Mix milk chocolate chips with bittersweet for more complexity, dice shards of Scharffen Berger artisan chocolate bars or even a Hershey’s Symphony bar! Have fun and experiment.
Nancy added the coconut after tasting a cookie from the food chain Paradise Bakery; with this addition, her cookies went from Crazy Good to Insanely Superior status, (a real rating scale, I’m sure).
Creaming 101
The single most important step to outstanding cookies, or baking for that matter; if you get this step right, you’re golden. Take your time and keep your butter cool.
The temperature of the butter is not necessarily “room temperature” if it has started to melt or appears even slightly greasy, it’s over for that stick. The correct texture of the butter is when the edges are still square and you can press your finger down to make an indent without a whole lot of exertion, but the butter gives back a little stubborn resistance, too.
Next, in a mixer get the air bubbles forming and the butter smearing to welcome the addition of butter’s best friends – stabilizing sugars. Keep your speed on medium – no higher, and beat just the butter for 3-4 minutes. It should look thick, whipped and smooth. Keep the butter and the bowl cool; no melting in sight.
Adding the Sugars
While the mixer is going, add your sugars – cream until one. Again about 3-4 minutes. The resulting batter will be a light color of yellow, whipped and airy with a bit of grit from the sugar granules.
This step is so important – this is where the cookie’s fullest potential for loft is created. You are beating air bubbles into the butter, the sugars sheer grit adds more friction to create more bubbles and stabilizes those bubbles so they do not collapse with the addition of other ingredients. The addition of future leaveners only expands the bubbles that are created in this crucial step.
If the butter at any point during this creaming process seems to be warming past your comfort level, pop the bowl in the freezer for a minute or two to cool it back down. But once the butterfat has melted, it’s time to start over, sister.
Be patient, keep cool and snag a sample here and there; just to test the consistency of course.
Motherhood is many things. At one go, it can be crazy and meaningful, tiresome and laughable, monotonous and gratifying. As complex as these feeling can be, I discovered through my friend the attainable beauty of motherhood is simply baking a sheet of chocolate chip coconut cookies.
For another delicious coconut and chocolate treat, try these macaroons from our friend Jenn at Princess Pinky Girl!
Coconut Chocolate Chip Cookies
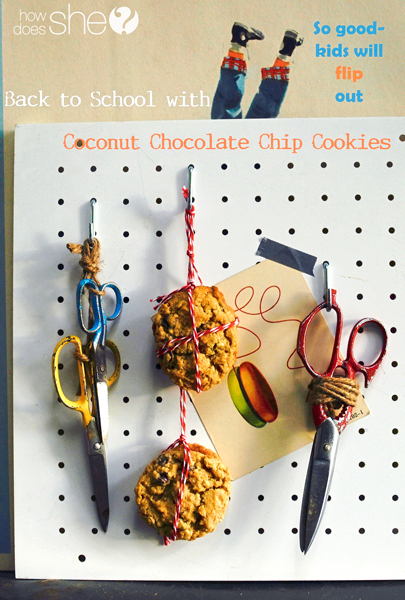
Makes approx. 3 dozen cookies using a Tablespoon scoop
Bake @ 350°F for 10-12 minutes
Ingredients
- 1 cup butter (2 sticks)
- 1 cup white sugar*
- 1 cup brown sugar
- 2 eggs
- 1 teaspoon vanilla
- 1 teaspoon baking soda
- ½ teaspoon salt
- ½ teaspoon baking powder
- 2 cups flour
- 1 cup coconut, unsweetened and finely shredded*
- 1 ½ cup rolled oats (old fashioned, regular oats – no quick cooking oats)
- 2 cups semi-sweet chocolate chips*
Instructions
- 1. Cream butter and sugar together until the butter is lighter in color, the texture is a bit gritty and airy like a whipped exfoliating face cream. It should take about 5 minutes. This is the most important step to outstanding cookies so, Whip it good!*
- 2. Mix eggs and vanilla into the batter one at a time until they have “merged as one”,(so-to-speak) with the mixture.
- 3. Blend together the dry ingredients* in a separate bowl with a whisk to ensure even distribution of leavening agents, salt, flour, coconut and oats. On low speed, gently Blend in batches the dry ingredients into the cookie dough so as to not muddle with the gluten in the flour. Add the chocolate chips in batches, too.
- 4. Rest the cookie dough in the fridge for a minimum of 1 hour to 24 hours to allow the flavors to develop. The result is a well-balanced, sweet-all- the-way-through cookie.
- 5. Bake on a cookie sheet or pan with a lip (jelly roll pan) lined with parchment paper at 350°F for 10-12 minutes. Allow to cool for a minute or so on the pan, then transfer the baked goodness to a cooling rack until ready to package in an airtight container – tin cans work great!
- Finally, to steal a line from the movie The Sandlot, “then, you SCARF!”
- Right after school, gobble these up with a tall glass of ice-cold milk….MMMmmm.
Notes
Chef’s notes:
A note about sugars: evaporated can juice can be substituted for refined white sugar, look for a bit more grittiness in the creaming process.
Coconut: Nancy uses finely shredded, unsweetened coconut that can be found in bulk bins or the natural section at grocery stores. (Bob’s red mill has a great one.) Just to be clear, this is not coconut flour; it’s a different product. Also, Nancy has used sweetened shredded coconut from time to time, too. If the shreds are long, I would give them a little chop before adding to the batter.
Chocolate chips: Nancy and I used basic semi-sweet chocolate chips in this recipe, but stroll down the specialty chocolates at your grocery store to mix up the chocolates and get creative with it. Mix milk chocolate chips with bittersweet for more complexity, dice shards of Scharffen Berger artisan chocolate bars or even a Hershey’s Symphony bar! Have fun and experiment.
Nancy has only recently added the coconut after tasting a cookie from the food chain Paradise Bakery; after that tasting her cookies went from Crazy Good to Insanely Superior status, (a real rating scale, I’m sure).
Creaming 101
Single most important step to outstanding cookies, or baking for that matter; if you get this step right, you’re golden. Take your time and keep your butter cool.
The temperature of the butter is not necessarily “room temperature” if it has started to melt or appears even slightly greasy, it’s over for that stick. The correct texture of the butter is when the edges are still square and you can press your finger down to make an indent without a whole lot of exertion, but the butter gives back a little stubborn resistance, too.
Next, in a mixer get the air bubbles forming and the butter smearing to welcome the addition of butter’s best friends - stabilizing sugars. Keep your speed on medium - no higher, and beat just the butter for 3-4 minutes. It should look thick, whipped and smooth. Keep the butter and the bowl cool; no melting in sight.
While the mixer is going, add your sugars - cream until twain is one. Again about 3-4 minutes. The resulting batter will be a light color of yellow, whipped and airy with a bit of grit from the sugar granules.
This step is so important - this is where the cookie’s fullest potential for loft is created. You are beating air bubbles into the butter, the sugars shear grit adds more friction to create more bubbles and stabilizes those bubbles so they do not collapse with addition of other ingredients. The addition of future leaveners only expands the bubbles that are created in this crucial step.
If the butter at any point during this creaming process seems to be warming past your comfort level, pop the bowl in the freezer for a minute or two to cool it back down. But once the butterfat has melted, it’s time to start over, sister.
Be patient, keep cool and snag a sample here and there; just to test the consistency of course.






Missy says
I have always wondered what the difference was between a great recipe and an amazing one – sounds like it is not the ingredients, but the technique! I can’t wait to try your tips! and as always, your pictures blow me away…loved them! thanks carlee!
Carlee says
Thank you Missy! It’s crazy to think such small details can make such a big difference in the outcome of a dish. I am glad you enjoyed the post and I wanted to say to you, congratulations!! I know you just had a new baby, your 5th! So, how ’bout I send some of these yummy cookies your way. Put your feet up and nap!
Christine says
Great tips! I already do all of those… But I would like to add one: Pull the cookies out of the oven a little early (like a minute) and let them cool for about two minutes on the sheet before transferring them to a cooling rack. This will result in the coveted “chewy-but-not-raw” cookie. I also put my cookie sheet in the fridge between dozens so that it doesn’t start to melt the dough before it’s even in the oven.
Carlee says
Christine, So true! The pan is warm from out of the oven and the cookies start to spread before they are even IN the oven! What a great suggestion! Thank you! And I can’t seem to get enough of the “chewy-but-not-raw” cookie, “I crave it fortnightly!”
Mikel says
Two sticks of butter seems excessive. Will eating these cause shortness of breath?
Patricia Ann says
Good grief !!!
lin says
Hi I’m in England and would love to bake these cookies, is the flour plain or self-raising and what is the equivalent weight in ozs for the cup measurements?
I think our British cups are a different size to American ones.
Carlee says
Brilliant! From England, “ello“! I am so Excited to have you try these wonderful cookies! Okay, as far as an accurate conversion chart goes; what I can out figure from an online chart is this is how it breaks down across the Atlantic.
1/2 cup =113g.
1 cup = 225g.
2 cups =454g.
1 teaspoon = 5 ml
1/2 teaspoon =2 ml
Bake at 180 degrees Celsius
The rest is up to you girl, convert away! Cream it, mix it, blend it, rest it, and bake it and then Bob’s your uncle! Enjoy!
Carlee says
Lin, hi again; I forgot to tell you a few other important tidbits. The flour I used was an all purpose unbleached white flour; however a great substitute is whole wheat pastry flour or a blend thereof. Also, the weight in ozs is as follows:
1/2 cup =4 oz
1 cup = 8oz in general, but I weighed my white and brown sugars and they both were 7.6 oz. Accuracy is key!
1 cup flour= 5 oz
2 cups = 16 oz
1 teaspoon = 1/6 oz
I am not sure which measurement system you use, but those are two great lists to start with. Best of Luck Lin!
Emily says
Carlee, I mean… wow. I love your posts because your photos are AMAZING and always so darn creative! Then I move on to the actual food and I just can’t help it. You’re amazing, as usual. You are a unicorn and I want to be just like you!
Suzanne says
Any chance you could use coconut sugar in this recipe? Someone gave me a bag of it and I have no clue how to use it!
Gary says
We are peanut butter addicts, replace half of the butter with Trader Joe’s crunchy peanut butter (it is very oily and about the constancy of room temperature butter). I started doing this in 1955 when my mother was teaching me to cook.