An idea for a better apron came to me over thanksgiving when I pulled out my trusty thanksgiving apron and the straps around my neck kept falling down. I knew there had to be a better way to make it where I wouldn’t constantly be re-adjusting the straps. However, during the holiday rush, making an apron for myself isn’t at the top of my priority list so I knew I had to come up with a quick solution. This apron is both quick and easy and can be made for an adult or a child.
Here we go!
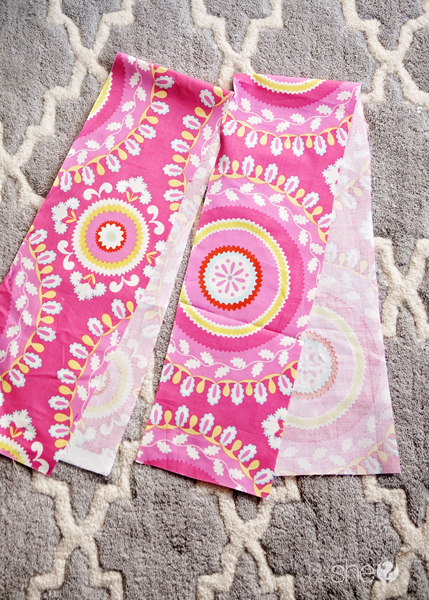
First, we’ll start with the straps, or rather the one LONG strip of fabric that will make the adjustable neck and the tie for the back of the apron.
Cut 2 strips of fabric at 6″X30″ (cut 6″X44″ for an adult size apron)
Place right sides of the fabric together and sew one side of the short ends together to make one long strip of fabric that’s approximately 6″X60″ (or 6″X88″ for adults)
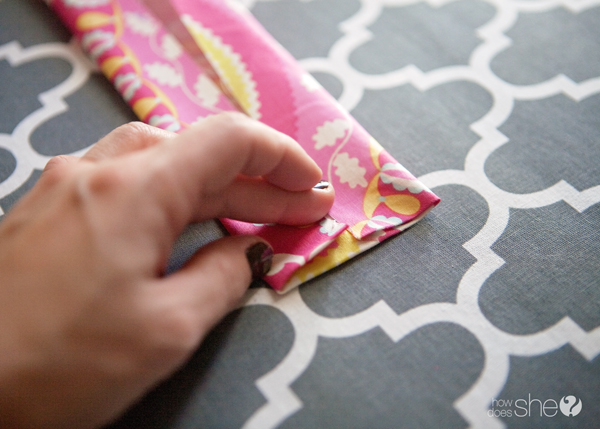
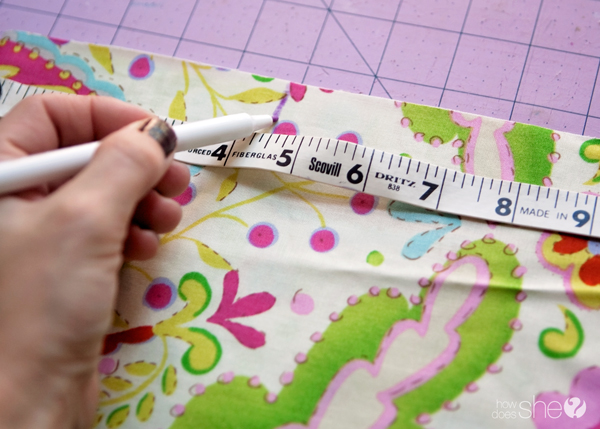
Next, get the iron out and iron down 1/4″ on both short ends.
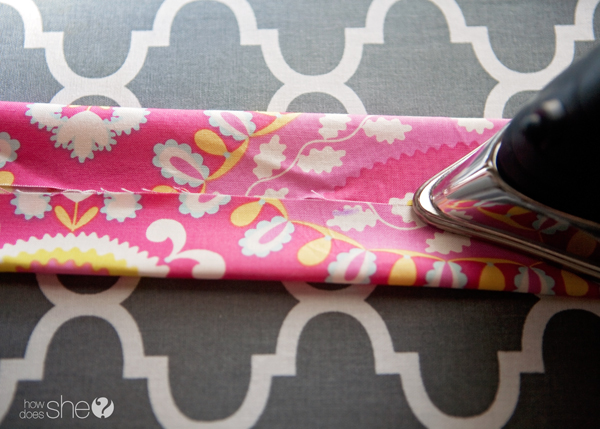
Now fold in the long sides of your strip so that the ends touch in the middle and iron it down.
Fold over your strip of fabric in half and iron down.
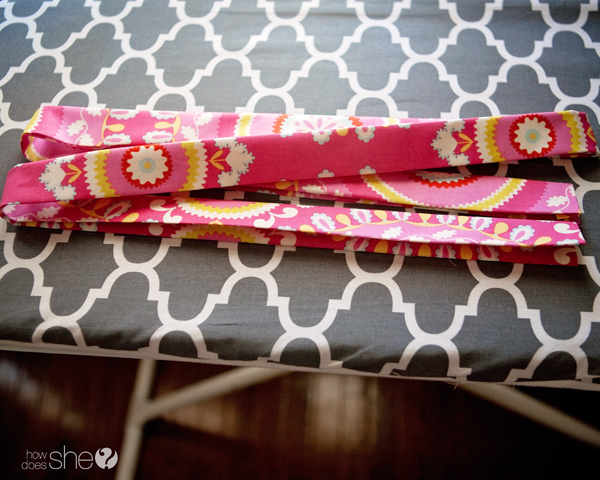
You’ll have a super long strip of fabric that looks like this:
Using a 1/4″ seam allowance, sew around the sides where you ironed.
The strip is done so just toss that to the side while we make the main piece of the apron.
Start off with a 20″X20″ piece of fabric (or 20″X30″ for adults). Fold in half. Start at the top from the fold and measure over 4.5″ and mark the spot.
Then measure down 7″ on the side opposite of the fold and mark a spot.
Simply cut from the 4.5″ mark at the top to the 7″ mark on the side using a circular motion. Remember: you’ll be cutting through 2 layers of fabric here!
Now iron down 1/4″ of your fabric. Then fold over another 1/4″ of fabric and iron down again. Do this for all sides EXCEPT the circular cut outs.
Sew down the sides that you just ironed to create a hem, using a 1/4″ seam allowance.
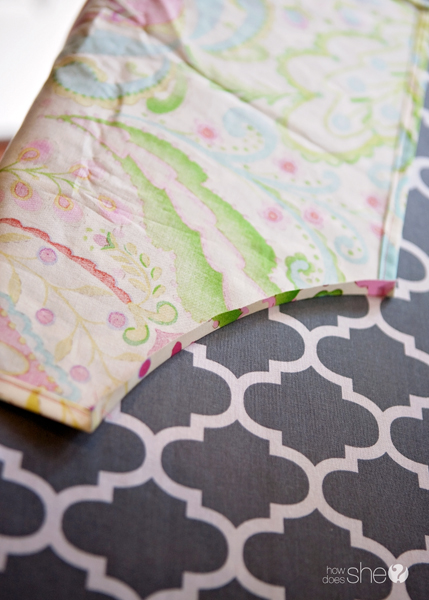
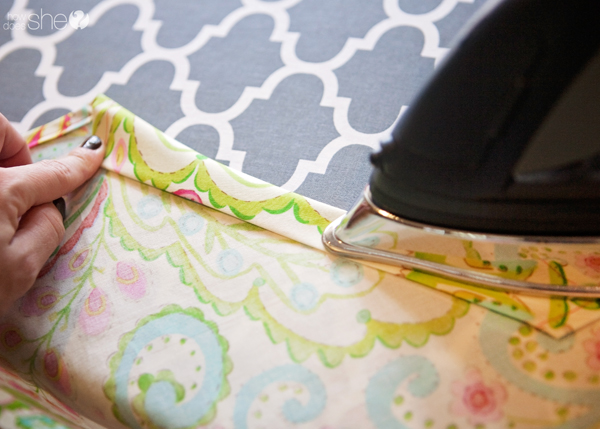
Now, you’re ready to iron down the circular sides. Start by ironing down 1/4″ – it’s a little tricky because of the curve but you can do it!
Next, you’ll want to fold over 1″ on your circular side to make a casing for your long strip we created at the very first.
Sew down you circular sides, using almost a 1″ seam allowance.
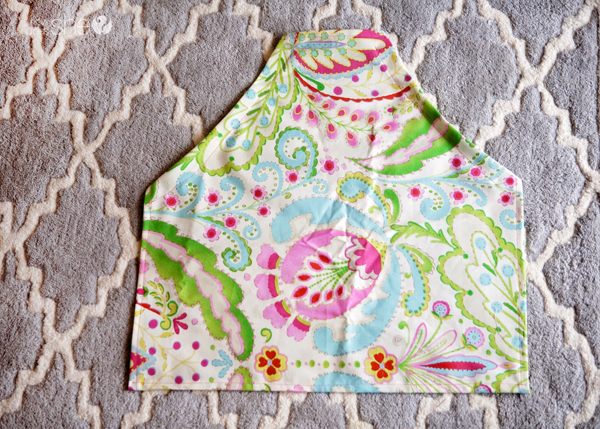
It’s starting to look like an apron, no?!
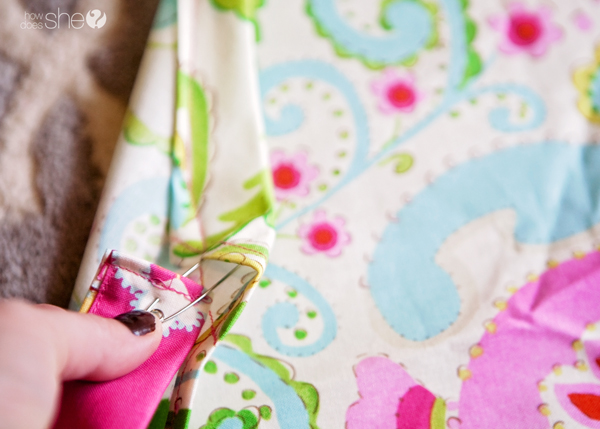
Grab a big safety pin and hook it on your long strip of fabric. This will help to push the strip through the casing of the main apron piece.
Start on either side of your circular casing, pushing the safety pin though. Once it reaches the top of the apron, push the safety pin down the opposite circular casing.
Once you’ve threaded the strip through the main piece, simply adjust the straps to allow plenty of room for your head and you’re done! Easy peasy little apron that you can make for a child or adult that only takes about 30 minutes to make.
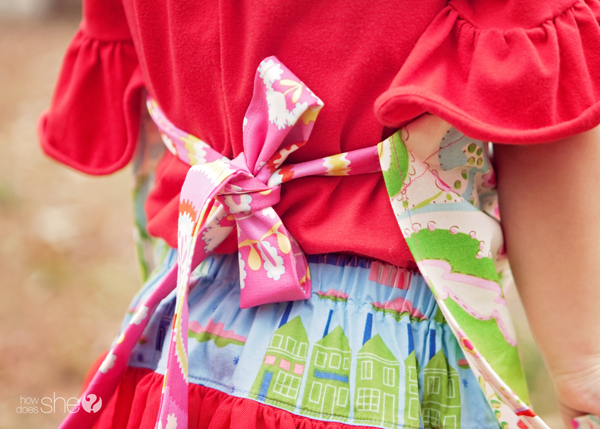
Kid tested and approved! 😉
Sweet tie in the back and I love that this apron wraps around little bodies (or slightly bigger bodies in my case!).
I’m so excited to try out my new apron at Christmas! No more apron straps falling in my mashed potatoes!!!













Shelley says
This is so darling. <3 Love the fabric.
Mechelle says
Love this! Such a great idea for gifts! I’m thinking a baking birthday party for my little girl!
Ananasa says
What a great way to get them in the kitchen too! We love it, thanks for sharing!
http://www..ananasa.com
Georgia @ Silver Spiral Studio says
This is so cute!! Thanks for sharing 🙂
Deborah says
LOVE this pattern…what size would the child size be for?
audrielle says
This is so simple and cute. I just love ur blog and how it’s set up. So easy to navigate!
Joseph says
Nice! It’s very cute
Sally says
I’d like to teach you to tie a straight bow! After you cross the ends and pull tight, one end will go up (or be on top) and one end will go down (or be on the bottom). Make the loop of the bow with end that is on the bottom. With the end that is on top, pull straight down and finish tying the bow. Always following these little steps will always make your bows come out the way you want them to! Easy!
Elizabeth Walloch says
I have been looking for a pattern to make kids aprons from denim. Your step by step instructions and pictures are excellent for me to construct the apron. Thank you for sharing.
Liz in Franklin