The smell of fall is in the air! I absolutely love fall, it is my favorite season by far. I love the cool crisp air, wearing boots and dressing in layers, going on a walk and seeing all the different colored leaves, and I love pumpkin everything! There is something satisfying and comforting about pumpkin flavored foods and drinks. When I was pregnant with my second boy, I craved Costco’s pumpkin pie like no other!
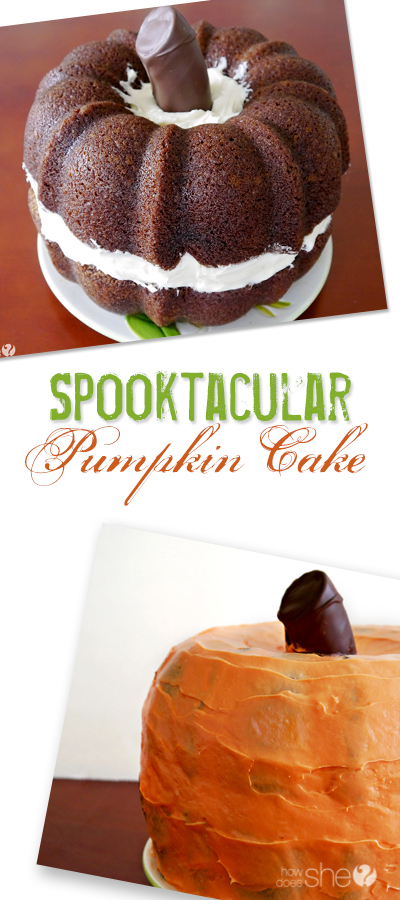
So… as soon as the leaves start to change color and that cool autumn air rolls in, I get the itch to start baking delicious pumpkin treats :). This year I wanted to try something different and put a little twist on the traditional pumpkin roll cake. I thought it would be so fun to have the cake actually in the shape of a pumpkin!
Here’s what you will need for the cake:
(You will need to double the recipe at the bottom for the cake and frosting)
1. Canned Pumpkin
2. Sugar
3. Eggs
4. Vegetable Oil
5. Flour
6. Baking Soda
7. Cinnamon
8. Salt
9. Vanilla
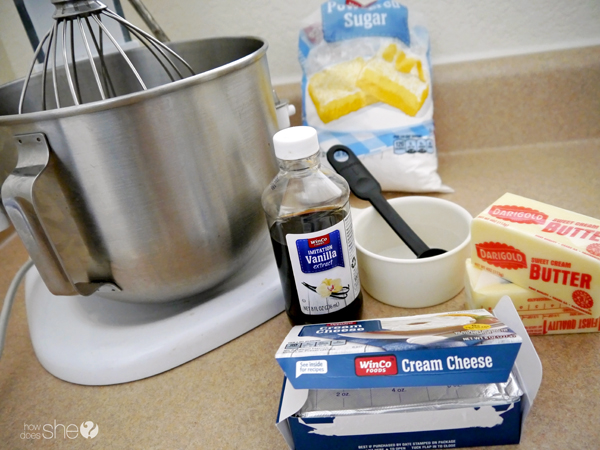
Here’s what you will need for the cream cheese frosting:
1. Cream Cheese
2. Powdered Sugar
3. Butter
4. Vanilla
5. Milk
Here is what you will need for the stem:
1. Banana
2. Milk Chocolate Candy Melts
3. Cake Pop Stick
*Now for those of you who are super observant, you will have probably noticed the sparkling apple cider in my picture. Do you ever have ideas that you think are really great and then they turn out horrible? Well this was one of mine. I thought the sparkling cider would give the frosting a little something extra, a little ZING! Let me tell you, it DID NOT make the yummy frosting I had hoped it would. It was very disappointing. So it had to be scrapped and I settled for milk instead. As I finished working on this post though, I am wondering if I could have just used apple cider. Someone will have to try it and let me know how it turns out. Anyway, mini rant aside lets get on with the tutorial! 😉
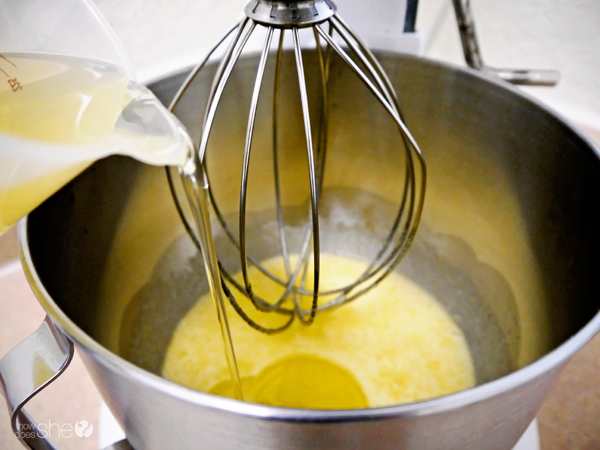
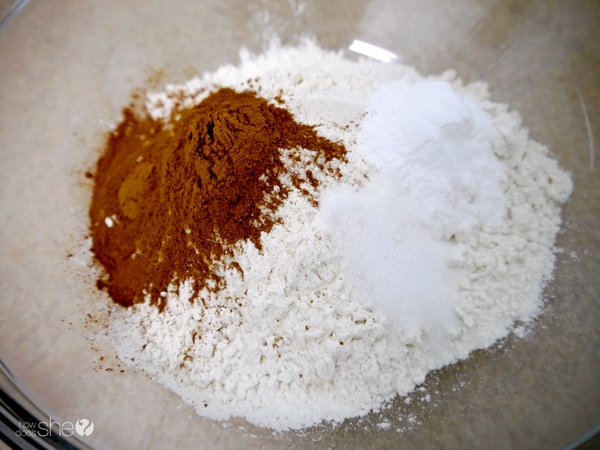
The first thing you will need to do is combine your eggs, sugar and oil in an electric mixer. Next add the pumpkin and vanilla. Set this aside and combine your dry ingredients.
Now add the dry ingredients a little bit at a time to your pumpkin mixture. When your batter is all ready, set the oven to 350 degrees and lightly grease your bundt pan. I recommend using a nonstick cooking spray called “Baker’s Joy”. This stuff is the best and I guarantee your bundt cake will come out beautiful every time! Once your pan is lightly greased, pour the batter into the pan and bake for 55 minutes.
Mmm, I wish you could smell this wonderful pumpkin aroma. It smells amazing! When your cake is done baking, let it cool for 10 minutes in the pan before turning it over onto the cooling rack. While you wait for your cake to cool completely, you can get started on the cream cheese frosting.
Combine all of these ingredients in a mixer to make the delicious and sweet cream cheese frosting.
Now comes the construction part. You will need to turn one bundt cake upside down. Here is a thought I will share with you after making this cake myself. If I were to make this cake again, I think I would even out the bottom of the cakes so they are a little more flush. Totally a personal preference but I wanted to share. So, now that one cake is upside down you will need to spread the frosting in a pretty thick layer. This will be your filling. Ok, one more thought. When you cut a piece of this cake it…is….HUGE! So again personal preference, but next time I would throw some candied nuts in the middle to add a little texture.
It’s starting to look good! Go ahead and put a dollop of frosting in the middle to help keep the stem in place.
Every pumpkin needs a stem right?! For my stem I cut a section out of a banana, put it on a cake pop stick, and covered it in milk chocolate candy melts.
Place the banana on wax paper and let the chocolate harden.
When your chocolate covered banana is all ready you can place it right in the middle of your pumpkin!
The last step is to add orange food coloring to your pumpkin and frost your cake! Isn’t it cute?! Just wait until you take a bite, it will taste SPOOKTACULAR!






Liz says
How does the middle hole work? Do you have to fill the entire “inside” with the frosting? That seems like an awful lot of frosting to make enough of a base for the stem…
SUCH a cute idea, though. Looking to make for a dinner party coming up.
Carina says
Liz, I just put one scoop of frosting at the top. The cake pop helps the banana stay up, and the frosting keeps the banana in the middle. If you have an idea of how to keep the banana in the middle without frosting I would love to hear it! I hope your dinner party guests like your pumpkin cake 🙂
Missy says
what a fun cake! My kids would get a kick out of this.
Carina says
Your kids would so love this cake! Make sure to invite friends over, there will plenty to share 😉
Shelley says
So cute!!! I love the banana as the stem.
pati says
Wow both look delish!