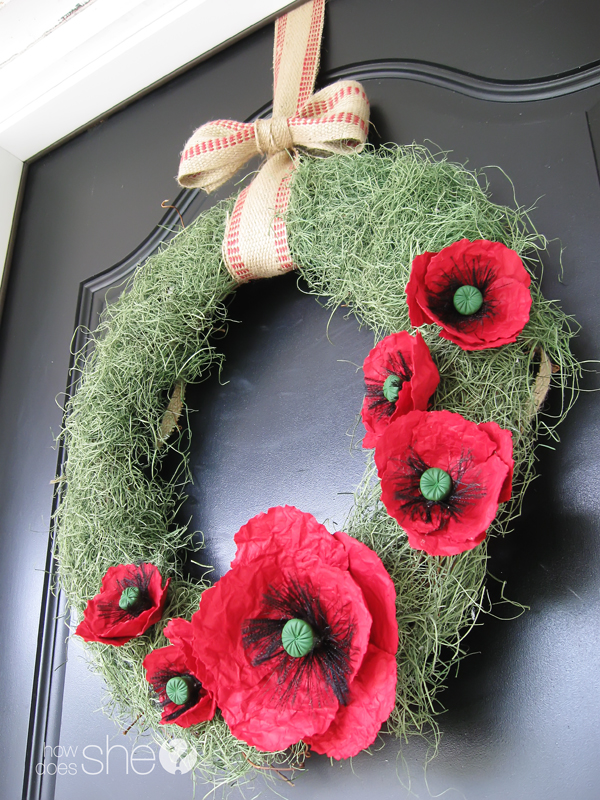
My cute black front door was begging for attention. It’s a nice door, but it needed some pop and I was in that crafty kind of mood that can only be satiated with a juicy project. Bring on the GLUE GUN, BABY! I got my inspiration from my parent’s wonderful backyard. My favorite flower is the poppy. But my favorite poppies are gigantic, deep dark red, and live in my parents backyard. Lucky me!
Just in case your sad little door (or wall, or picture frame, or…..) needs accessories as well, here are the directions:
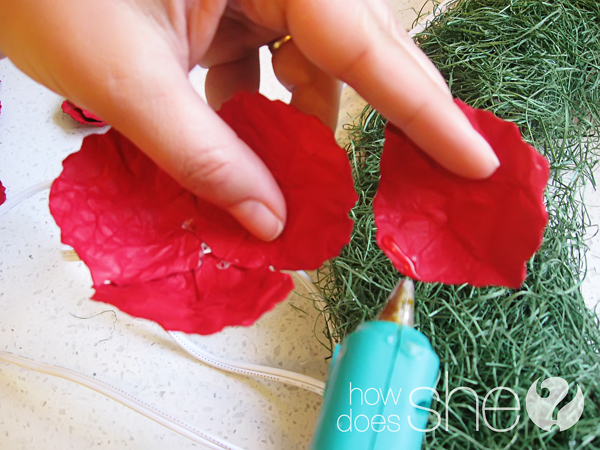
Get a bag of that mossy looking stuff that’s really made of wood shavings painted green and in no particularly special way, glue it to a grapevine wreath. My only tip here is that I didn’t skimp on the glue, and that’s probably a really good thing because wood shaving mossy bits all over my entry doesn’t sound too hot. Actually though, things stuck quite nicely. 
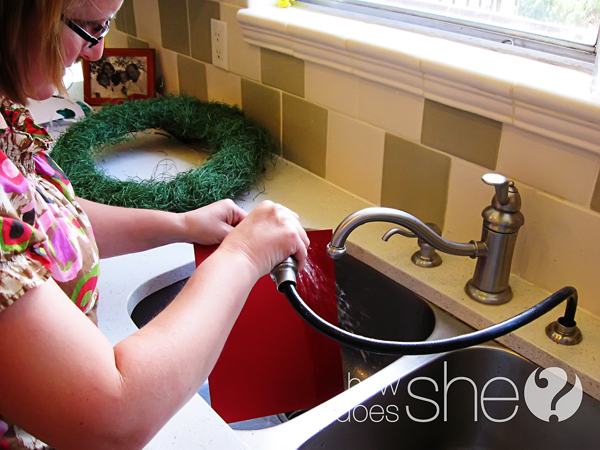
I wanted that newly-opened, crinkly, poppy petal look. I know, I’ve probably spent a little too much time with poppies, but bear with me. So this is how I achieved the desired effect. Get some cardstock in your favorite poppy color (real or imagined) and wet it on both sides.
Crumple it without tearing it. Open it up and decide if it has enough crinkles to satisfy you. I’m an extra crinkles kind of girl so I crinkled twice. For as many poppies as I made, I used a couple pieces of paper.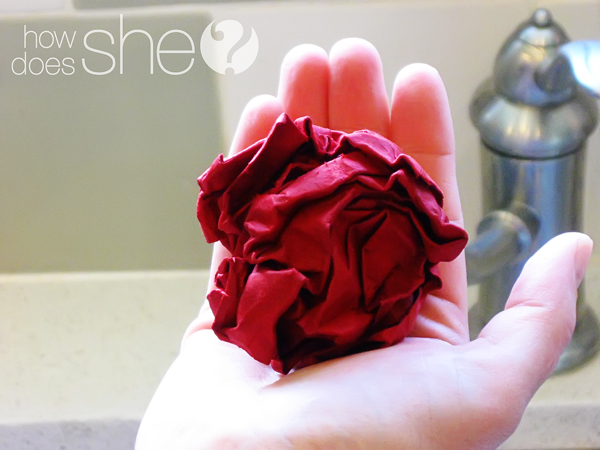
Let it dry. I put it in the sun and it dried in NO TIME. Like, not more than 10 minutes. I’m not sure why this amazed me, but it did.
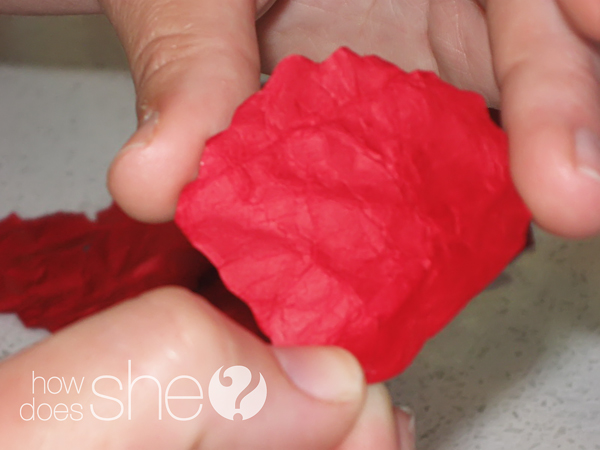
It’s time to make petals. You need 6 for each poppy. I found a template on Martha’s site here. The shape is great but the size is whacko! It’s like the sweet little flower accidentally took some steroids. Each petal is about the size of an entire piece of paper. Sheesh! I altered the template size to 25% and then 33% (because I wanted 2 sizes of poppies) before printing. Worked like a charm. If you’re comfortable with your artistic side, you may just want to take a peek at the template and then free hand it. If you’re the extra careful type, you can trace the template and then cut it out. I did some of both. Does that make me extra carefully artistic? I think so.
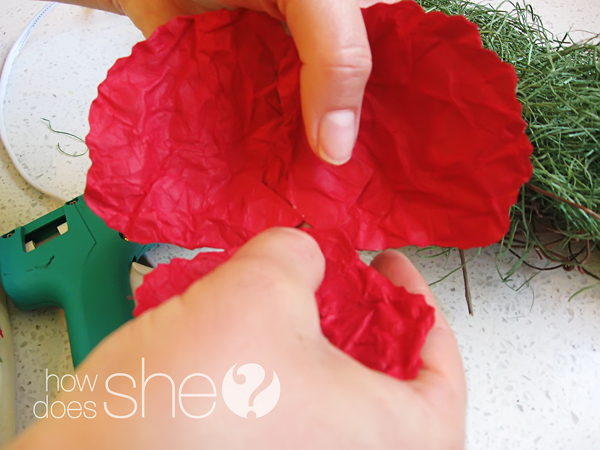
Don’t forget the slit at the bottom of the petal. Overlap the two sides of the petal a little bit and then glue. Don’t go overboard or you’ll have tea cups, but if you don’t do it at all it won’t have the same dimensional look we’re shooting for.
Petal perfection.
Now glue 3 petals together corner to corner with a tiny hole in the middle of the three. Eventually your wire “stem” will go there. These are your inner petals.
To attach your outer petals, apply a little glue to the bottom of the petal and stick it behind the other 3. Off set each petal between two other front petals so that you can see it peeking out between them. Glue it about 1/4″ to 1/2″ out from the center hole. If you glue it too close to the center, you won’t even know it’s there because it will hide behind the other petals.
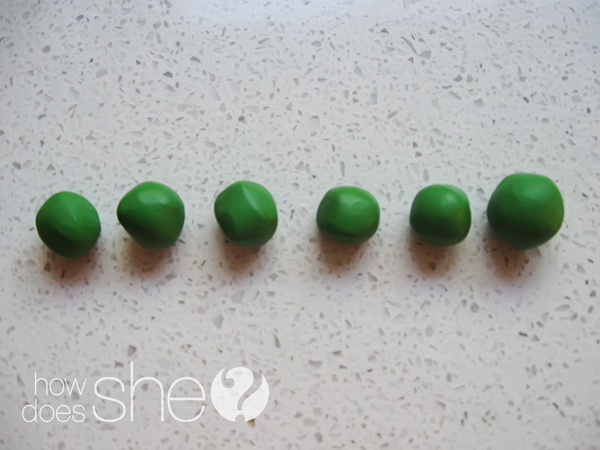
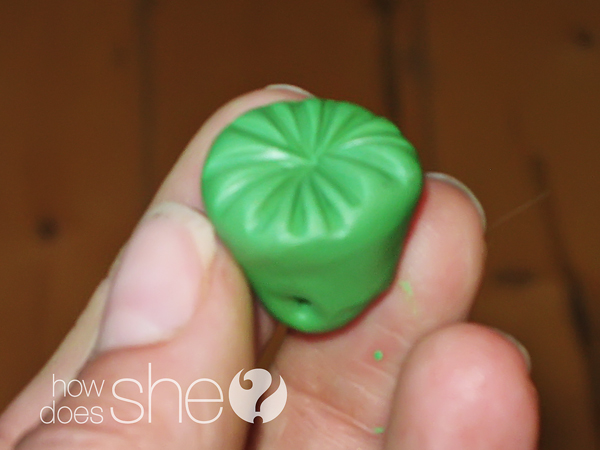
Now for that cool, center seed pod that is so distinctive for poppies. Sculpey (or the like) was the best option for me. Roll about 3/4″ balls then roll them into cones. Flatten the pointy end and round out anything too angular.
Use wire, a knife, a fork , whatever, to make spokes and a good size hole at the base that goes all the way through the pod. Bake all of the seed pods according to the package.
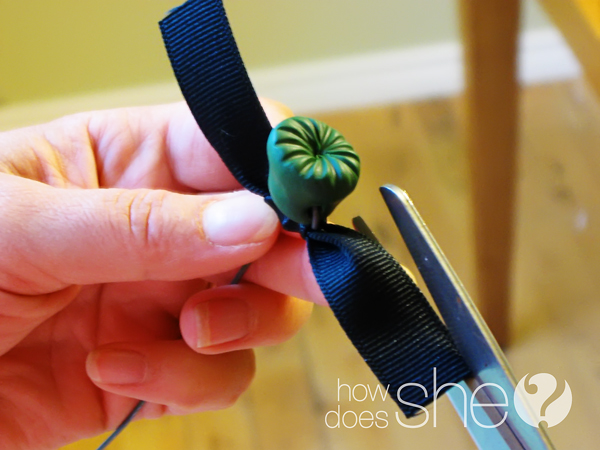
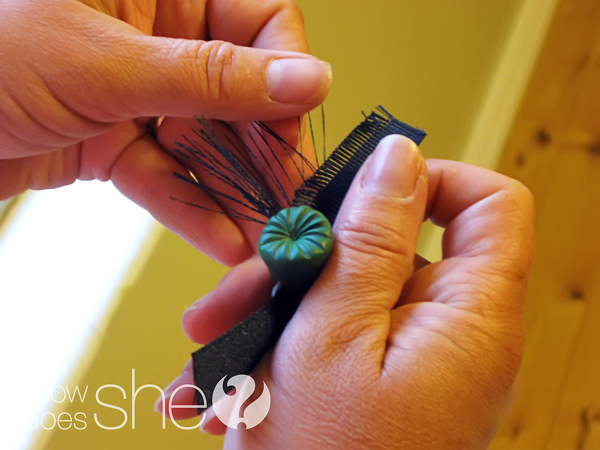
Voila! Now get a heavy gauge wire (I usually use an 18), stick it through the hole, and just before you twist it back on itself to secure it, tie about 4 inches of a black 3/4″ grosgrain ribbon on it. Twist your wire nice and tight. For me this is the coolest part. I wanted the black hairy looking things to really look like black hairy looking things. They’re actually called stamens, and grosgrain ribbon just hits the spot! Who knew?
Cut a tiny edge off of your ribbon and start pulling the long strands off of the ribbon. When you can, remove the lateral pieces of the ribbon so all you have are hairy little stamens. At this point they kind of stick out in two directions and you want them to look evenly spaced around the seed pod. You guessed it, get out your glue gun girls! Put a thin line of glue around the base of the pod and carefully smoosh the ribbon around the pod. You don’t want them sticking straight up either so if it seems like that’s what they’re doing, pull some away for a more natural look.
And now for the magic. Stick your wire right down the middle of the petals, trim your stamens as needed and you’re done! Look how pretty they are!!!!
To attach them to the wreath, stick the wires straight through the wreath and bend them to keep them in place. That’s all. I hung mine with jute webbing. COULD NOT resist the red in the webbing. Cute, right? I like the juxtaposition of the pretty flowers and the jute. Oh, and the jute is about a buck a yard! Luckily my door is really well protected. This wreath is definitely not weather proof, but mine has been up for months and we’re good!
See how happy my door is? And between us, I think my mom’s poppies are just a little jealous.
Wouldn’t you be?
{We’re linking up to these parties!}







Peggy says
I am so in LOVE with poppies and have been for years! Maybe it was seeing fields of them in Europe when I was a child or the fact that it was one of the only scenes in the Wizard of Oz which didn’t creep me out. Add to the fact that my all time favorite coffee cup when missing recently (white w/ poppies from starbucks… no long made.. boo hoo hooo!) But now I can smile because you have shown me how to make my own poppies!! Thank you!! 🙂
Michele @ The Scrap Shoppe says
LOVE this wreath and those poppies are fantastic! Thanks for the tutorial!
Alison says
Super Cute AMY! Thanks for the tut!
Clare G. says
Awesome poppies! I love the effect of the crinkling and the grosgrain ribbon stamens are brilliant. Super wreath design!
Summer Wilda says
so VERY darling! thanks for sharing!
Natalie Johnson says
Such a great tutorial! I’m going to play with the colors to pop with my house! And maybe switch up the petal shape to make it more for christmas…. My mind is turning. This project will be fun!
stacy says
So cute!
Elena Chamberlain says
Amy thank you so much for sharing this great tutorial. I love poppies too and I have never seen a better tutorial of how to get them to look so wonderful.
thanks again,
elena
Haniela says
So pretty. Thank you for sharing. I found you via Someday Crafts
melissa says
wow. that is supersuper cute! and i could neverever do that!!
Victoria says
This is a perfect wreath for Remembrance day! I’ll be sure to remember it and make one next year!! Thanks! I also featured this on my blog today: http://vixenmade.blogspot.com/2011/11/free-printable-friday-remembrance-day.html
Barbara says
What pretty, pretty poppies!
janey says
These are so great … You are so talented It’s unreal, everything you do is so beautiful !!!
Keep up the good work… Love it…