When we moved into our new home 3 years ago, I was on a quest to make our master bedroom into a sanctuary to escape and relax from the craziness of the day-to-day life. However, my budget was TIGHT so I knew I was going to have to get creative in order to achieve the look I was going for. And for the past 3 years my bedroom looked decent and I was fairly happy with it, but I knew it needed a headboard to complete the look. I priced around and the one I fell in love with was from West Elm. But it was out of my budget with it’s $800 price tag. Don’t you hate it when that happens?!
I noticed on their site that they sell fabric … aaannndd it’s the same fabric they use on the headboards they sell. Light bulb moment! I can just make my own West Elm headboard!!
Here’s what you will need to make your own king size headboard:
- 3 yards of fabric (I used West Elm’s Cotton Basketweave in Slate – they offer swatches which I highly recommend getting before you decide on what fabric to get)
- thin batting (I bought the queen size and cut it down to size)
- 4’X8′ particle board – purchased this from Lowe’s and had them cut the board down to 78″X48″
- 3″foam (I bought 2 pieces from Joann’s sized at 24″X84″)
- 7 packs of upholstery buttons
- (2) 8 foot pine 1X2 boards
- kite string
- 20 ring washers
- extra long needles (doll needles work great for this project)
- spray adhesive
- staple gun
Ok, got it?! Good! Let’s roll!
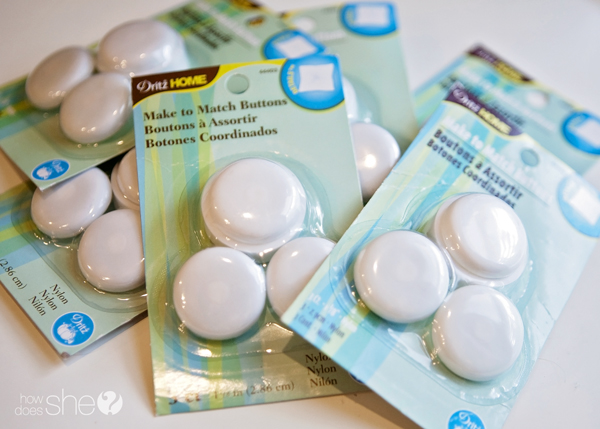
Let’s start with the buttons. I’m going to turn on my shouty caps to get this point across…DO NOT BUY THE METAL BUTTONS FOR THIS PROJECT. IT WON’T WORK AND YOU WILL DRIVE YOURSELF INSANE! Got it? Ok, I will stop shouting at you now. 😉 I’ve tried using the metal buttons and they just don’t work with thicker upholstery fabric. This babies below worked like a dream. The amount of buttons you use is totally up to you. I used a total of 20 buttons for my headboard and I achived the look I was going for. By all means if you want more of a tufted look, add more buttons! But for the sake of this tutorial all my measurements/directions are based off 20 buttons.
Here’s the exact fabric I used: 3 yards of West Elm Cotton Basketweave in Slate.
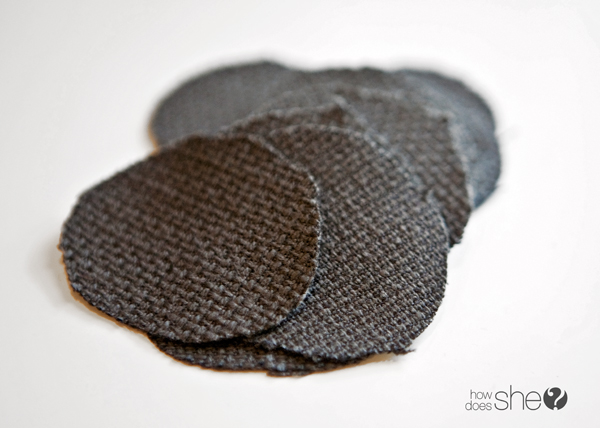
Using the guide on the back of the button pack, cut out 20 circles out of your fabric.
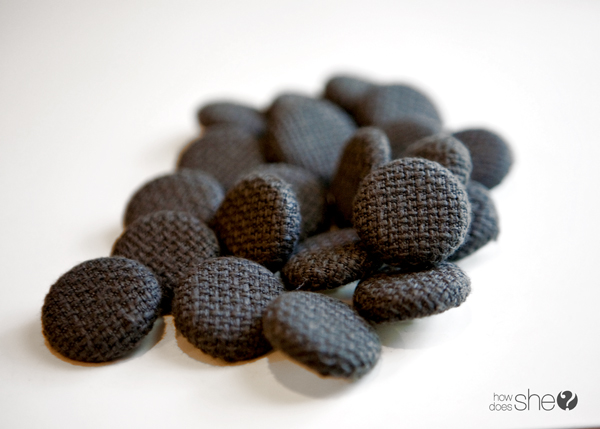
This is the fun part! Center your fabric in the round plastic tool. Place your button on top of the fabric and push down inside the tool. Then, grab your button back. Tuck all your fabric into the inside of the button back. And snap it into place. Insta-button! Now, don’t you feel smart?!!
After making 20 of these bad boys, you will realize I was totally lying about how much fun button making is. Actually, after you make like 2, you realize that it makes your fingers so sore! I promise it’s worth it!
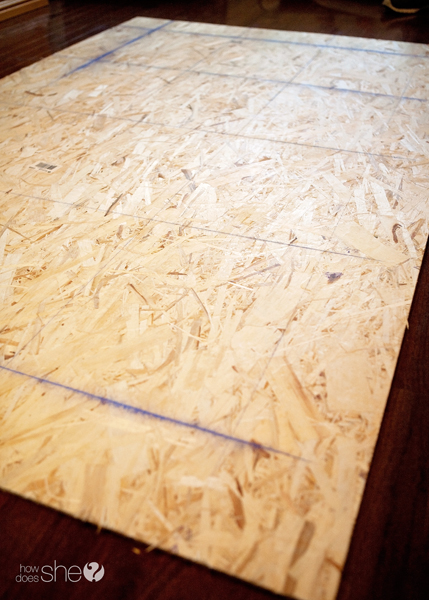
Grab your partical board and make sure it’s cut to size. My board is exactly 48″X78″. Measure your bed to make sure those measurements are going to work for you! Now, lay out your buttons. I did 4 rows of 5 buttons.
Stay with me here because math makes my head hurt a little but I want to give you my measurements of the buttons.
For your top row of 5 buttons, here’s where you buttons need to go…come 6 inches down from the top and 6″ to the right and mark your first button at 72″. Then over to 55″ and mark. Then to 39″ and mark. Then to 22 1/2″ and mark. And finally 6″ and mark.
Now, here’s the measurements for your 4 rows going down. 6″, 18″, 30″, 42″. Got it?! Maybe?!
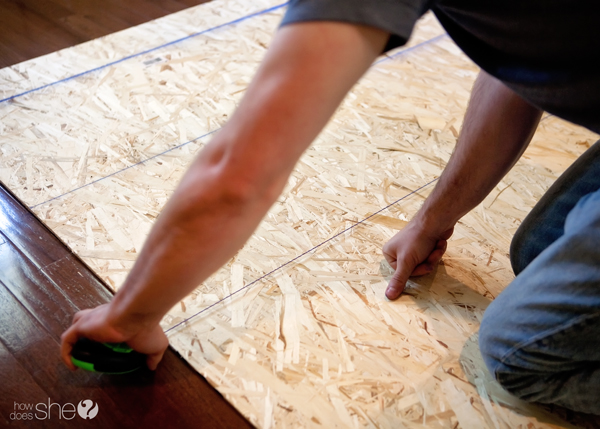
In order to make sure everything lined up correctly, my hunky fella grabbed a chalk line and we made a grid out of our measurements. Made things easier!!
I’m not going to lie (like I did about the buttons!), my husband did most of the project from here and I was just the manager. I’m the brains and he’s the muscle….no one tell him I said that! 😉
We, ahem…He drilled small holes into the wood where the buttons will go. The hole really just needs to be big enough for your extra large needle and thread to fit through. 1/4″ drill bit should work just fine.
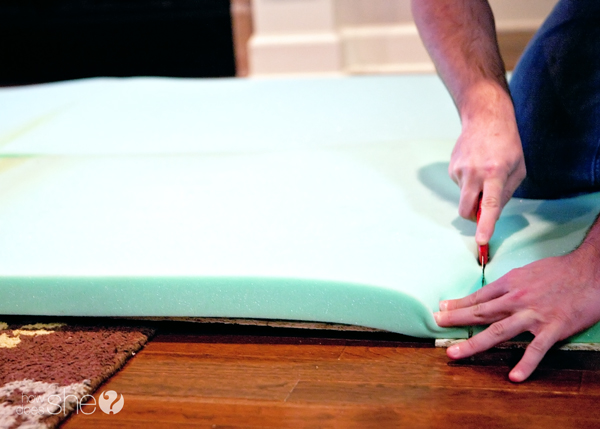
Next, we laid the foam pieces onto the board. Since we have two pieces of foam that are 24″X84″, the length was perfect (48″ of foam on our 48″ board). So, we only had to chop off 6″ off both pieces to fit it width wise.
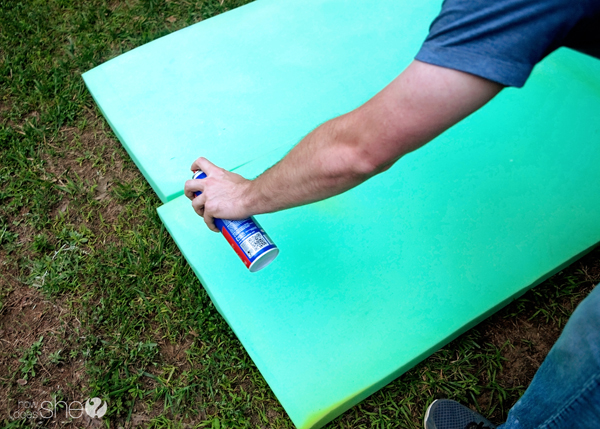
We took the board outside, propped it up on a couple saw horses and sprayed adhesive onto the board. It really doesn’t matter which side you spray the adhesive. We chose the side with the chalk lines on it so that we would be covering the chalk up with the foam and contain the chalky mess.
Now, you will want to spray one side of your foam piece so that when you put it on your board that baby will stick like, well, glue!
It was a two man job getting the first foam piece lined up on the board. Once it was properly lined up with the edges, he sprayed the side of the foam so that the other piece of foam would stick to it.
Place your second piece of foam onto the board, lined up with the edges. Give it a few minutes to dry.
You’re ready now to start assembling your awesome headboard. Aren’t you excited?!!
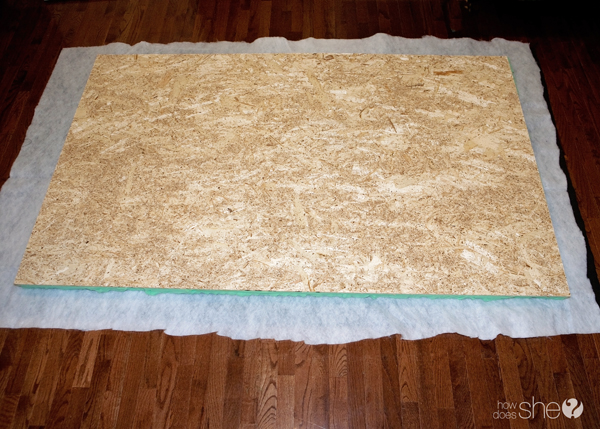
You will need to lay your fabric on the floor, right side to the floor. Then, grab your batting and lay it on top of your fabric. Then lay your board, foam side down onto the batting. Now, grab those scissors and trim the fabric and batting. You will want your fabric/batting to have about 6-8″ of room around the board. This will be the part that will fold over and be stapled to the back of the board.
And before you get the staple gun out, do yourself a favor and grab a pen and start circling your button holes. You will thank me later.
Get ready to do some stapling. It helps to have 2 people when stapling, one person holding the fabric tight and the other person stapling. Think of it like a major trust exercise. 😉
Wrap the fabric and batting and staple, staple, staple. I think we tried to put staples every 3 inches. Then, when you get to a corner, think about it like wrapping a present and once you get it tight, staple it down.
After you get done stapling you will have a decent looking headboard. But DON”T STOP! Yes, I’m breaking out the shouty caps again! Trying to keep you motivated. This isn’t the easiest thing you will ever make but definitely one of the most worthwhile ones!
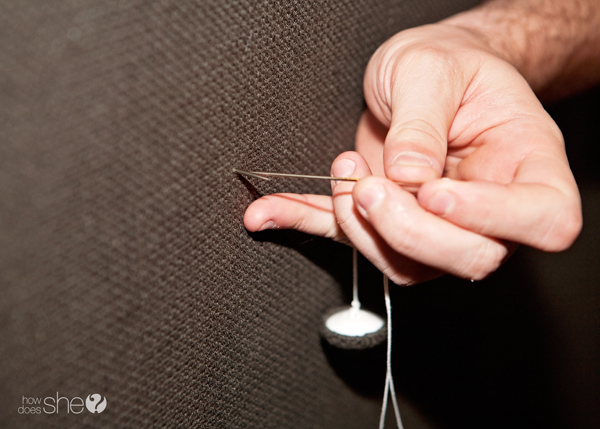
We used doll needles for attaching the buttons to the board. Let me warn ya now…the buttons are going to take a little time and patience. We used the wrong kind of thread when we started the project and quickly learned we needed to switch to something a little heftier. So, I’m going to save you some time and let you in on the secret thread you need to use. It’s not “thread”, it’s thin white braided rope also known as “kite string”. It’s the perfect “thread” for the buttons. You’re welcome. 😉
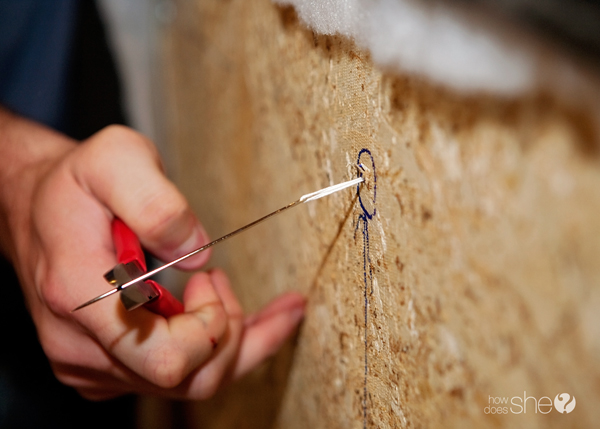
Why two needles? We used one needle to poke through the back to the front to show us where the hole was actually at and to use as a guide to slide the needle and string alongside.

Grab a button and string. You will want to thread your needle with your string and go through the hole in the back of the button with the needle, tie a knot at the base of the button, then re-thread the string onto the needle.
Using your back needle as a guide, insert your needle with the button into the same spot and remove the back needle.
He used pliers to pull the needle and string all the way through the hole. It’s easier on the fingers.
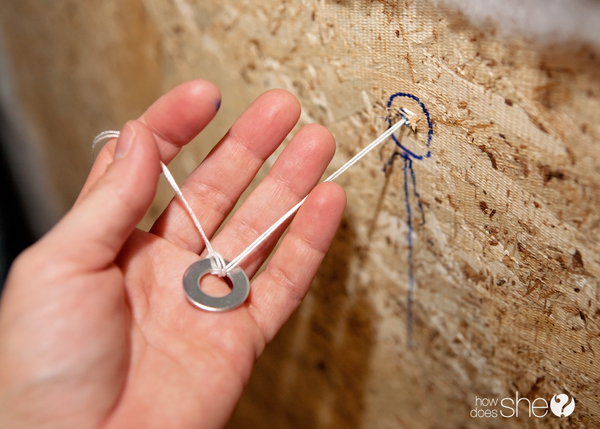
Now that your string is all the way through, you need to loop your string through the washer. This will help counterweight the button and keep it tight.
You will want to push in on the button and slide the washer as close to the back of the board as possible, allowing the tension to pull on the washer to hold resistance on the string.
Make sure to measure your own bed frame for this part. We took 4 1X2’s (that are each 4 foot long) and attached them to the back for support and to attach the headboard to our bed frame.
Make sure your screws aren’t too long when you attach your support boards to your headboard. We used 1.5″ screws and it works perfectly. They are long enough to go through the support board and the particial board but not too long that we have to worry about it going through the foam and fabric on the other side.
Predrill the screw holes into the 1X2’s or the wood may split. Drill enough holes that you feel that the support boards will hold the weight of the headboard. We placed one hole at the top of the 1X2, one in the middle, and two screws at the bottom.
Here’s the backside of the headboard. We attached it to our bed frame with 1.5″ screws both on the legs of the bed frame and in the middle of our bed frame. It’s super sturdy.
The headboard sits perfectly on top of our bed frame.
And there you have it! A beautiful “West Elm” headboard! And instead of paying $800 you only paid around $150! I really love that I was able to use West Elm fabric for this headboard because I feel like I didn’t sacrifice on quality but still saved a ton of money. Although this wasn’t the easiest project I’ve ever done, I really enjoyed troubleshooting the whole thing with my husband and it definitely is worth all the money we saved on making it ourselves.













lisa says
beautiful! but hello! where did you get that wallpaper! Love that too!
Kerri King says
Thanks! I actually made a cardboard stencil and traced and painted it all! It was a pain but love the end result. 🙂
Valerie says
Yes, can you please share the wallpaper! It’s exactly what I’m looking for! 🙂
Kerri King says
Thanks! I actually made a cardboard stencil and traced and painted it all!
Darleen says
Amazing! The results came out so good. I will have to do this for my daughters room. Thanks for the tutorial.
Kerri King says
Thanks for your kind words, Darleen!
Wendy says
Looks great! Are the metal upholstery buttons we are not supposed to use the ones that look like giant brads? Because those seem like they would work really great and save a lot of headache attaching them to the board. Which metal ones were you talking about?
Kerri King says
Hi!
I haven’t seen the metal upholstery buttons. The metal buttons I’m referring to are the general buttons you would buy to do standard button cover projects, like covering a button to go on a headband. I’ve tried those and they were a huge headache and I ended up having to sew the fabric onto the button cover. No fun at all. 🙁 I need to look into metal upholstery buttons. I haven’t seen those but I bet if they said “upholstery” then they would be sturdy enough for this project. Good luck!!