Happy Friday, my friends! Well, it feels happy but when I look out my front window, all I see are grey skies and the trees billowing in the harsh winds. Not very inviting! What’s worse, that cold air is creeping into my house! EEK! That’s why I am thrilled about today’s post by our fabulous guest, Mindy! Her idea of a DIY Draft stopper couldn’t come at a better time. Take it away, Mindy!
Hi there, HowDoesShe readers! I’m Mindy from a {day} with lil mama here with a project perfect for the season’s weather.
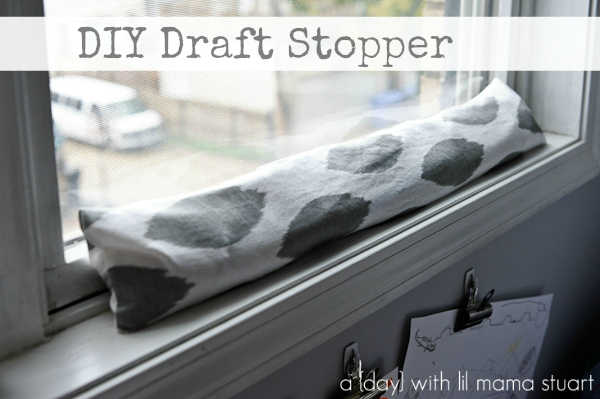
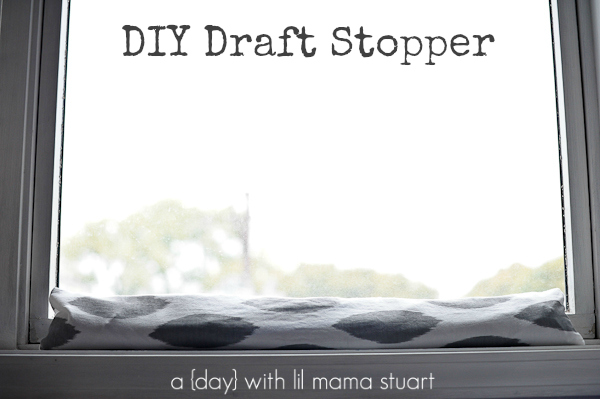
Being a month into Fall, most of us are welcoming the cool crisp air with scarves, boots and sweaters. However, I’m sure you don’t want that chilly draft coming into your home! I used to roll up bath towels and stuff them under my windows to prevent cool air from coming through. What an eyesore! But now, this DIY washable draft stopper is a much cuter way to keeping that unwanted cold air out…
Time – 30 minutes
Materials
– Fabric (A thicker or fleece type material would provide more insulation, although not used below.)
– Sand (From a home improvement store. Some people use rice, beans, etc but I don’t want to use anything perishable.)
– Ziploc bags
– Sewing machine/coordinating thread
– Iron
Instructions
1. Measure and cut your fabric using the length of your window or door + 2 inches and a width of 10 inches.
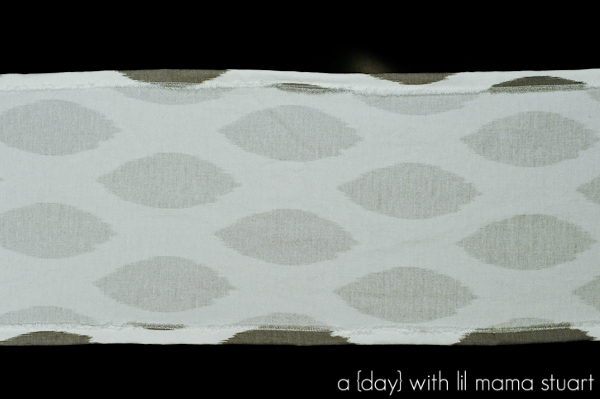
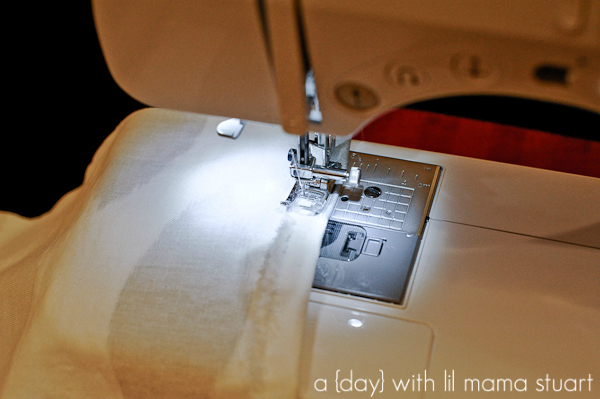
2. With right side down, fold up the long sides and sew along each edge (similar to a hem).
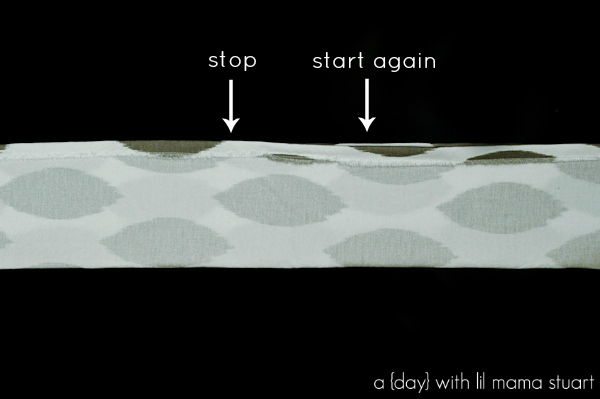
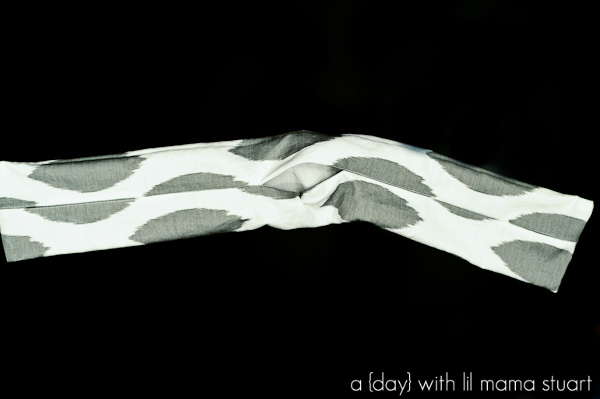
3. Fold right sides together. Leaving a 6″ gap in the middle of your fabric (see stop and start points below), sew the long edges together. You want a hole/pocket in the middle of your fabric (see picture in step 6).
Tip: You can mark your stopping points with pins so you don’t accidentally sew the entire piece shut.
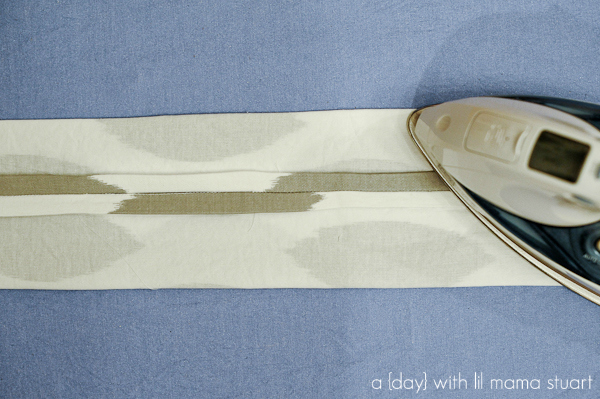
4. Place seam in the middle of your fabric and iron seam flat.
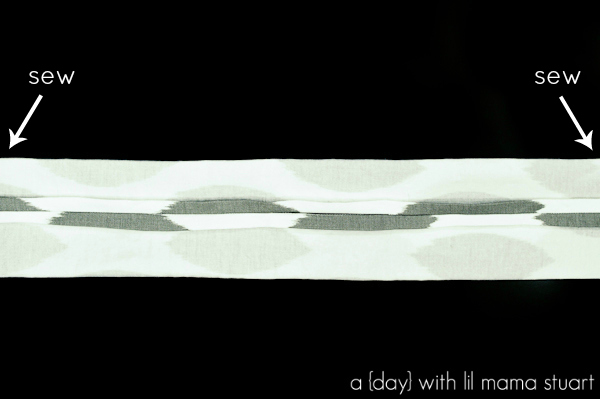
5. Sew short edges.
6. Flip inside out. You should have a hole in the middle of your fabric (from step 3 above).
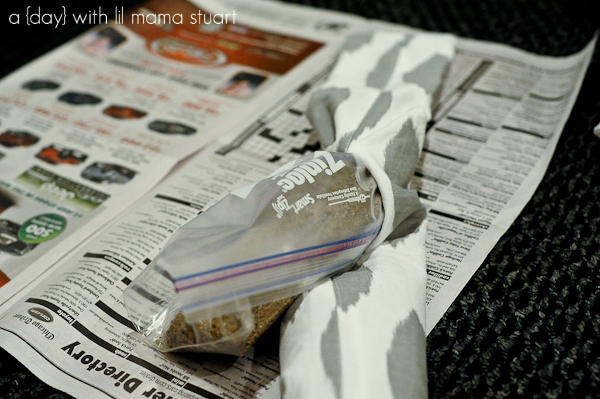
7. Partially fill a gallon sized Ziploc bag with sand. For my length draft stopper, I used two 1-gallon bags and one 1-quart bag.
8. Roll each bag of sand to create a log and squeeze out all the air before sealing. To be safe from leaks, double bag each bag so you don’t end up with sand everywhere if a bag ends up with a hole.
9. Stuff each bag of sand into your sewn piece. Tip: If the bag doesn’t fit, dump some sand out and try again.
With my daughter’s bed right next to the window, blocking the cold air makes a huge difference in Chicago’s winter!
Thanks for having me ladies! Stop on over to check out more of my DIY projects, recipes and photo sessions. I also love to plan parties, like this boy monster party, girl monSTAR party, owl party, party for under $5 and beachy pinwheel party.





Mindy says
Thanks for having me ladies!
chickabug says
These are great! I need a few draft stoppers for my house, but the store-bought ones are so… bleh. Homemade ones will be so much prettier! : )
SueBE says
Thank you, thank you! My dad was asking for some of these and I want something that I can wash for him when they get all that winter yuck on them.
Stephanie says
Oh where was this tutorial when I lived in Alaska!?!? Such a great DIY!
Miranda says
Beans and rice are non-perishable, and have been used in crafts for ages. The fact that you discount them so readily because you claim them to be “perishable” makes me scratch my head…and not really want to read the rest of the tutorial, since we’ve already established that you don’t know what you’re talking about.
Nicole says
To Miranda, the non-perishable part she may be referring to about the beans/rice could be the pests that get into them. My family had a few rice-filled sewn packs and eventually they ended up with worms in them! After that, we ONLY wanted sand.
Brent says
Such a great idea. I actually love the fabric you used (mind telling us where you got it?) although I’ll be using some extra fleece I’ve been hoarding. Thanks for the inspiration!
Brittany says
This is a great tutorial!! Thank you!!
TQ says
I love that you put your filler in bags. I’m make some if these today! Thank you for your clear instructions!
Nancy says
I made these and it was a lot easier than this is making it out to be. No ironing involved at all. And, I used velcro and velcroed it to the bottom of the doors so that when I opened and closed them I didn’t have to remember to put the draft dodger back..lol Of course, that only works if you have hard floors. I also used fill from an old bean bag I didn’t use anymore. I would also suggest using a stuffed animal filling or pillow filling. It will be much lighter and work just as well.