I have to admit that starting this visual journal process was a challenge this time around. I had my book covered and ready to go- (For Visual Journal Part I go here) but the hundreds of blank pages staring back at me kept me paralyzed. I found myself not knowing where to begin. I was stuck in fear of the outcome and worried about what the pages would end up like. Recording the process of a visual journal for everyone to see was something new for me. What if they didn’t turn out how I hoped? What if other people didn’t like it? Having to put your “art work” out there was intimidating. I didn’t know where to begin.
If you are wanting some ideas and more of a step by step guide to starting a Visual Journal- this book is a must have! She has several pages with supply lists and tips on how to do it. It also comes with a DVD that shows her creating the pages from beginning to end. You can find more about Traci and her book here.

STEP TWO: Find a place to spread out. Cover the table or floor if you are worried about paint spilling. Warning: it could get messy- but that means you are having fun right?
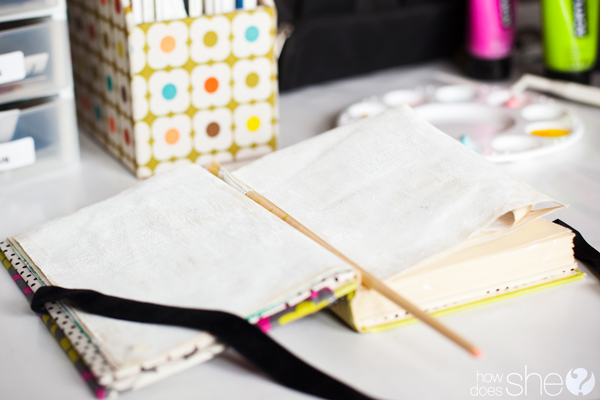
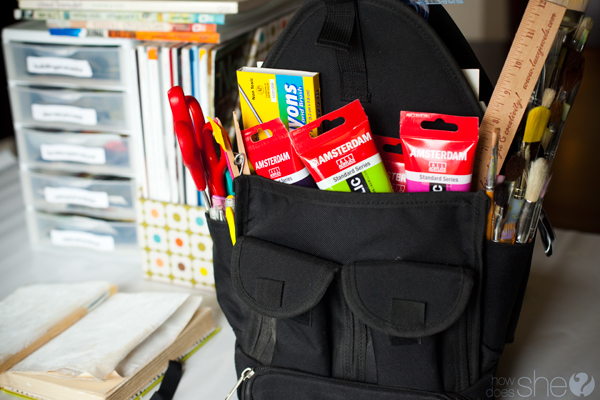
STEP THREE: Gather all your supplies in one spot. I love using my art caddy that can be transported anywhere. Note: I also like to play some of my favorite tunes to set the tone.
Supplies. I recommend gathering:
Gesso, paint, glue, scissors, magazines, cool paper, anything from a junk drawer, old ticket stubs, stamps, stickers, quotes, photos, roller, hair dryer, ink, paint brushes, sponges, scrapers, and pretty much anything you want to include. There is no right or wrong.
Note: I use magazine clippings in a lot of my journaling so I have a place where I have magazines already cut out and categorized for quick access. Plus, I don’t want to have to store so many magazines!
STEP FOUR: GO FOR IT! Just dive in there and begin. Even if you are unsure of where to start- just start doing something- anything.
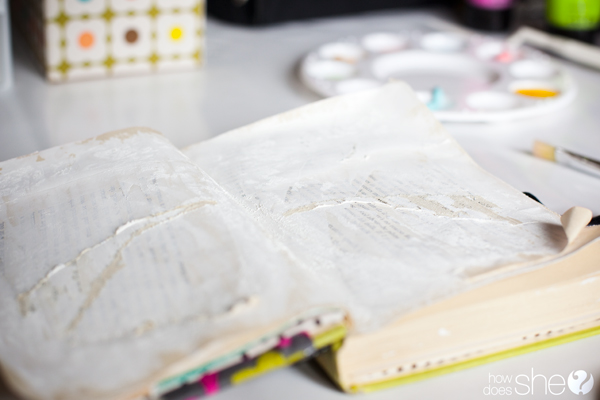
I started by ripping out pages of the book. This was hard to do at first (who likes to destroy books?) but I soon learned that I could reuse the pages by adding them into my gesso for a really cool look. Note: It is important to take out about 1/4 of the pages to allow space for the book to grow…because it will!
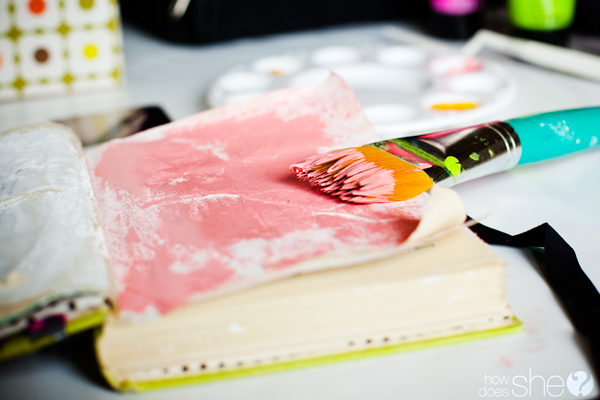
I then covered the page with extra paper and Gesso. Additional note: use a blowdryer in between layers to speed up the drying process. It helps to have each layer dry before adding the next layer.
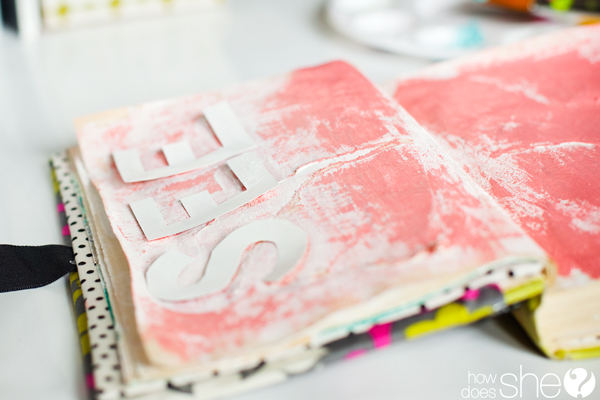
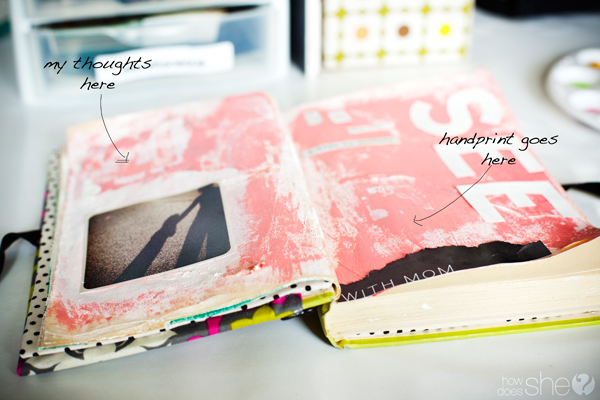
I then added some paint. Note: I chose a softer color to portray “motherhood.” Notice what colors you are drawn to for certain pages. I also just lightly brushed it on because I wanted to keep the print and gesso from being totally covered up.
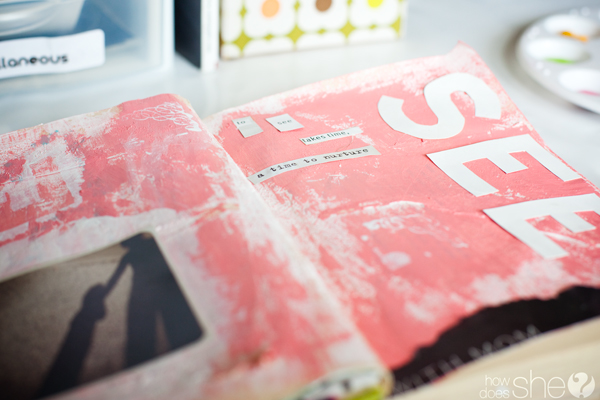
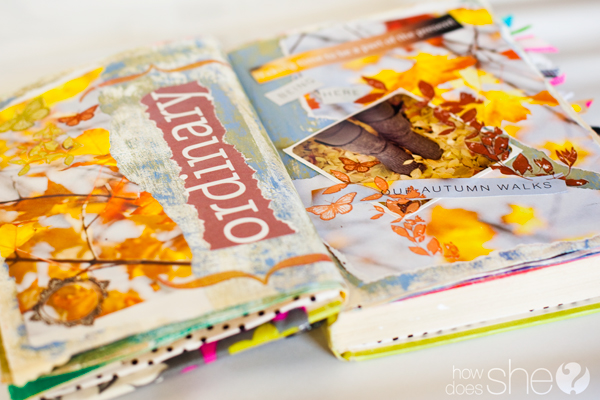
I then glued the words on the other side of the page along with an instagram photo of the shadow of my son and I holding hands. I added other phrases to the page.
Lastly, (I didn’t get this photographed) but I left space for me to write down my thoughts on being a mother and the memory of holding my little boy’s hand as we go for walks. Then I will stamp his little hand with black ink on the other page to always remember his little size.
My page is done! Easy breezy?
Remember you are done when you feel like your page is done.
I had no idea what the final product was going to be and had to just let go of My Perfectionistic Self and Inner Critic and to let whatever happened just happen.
It was so freeing.
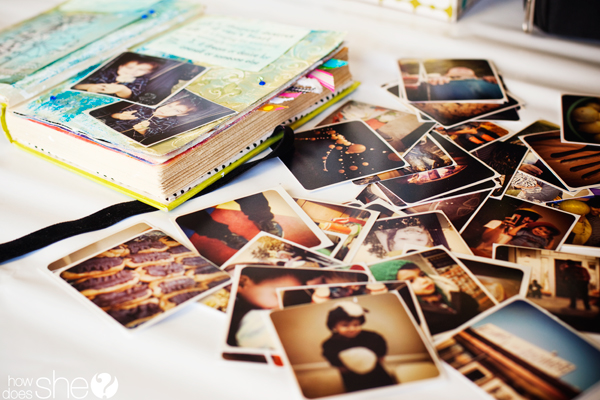
I decided that I wanted to make this particular visual journal a place where I kept all the daily things I am grateful for. So, I printed off a bunch of photos I have taken with my phone and have them stored in an envelope in the back of my journal to be able to write more on these little moments of gratitude on the rest of the pages.
Warning: Visual Journaling is addicting and you may find yourself spending countless hours engaged in this activity.
It’s so fun- once I got started-I had a difficult time stopping!
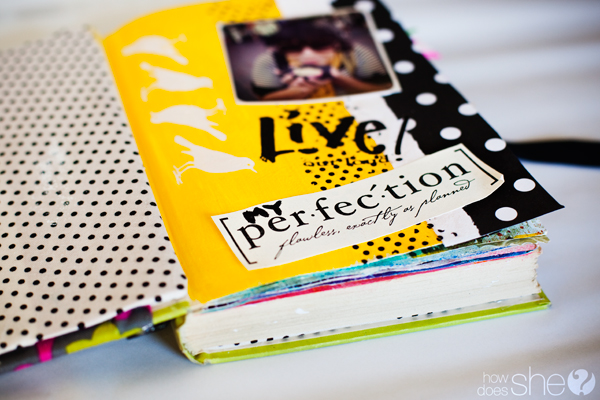
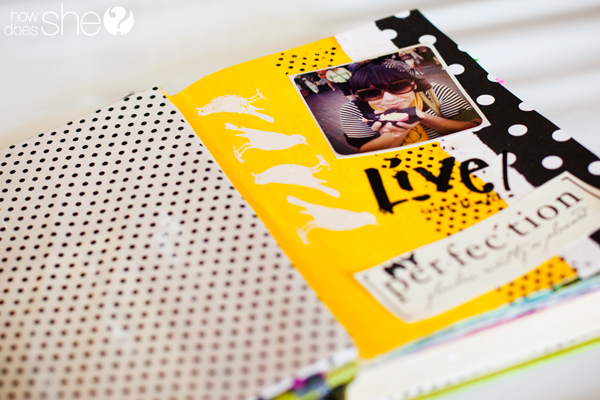
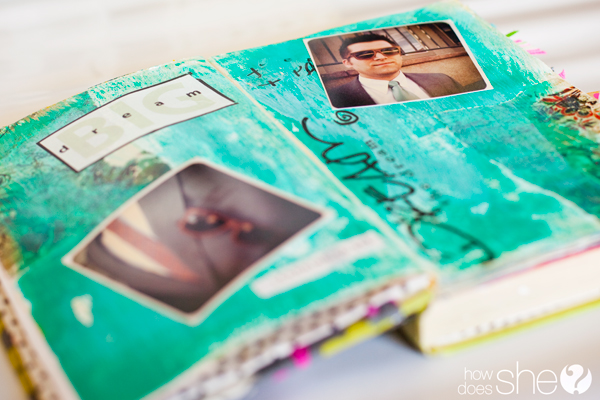
Here are some other pages I completed in this sitting.





Bobbi says
This is so inspirational! I started my own now, and am using it as a gratitude journal – a way to list things I am grateful for! So far, I’m loving the creative process. SO FUN!
Cristi says
Bobbi-
I love gratitude books- it really changes my attitude about everything when I am keeping one!
Kirsten says
Love this!! But what did you use to print photos off your phone? I document our days with my phone but never manage to get them printed for anything.
Cristi says
I usually put them on a 8×8 page in photoshop and then print them off at costco as an 8×8 print. I do that because they are photos I have taken on instagram which converts them to be automatically square.
Lucie Hale says
Beautiful job! And I love how inspirational you are in your teaching. I have a SMASH book that I am using as a visual/art journal, and it is sooooo much fun. I created a book like yours, but I a using it as a photo album. It was such a fun project.
Cristi says
Lucie- I LOVE SMASH books!! I have some of their products but haven’t actally created one…maybe my next project??
Caley says
I am so inspired by this book! I’ve never been a scrapbooker, but I love the whole idea of this! Thank you so much for sharing Cristi!
Cristi says
I used to spend hours on one page of a scrapbook to get it “just perfect” and have loved keeping a visual journal so much more for the freedom to be messy and free with it!! So fun.
Missy says
I love this Cristi – the pages look so artsy, yet so simple and doable. I love the idea of documenting (beautifully) what you are thankful for. Thanks for the motivation!
LaToshia says
Cristi, I started my own Visual Journal from your first post a few weeks ago. I see I need more supplies and more TIME!!! Like you, I am a perfectionist and it’s VERY hard for me to not be able to see the “end result.” Thanks again for the inspiration!!!
kayleigh says
Hi Cristi!! I am just now reading this but I am definitely going to make a visual journal. I am thinking probably for a summer project and I’m in the process of making a list right now. What kind of paint did you use? I am like the least crafty person ever and have no clue. Haha
Cristi says
The best part of this is that there is NO right or wrong- my best pages are all experiments! See what kind of paint you like using but I really like acrylic. I really want to know how it goes! Let me know!! Start by practicing on a sketchbook before starting on a vintage book- it helps get all the experimenting and pressure out of the way! 🙂 HAVE FUN!!
kayleigh says
Thank you so much for your encouragement! I just went and bought some supplies and vintage books today (man I could look at all those old books for HOURS. so amazing!) and I am now working on silencing my “inner critic” like you put it. I think that will be my main challenge. I am so excited to start this project and I have a feeling it will become very addictive very quickly 🙂
Jillian says
this is EXACTLY what I have been looking for! I’ve played around the idea of creating a vision board and/ or keeping up with a journal again but both seem a bit inexpressive. I love the idea that this one is a bit more personal and private but can still but displayed and shared if you care to. this is number one on my project list!
Anonymous Anonymous says
How absolutely terrible that you would destroy a book in such a way! You should have gotten a blank book or made your own. Disrespectful!
Melia says
I’m in love with your page! It’s so fun and cute, it has everything. Also, I’d like to know what you use to take your pictures with? They have such great quality! xx
Megan says
Hi! this reminded me of a post you guys put up about a year ago about how to create your own cook book with family recipes etc. I can’t find the post anywhere on the site?! 🙁 Do you happen to remember what site was recommended? All my cousins and aunts really want to organize my Italian grandmother’s delicious recipes for her and buy the books for everyone at Christmas. Thank you so much for you help!
Megan
Missy says
This company does a BEAUTIFUL job with recipe books on paper that is wipeable! They really are perfect. Check this post for more info on the company
https://howdoesshe.com/secret-inside-info-on-all-paper-coterie-deals/