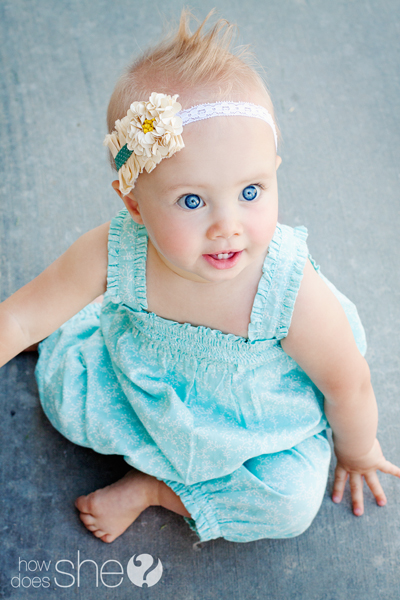
I love the vintage style that is rockin’ right now! For my baby’s first birthday I wanted something special, it had to make a statement! I needed to create the CUTEST headband of my life! Now, I don’t know that it is the cutest headband ever created in the history of the world (…..quite possibly?) but it is definitely the most adorable hair accessory I have actually made! It is fairly simple, and worth all the effort! It took me about 20 minutest to whip one out and it has been the #1 go to hair accessory for my little girl!
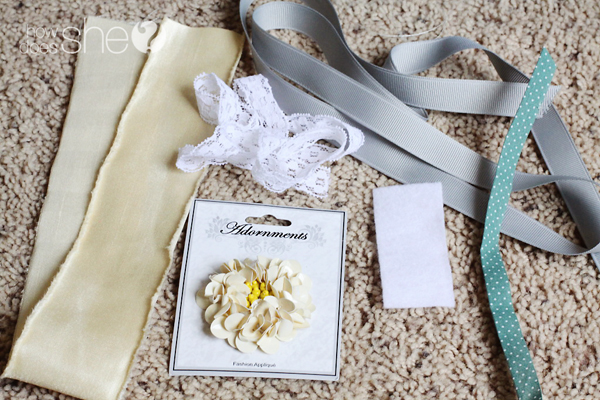
The Supplies you will need:
A strip of shantung sateen/silk
Ribbon
Felt to match the fabric
Sequin flower
Elastic lace
Sewing supplies
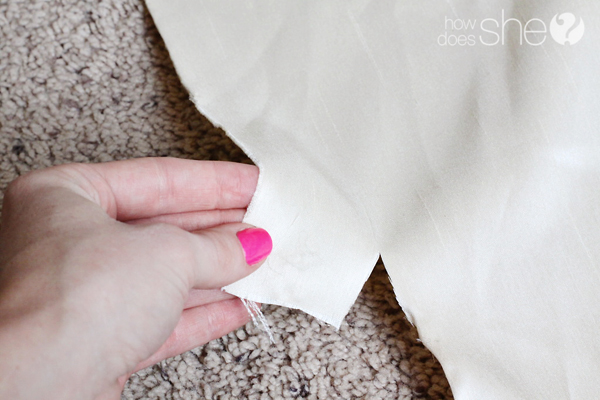
Let me tell you a little something about shantung fabric: it tears like a dream! All you need to do it clip and tear it and you will get a perfect line! Get a clean edge by tearing a small strip from the edge of the fabric first. Then measure and tear a strip to be 18 x 1 3/4 inches.
Use a sewing machine to baste stitch down the center. The stitch length should be between 3.5 – 4mm. Do not back stitch and leave long thread tails on each end!
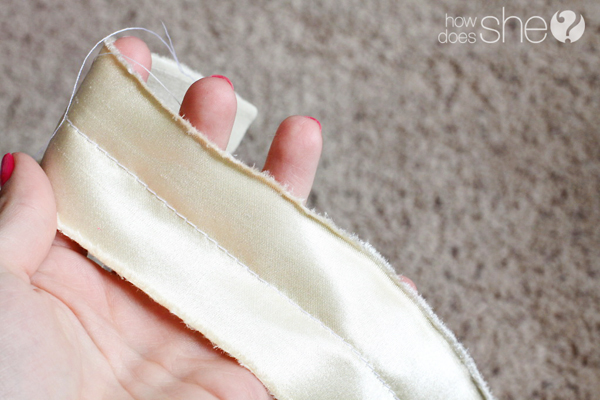
Heat up your iron and begin pulling the gathers apart with your fingers.
Hold the edges apart while you press. This is the most time consuming part, have patience and steam and press till the gathered piece of fabric is flat!
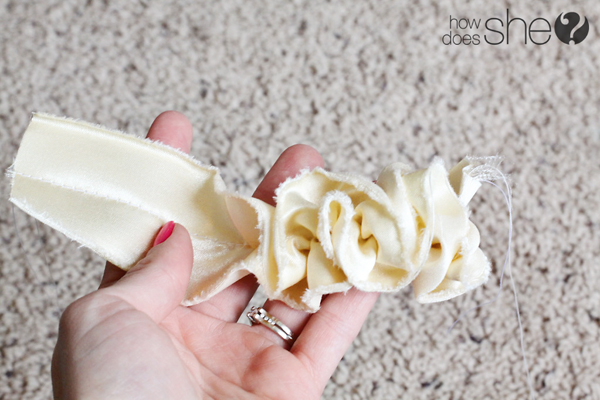
This is about how it should look when you are done. The length should be about 3 1/4 – 3 1/2 inches, if it is too long gather it a little more and press again. If it is too short then loosen the gathers till you get the right length
Sew with the shiny side up, tuck the ends of the fabric under before you begin sewing. This will give you a clean folded line on each end of the fabric. Sew at regular stitch length 2.4 – 2.7mm on top of the gathered seam. Then… Sew it one more time, just to make sure everything is secured and your gathers won’t move. Remember to back stitch both times.
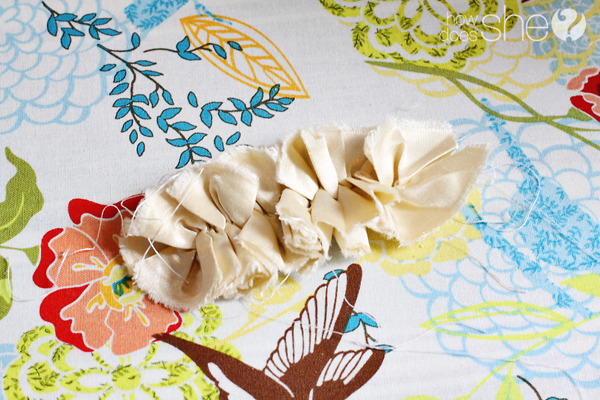
This is how it should look on top
vintage headband tutorial
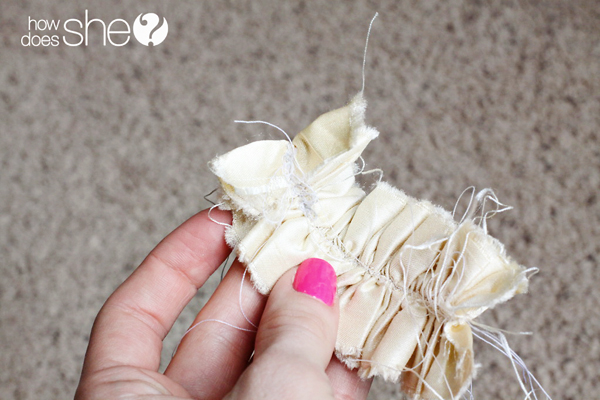
This is how it should look on back! See the folded ends that are stitched under? It makes for a much cleaner finish!
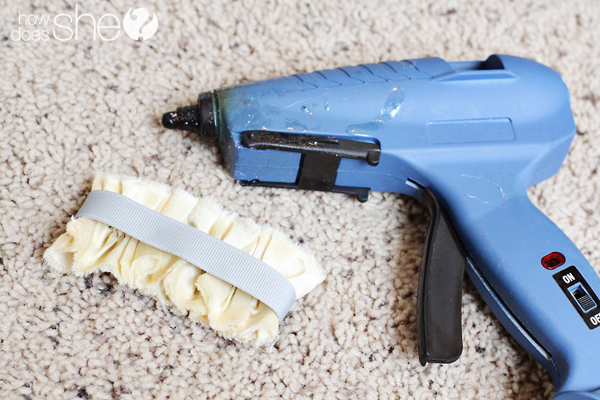
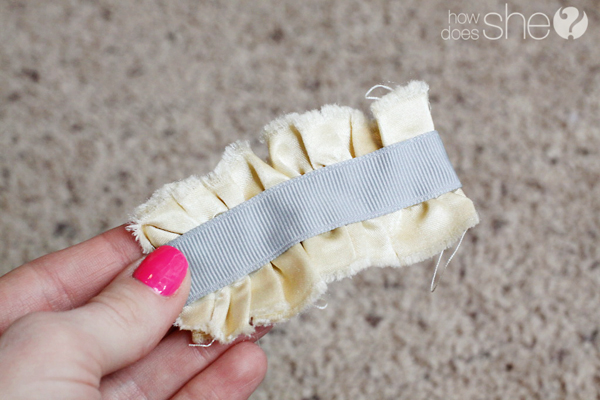
Next choose a piece of ribbon big enough to cover the seam, wrap it around the piece of fabric to get a measurement and cut it to fit. You want it to wrap about 1 – 1 1/2 inches around the back on each side (almost touching on the back)
vintage headband tutorial
Using a glue gun run a stip of glue down the center of the ribbon and place it over the gathered seam! Press it down firmly while it cools.
Then flip it over and glue the wrap around pieces to the back!
vintage headband tutorial
YAY! we are almost done!
Play around with the placement of the flower
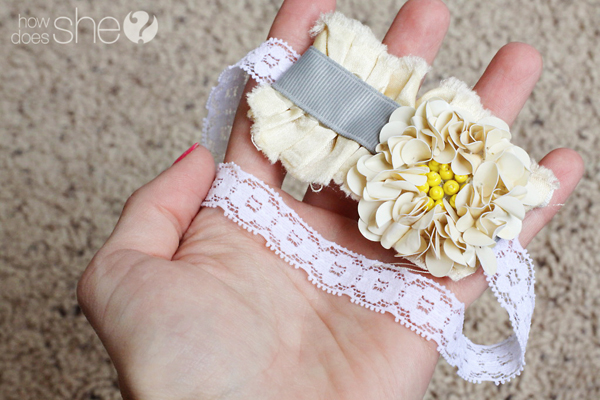
Place a dime size drop of glue on top of the ribbon (THIS IS IMPORTANT) if you place the glue directly on the sequin flower it will melt the sequins. GENTLY press the flower on top of the glue and start blowing on it to cool it down quickly, or use a hair dryer on a cool setting.
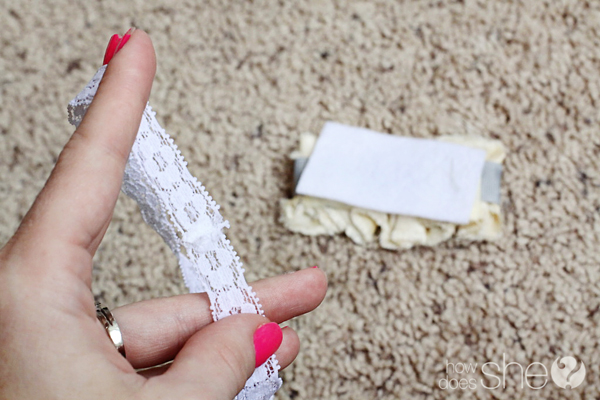
Measure the elastic lace (or any headband elastic) to fit your baby’s head. Then overlap the cut ends and sew over them with the sewing machine.
Cut a piece of felt big enough to cover the back of the fabric piece without showing over the edges. Run a strip of hot glue down the center back of the fabric piece and place the elastic headband over the glue. Allow it to cool, then run some glue over the whole back of the fabric piece and elastic lace. Quickly cover it with the piece of felt and press it down so it sticks on all edges. This will give it a nice clean finished look on the back!
vintage headband tutorial
And there you have it! This headband is stunning!
The supplies can be found at local fabric centers and fabric.com
When searching at fabric.com here are the keywords to type in the search box: “Shantung Sateen” and “Flower Sequin Applique” – i used the ‘Shantung Sateen Ivory’ and ‘small flower sequin applique beige’ for this tutorial, but there are lots of colors and different sizes to choose from!
The elastic lace can be found at some fabric centers or search “lace elastic” on etsy.com
The felt and ribbon can be found just about anywhere!
It could be fun digging through your grandmothers old ribbon to find something truly vintage!
{Sharing this fun tutorial at these parties!}










Penny says
Beautiful headband on a your beautiful baby girl!
Heather Lynne says
That baby is adorable!!!
Shelley says
Oh I love this tutorial. Thank you, thank you, THANK YOU!!!
Nicolette says
Ok, you have completely inspired me to dust off my sewing machine and get ready for this new baby girl! Such a cute headband!
Alison says
That is super cute! So is the headband. Fun post!!
Erin says
Beautiful! I’m thinking of making one for an
adult headband!
Hilyre says
Beautiful! I have to make this!!!