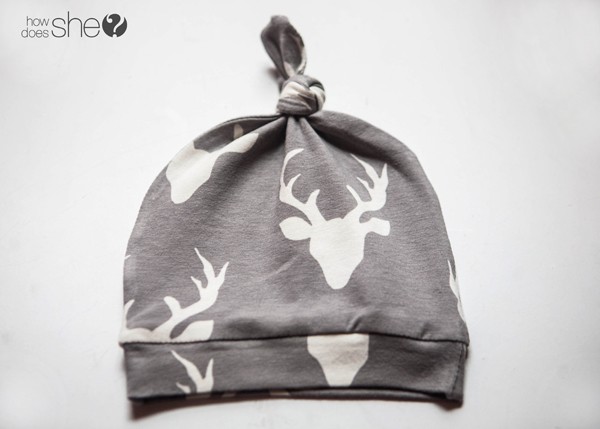
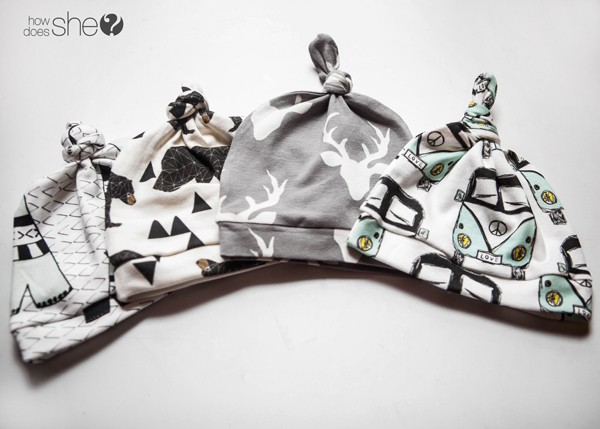
With baby #3 being due in just a couple weeks, I’ve turned into crazy sewing lady and I’m making all the things. I have two older girls and I enjoyed dressing them in cute little outfits with coordinating hair bows when they were babes. Now that I’m having a boy, I still feel the need to have something coordinating on that sweet noggin of his. I’ve decided that knot hats are the new hair bow around my house so I’ve made one to go with nearly every outfit for him. I love sewing these because they seriously only take about 5-10 minutes per hat and I think they pack a pretty powerful fashion punch.
And before we get started with the tutorial, let’s talk about knit fabric. You’ll need knit fabric to make these hats. I often hear from newbie sewers how afraid they are to sew with knit. Today’s the day to get over your fear! I promise it’s easier than you think and knit is so forgiving since it’s stretchy. You’ll want to look for jersey knit or cotton knit. It has just enough stretch to it, so it’s the perfect choice for these hats.
Here’s what you’ll need:
-knit fabric (you’ll need a piece that’s at least 11″X24″)
-ballpoint needle
-thread
-pen for tracing
Let’s get started!
You will notice on your template that there are 2 sizes, newborn and 0-3 months. Simply cut out the size you want to make. The hat I’m making in this tutorial is the newborn size.
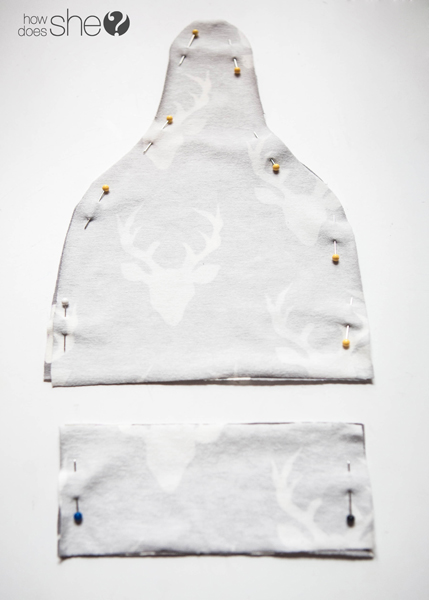
Cut 2 main hat pieces using the template. I simply laid the template onto the fabric and traced around it and cut it out.
Then you’ll need two rectangle pieces. For newborn size hats, cut them at 6″x2.5″. For 0-3 month hats, cut them at 7″X2.5″. Make sure your fabric is facing the same way and the stretchiest part of your fabric is from left to right.
Next, lay your fabric together with right sides of the fabric touching and pin.
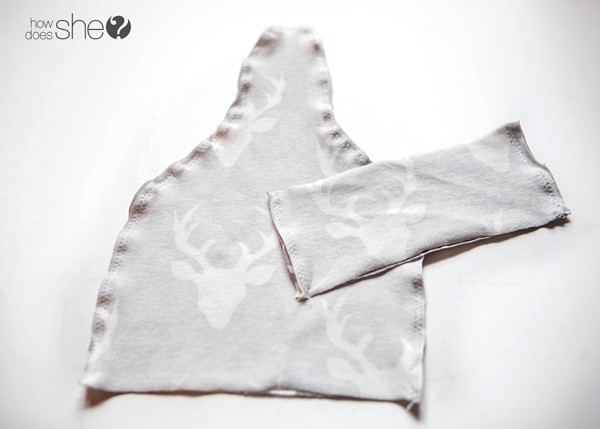
Sew around your hat using a zig zag stitch, making sure to not sew the bottom closed. Sew the short ends of the rectangle pieces together using a zig zag stitch.
The zig zag stitch allows the fabric to be even more stretchy which is important for this style of hat.
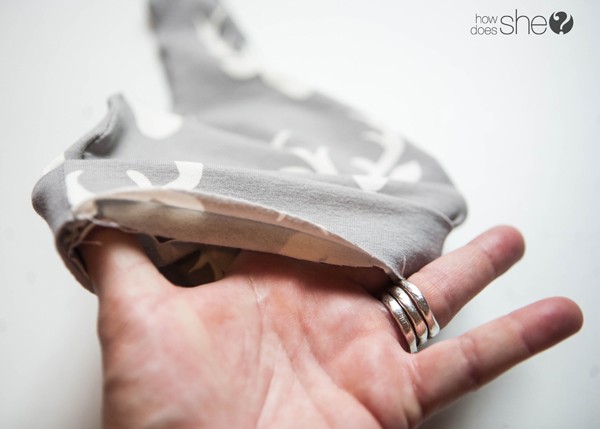
Turn you main hat piece right side out. Grab your rectangle piece and fold it in half so that it looks like this:
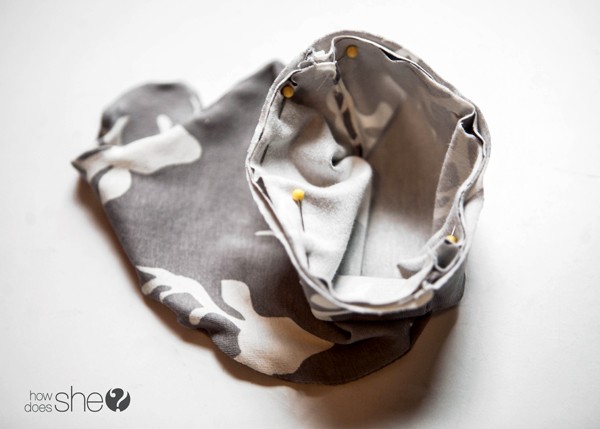
Fit the rectangle piece on top of the main hat piece. You will have three layers of fabric that go in a circle.
Pin the rectangle piece to the main hat piece, making sure to line up the seams on the sides.
Sew all the way around using a zig zag stitch.
Flip the band down to hide the stitching on the inside and iron.
Tie a sweet little knot at the top and there you go! A knot hat that was knot hard at all!
These would make the perfect baby shower gift, too. I plan to make up several just to have on stock for upcoming baby showers.
For more baby DIY cuteness, check out these fun tutorials:









Missy says
These are adorable!
Artigianato e fai da te says
Good work, congrats, from Italy
Jen H says
Where did you find the adorable knit fabric from? I am having a hard time finding cute stuff!
Malorie says
These are perfect!!! Question, do u have sizing for older babes? I just saw 0-3 on tutorial
Thanks
Marie-Soleil Lamarre says
I would like to know the same thing!! 3-6 months and older please!!
These are great!!
Christa says
Where did you find the adorable fabrics? Do you know if they are still available? I am looking particularly for the gray deer antler fabric.
Tia R says
If you haven’t already found it, its available at fabric(dot)com 🙂 In several colors!
janine says
What is the name of the line?
Stacia says
I finally got to make this hat today! My sewing machine gave me some trouble, but your template and picture instructions made making it simple. I did iron the rectangle peice once it was folded to make that easier on me.
Janelle says
Please share where you found the fabric!!
Michelle says
What is the seam allowance we are supposed to sew with?
Anna Kuiper says
In the pictures, the newborn rectangle piece is 6.5”, which is a little smaller than the hat template, so probaby no seam allowance.
Tia R says
Thanks for such an easy tutorial! I made four in less than 30 minutes! Baby#3 due in a month, and I’ve been making everything I can! These are super adorable!
Kay says
I love these adorable wee hats and just finished making three. Great tutorial. Thank you for sharing!
D says
I just wanted to say that at first I did not think this was going to go well. I have never sewed with knit fabric before. I suggest that when you first start that you sort of stretch it out while sewing just because mine would bunch up and get snagged. Once I stretch the fabric a little while pulling it through the hat went really well!
The directions on here were awesome!!!
thanks!!
Lisa says
Thank you so much for this template. I made a hat as a present, you can see it here: https://stubenhockerin.wordpress.com/2017/09/26/babyboom/
Samantha says
I would like to make this hat for a 3yo as part of a Halloween costume. Any idea how wide one piece of fabric would be for a toddler? Thank you!
Tessa says
Such a cute tutorial, can’t wait to make one!
Jasmine says
What is the seam allowance??
Cornelia Goddard says
Hi Kerri, these are super cute.
Cornelia
Midwife from South Africa