I learned from the best!
As a child I remember canning everything with my mother and grandmother. Tomatoes, pears, peaches, salsa, apples and so much more. It is such a special memory for me that I decided it was time to start this tradition with my own children. The problem was I have never canned without my mom and I had no clue what I was even doing. I read a little on Pinterest and I talked to my mom on the phone and got some tips but I am not going to lie; it was a lot harder then I remembered as a little girl.
Two years ago one of my friends asked me if I was interested in buying some boxes of peaches. Her father-in-law was selling them in Utah and they brought a lot of boxes down to Las Vegas. Of course I wanted some, thinking I was going to become a peach pro. I was dreaming of peach pie, peach jam, canned peaches, and peach pie filling. Basically I wanted to be Forest Gump, but with peaches not shrimp. I was going to take the peach world by storm.
That was definitely not what happened.
The peaches actually got in the way of my busy schedule that they almost went bad. So, on a day off from work, my 4 year old daughter and I went to work. We canned about 8 jars of peaches and it almost killed me. It was the most horrible thing I had ever done. But when my husband got home from work he was so impressed with all my hard work he felt bad that he missed out, and promised me he would help me the next time I got more peaches.
Here we are a year later. We are more prepared and I am NOT doing this alone.
All hands on deck.
Time to get our peach on.
Note: If you are experienced at canning peaches, this post is not for you. No offense. I am a beginner myself and I don’t think you want a lesson from a beginner.
I don’t like long recipes. And most of the time I won’t read the directions to put things together because I am a little lazy; so this is going to be very simple.
List of items you will need:
- Peaches
- Sugar or honey (depending on how healthy you want to be)
- Cinnamon
- rubber gloves (optional)
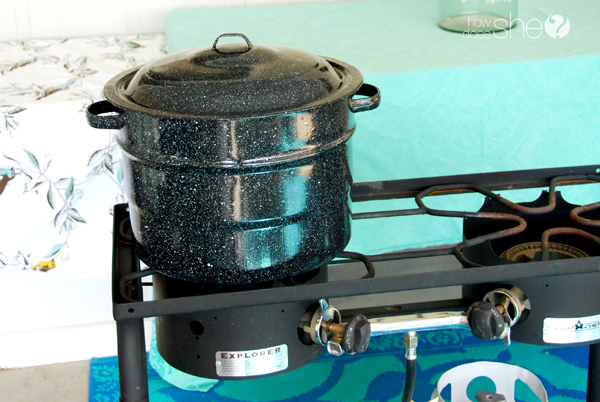
- 21 quart canner
- Canner lid
- Tongs
- Mason Jars
- Jar lifter
- Wire canning rack
- Canning funnel( optional)
I got everything at Walmart for a great deal. You can also go to canningsupply.com or amazon!
I say optional because I never use a funnel but I use rubber gloves so I don’t have to wash my hands a million times when I get interrupted.
1.. Wash the jars and rings in the dishwasher. Put 2-3 inches of water in a saucepan and put the lids in the water. Let them simmer while you are putting the peaches in the jars.
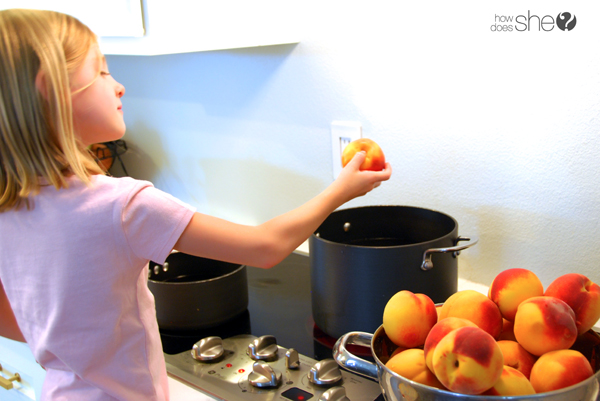
2. Wash your peaches and then put them in a pot of boiling water for 30-60 seconds.
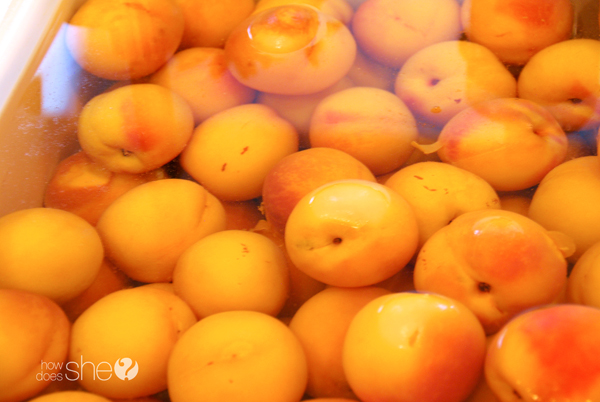
3. After you are done blanching them put the peaches in a ice water bath to keep them from cooking.
I clean out my sink really good and fill it up with ice cold water and when the peaches are ready I dump them into the sink and I use the other side of the sink for garbage.
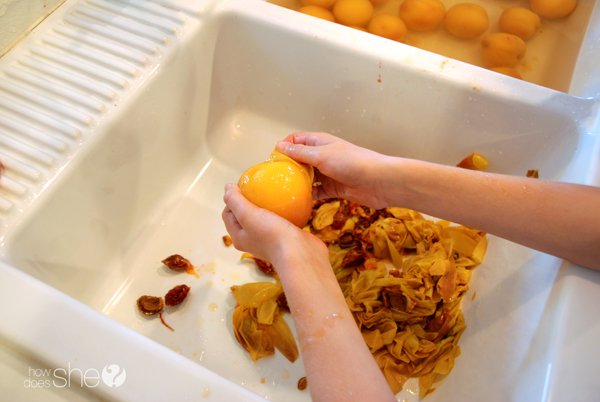
4. After sitting in the ice bath the peaches skin slips right off. If it doesn’t fall right off the peaches might not be ripe enough.
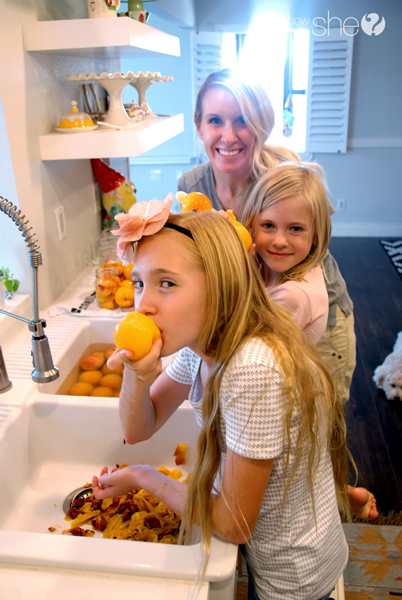
I loved peeling the peaches as a child. My girls actually were working so fast I had to tell them to slow down because I couldn’t cut the peaches up quick enough.
5. I like to quarter or half my peaches. Then I fill the jars up.
It gets pretty messy so be prepared.
6. We don’t like a lot of sugar in our peaches. Last year I did honey in some jars and cinnamon and very little sugar in the others. My family actually loved the cinnamon better.
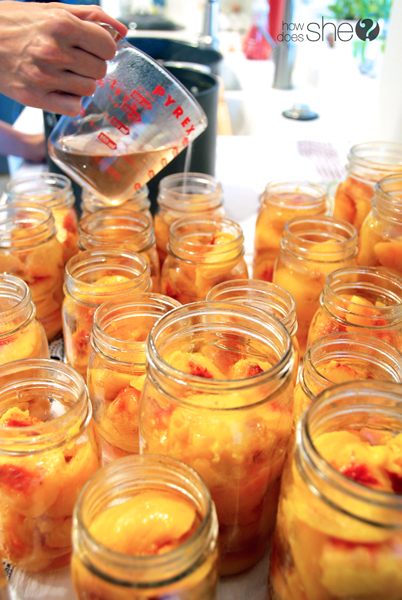
Put 9-11 cups of water in a pot and add 1 – 2.5 cups of sugar. I only did 1 cup of sugar. Then I added 1- 2 tablespoons of cinnamon.
Bring it to a boil. Try the mixture and make sure it tastes good.
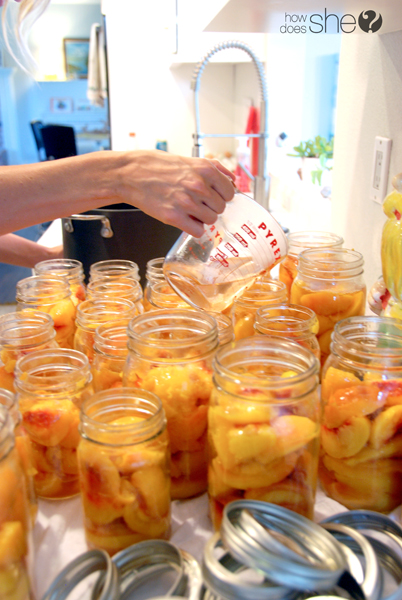
Fill the jars with the mixture. Leave a 1/2 inch space at the top of the jar.
7. To get the air bubbles out, place a butter knife down the side of the jars.
8.. Wipe off the mouth of your jars with a wet paper towel or cloth and place the lid on the jar. Screw the ring on. Not too tight.
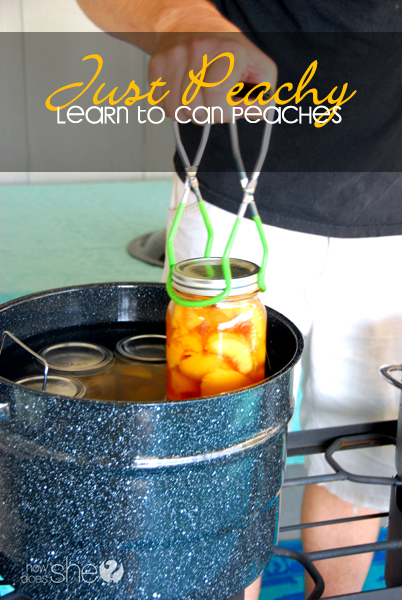
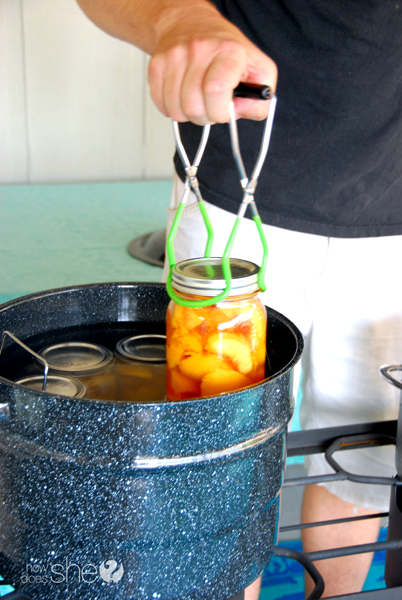
9. Place your bottles in the canner on the rack. The water in the canner can be warm but not too hot or boiling because a jar could break. The jars should be covered with about a inch of water.
10. Start the timer as soon as the water starts to boil and cover the canner with the lid. I turn the burner down to a gentle boil once the timer starts.
11. Let the jars process for about 30-40 minutes. (Depending on where you live)
12. When the timer goes off I take my jars out slowly and put them on a old beach towel or dish towel. Place them about one inch apart and let them stand for about 24 hours.
After 24 hours remove the rings and push down on the top of the lids. If the lid makes a popping noise and is not concave then it did not seal. Don’t stress because you can eat the ones that didn’t seal or refrigerate them.
We canned one box of peaches and this how many jars we filled. Not too Shabby. We love to eat them on homemade crepes and waffles.
Worth it!
Canning is a lot of work and it took us about 7 hours with 4 helpers. But this year it was a lot more fun and faster with my family helping me.
Please tell me all your canning secrets and tips I’m still learning.
What is your favorite fruits and veggies to can?
Enjoy!
Still drowning in peaches? Try out more of our favorite, “peachy” ideas!















Katie says
I LOVE this post!! Thank you Ashley! I’ll be referring to it often! 🙂
Libby shipley says
Great post! I am still too chicken to try canning. But I love to eat the yummy peaches. thanks for the great step by step directions!
Rachel says
I’ve always wanted to know how to do this! Thanks for making it seem less intimidating.
deano papino says
Yum yum! Good job!! This post made my mouth water. I love the kids helping. Many hands make light work!!! (Grandma Ruthe). I don’t go to that much work when I do peaches–but it doesn’t matter. The thing that matters, is that you did it!!! Hurray!!!
Kim says
Yum! I’m waiting for my box to come from Utah!
Kerri says
What a great tutorial, Ashley! I’ve been wanting to can some peaches but was overwhelmed. This breaks it down and makes me want to try it out! Thanks!!
Darleen says
Wow! Now that’s a huge session of canning! Makes me want go spending a weekend in my kitchen canning away. Thanks for the steps!
Judy says
Thank you so much for the peach canning recipe I have been taking canning classes but it is usually during work hours they are being offered and I can’t make it so this is perfect thanks again
Jill Lowery says
Yumm! Thanks for the recipe & tips! I love canning. I learned from The Ball Bluebook Canning cookbook. All of their books have great recipes & explain everything so that the beginner or expert will understand. I’ll put the link so you can read about the book & the link to a recipe website. Also get your Mom to hand write her canning recipes. It will be something you & your girls will always treasure! I have my G’mothers who passed away several yrs ago & wouldn’t trade them for the world!
http://www.freshpreserving.com
http://www.amazon.com/Ball-Blue-Book-Guide-Preserving/dp/0972753702
Russ says
I’m not a Walmart shopper, I get my canning supplies at my local Co-op, same price.
susan says
thanks for the straight forward and easy directions… I’m actually going to try it this summer!
Lori Spletstoser says
i would like to use the honey but the recipe doesn’t say how much to use. Can you please let me know ? Thanks
Jeri says
You can make jelly out of the peelings and pits if you don’t want to throw them away.
Noelle Cheff says
This was an excellent step by step tutorial thanks so much for making it easy to comprehend
Maria says
Thank so much for the tutorial, especially the pictures on how you organized the production. I decided to can Georgia peaches and they turned out great. Now I need to figure out what to do with white peaches. I’ve read that they are not good for canning due to its low acidity.