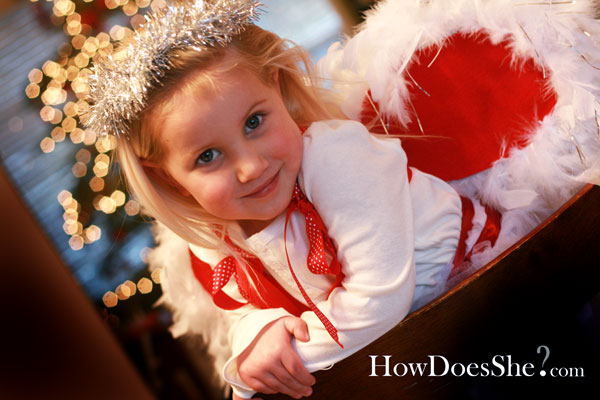
Probably one of the most popular Christmas traditions out there is to act out the story of Jesus’ birth. I have memories of crawling around on the floor with a sheep skin on my back making animal sounds at the appropriate time, or not so appropriate. I must have been REALLY good at being an animal, because I never did move up to the role of the angel or Mary…still a little bitter. Anyway, I think it is a great way to help kids visualize Christ’s birth and understand this miraculous event. We usually use the typical dish towels, rubber bands, and bath robes for our costumes – this works great – or it did, until I called my friend Emily the other day and she was making angel wings for her little girl to wear in their nativity play. After thinking she was crazy, she explained how easy they were to make so I went to see them and fell in love!
I can’t wait to make mine!
She was generous enough to let me come take pictures and offer her tutorial, which she just figured out how to make because she wanted some! She has quite the talent!
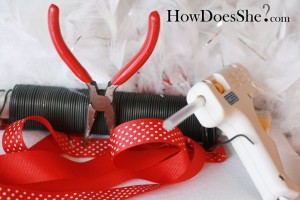
Materials needed:
white felt – 2 pieces
white feather boa – she got hers at Zurchers for $3.00
wire hanger or 16 gage wire
ribbon
glue gun
plyers (to help bend the wire) and wire cutters
Directions:
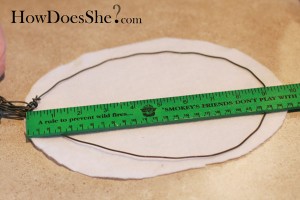
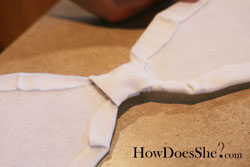
1. Cut the felt into a wing shape, Emily cut hers about 7 inches wide.
2. Bend wire to fit just slightly inside felt wing, repeat for other wing.
3. Use more wire to twist back and forth between the two wings to hold them together.

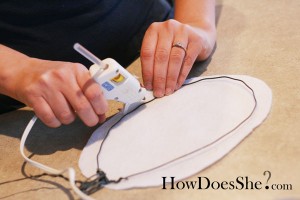
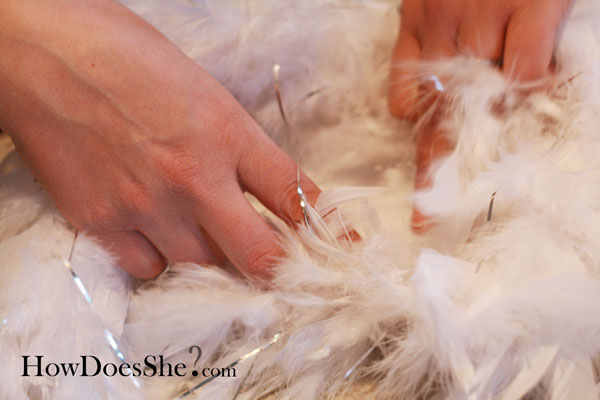
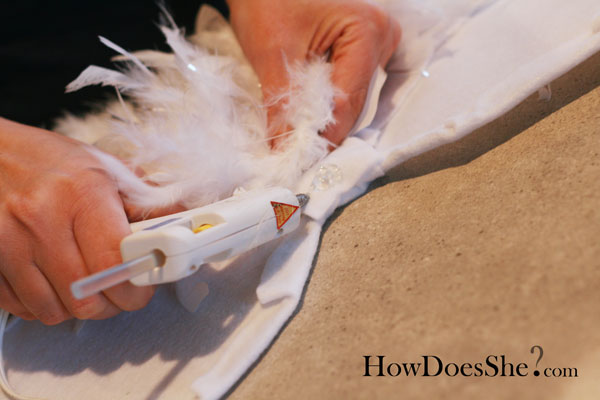
6. Find the middle of the boa and start gluing it to the outside of the folded over side of the wing.
7. Glue around the outside of one wing and keep making circles until you end up in the middle. Then repeat on the other side.
9. Tie 2 ribbons to the back middle or hot glue the ribbon to the back if you don’t want the ribbon to be seen – they will tie around your little angel’s shoulders.
10. Admire your adorable angel!
Emily, thanks a ton for the tutorial and creative idea!
She also made the tutu pictured with the wings, another project she got me to do that was pretty easy. How about a tutu tutorial, EM?
This post is entered into a McLinky party at Somewhat Simple.





Emily says
Missy you make everything look adoreable with your pictures. I wish I had half of your talent with the camera! Thanks for posting the wings with my little “Angel” in them.
stacy says
Those are the cutest angel wings I have ever seen!
What a fun craft that will get used for years to come!
Jen says
So funny! I have the same bitter feelings about never getting to be anything but the animals! That made me laugh! I can still remember wearing the sheep rugs crawling around grandmas! Good memories!
Jacklyn Edwards says
Wow look how fancy my sister is. And I agree that Missy can make anything look fancy! not that you don’t deserve it em
Misty says
Oh my gosh I am so excited to make these and add to my studio props! THANKS!
Someday Crafts says
Cute wings! I featured this at somedaycrafts.blogspot.com Grab my “featured” button.
Stephanie says
How darling! Love it!