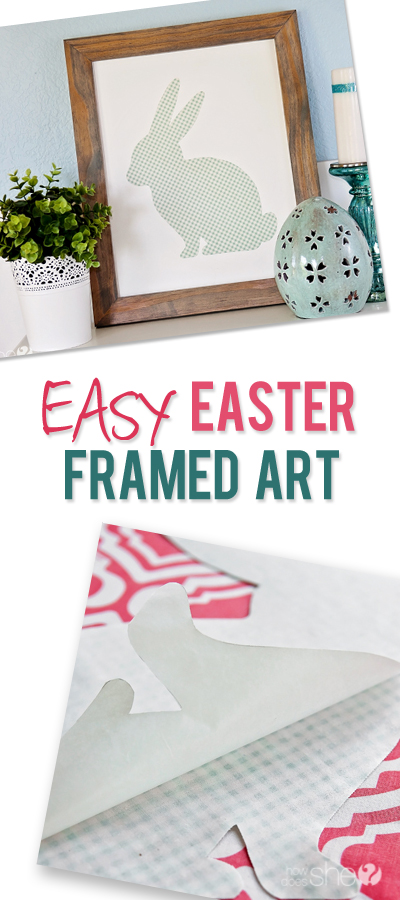
While the kids were on spring break, I arranged several Easter crafts for them to help pass the time. But I’m a sucker for starting a project – especially a holiday one, so I crafted right along side them. My husband would argue that I should just finish one of the three projects I already have started, but what fun would that be?! Besides – all the materials used for this artwork were leftover from other projects. Makes it even better!
Materials needed:
- Piece of MDF (MDF works best because it creates a completely smooth surface. I used a scrap piece of ¼” MDF. You can find 2’x4′ project panels at Home Depot)
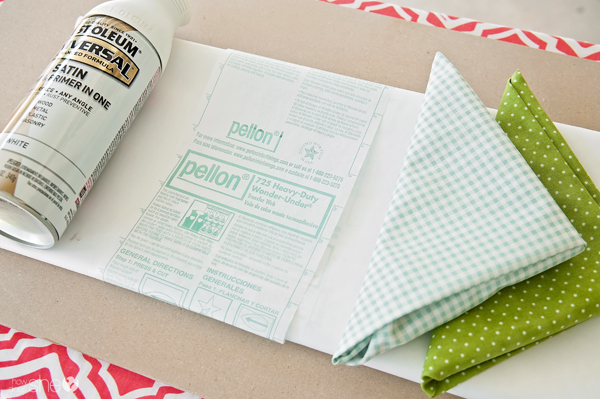
- Paint
- Fabric
- Pellon (725 Heavy Duty Wonder Under – purchased by the yard at fabric stores)
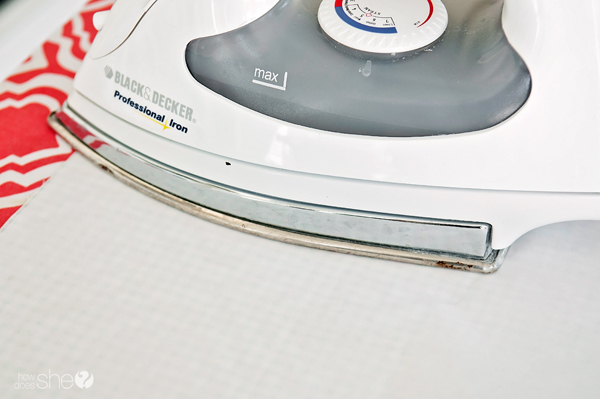
Paint the wood your desired color and let dry. Following the directions on the Pellon, use an iron to attach Pellon to the backside of your fabric.
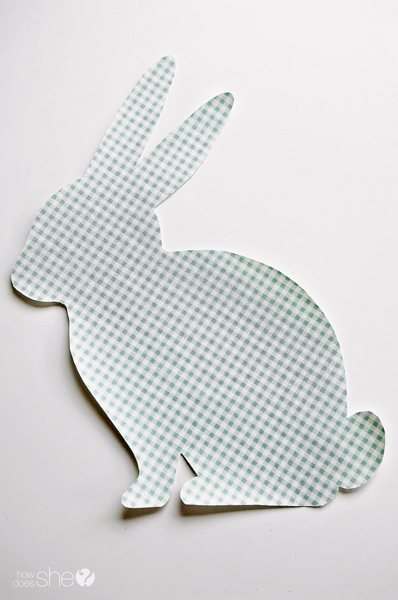
On the backside of the Pellon, trace your desired shape and cut out. You can download the PDF of the bunny I used here and scale it to the size you need.
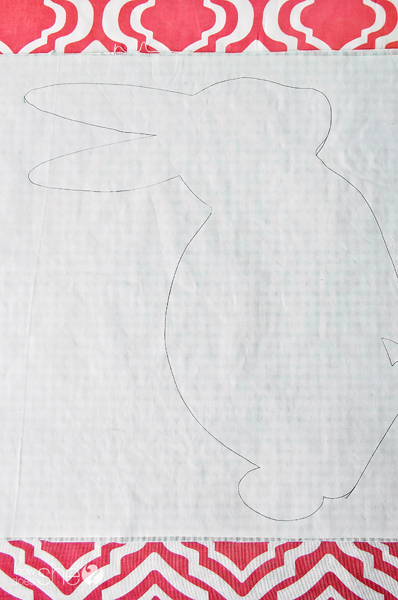
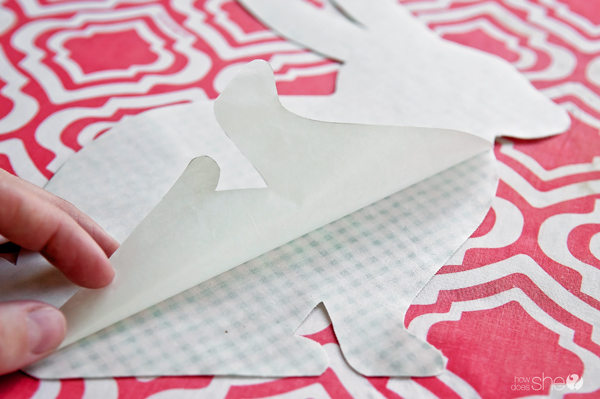
With the bunny cut out, your’e ready to peel back the paper backing on the Pellon. If you’ve never worked with Pellon, don’t fret! It’s very easy, just follow the directions on the label. It will leave a coating on the back of your fabric.
Using your iron on a low setting, carefully place the fabric on your board and iron into place. Avoid letting the iron sit on your painted surface, but make sure you get all the corners pressed down.
Now rummage through your garage, find that stack of wood scraps you’ve been saving for no apparent reason, and build a frame! (Tutorial to come) If such pile of wood does not exist in your garage (how my husband would prefer) use any frame without the glass to display your new Easter art.


To see more of our easy spring break Easter crafts check out this salt dough garland and these wooden easter eggs.


Rachel says
So cute! I have also used in the past to create season wall art!
Alison says
Super cute! I love that frame too.