
Do you have a drawer in your kitchen that looks like this?

I actually have two. Two drawers of gizmos and gadgets of plenty. I’m a pretty organized person, especially in the kitchen, however this is just a hot mess.
So with the holidays coming up and knowing guests will be in my kitchen helping prepare a meal, I decided my drawers were embarrassing and something had to be done about them! But honestly, who wants to spend their money on pricey organizers?! I would much rather have a new cute pair of shoes or outfit.
I decided I would just make some of my own WITHOUT spending a dime on them! I used cardboard that I had been keeping for various projects, got into my fabric scraps, and got to work! These will come together fairly quickly. The most time consuming part is making your own box. The fabric cover is a snap to make. So let’s get this thing started because I know your drawers need some upgrading too. 😉
First things first – clean yo drawers out! I wiped mine down with some antibacterial wipes because who knows when I’ll get the chance to do that again.
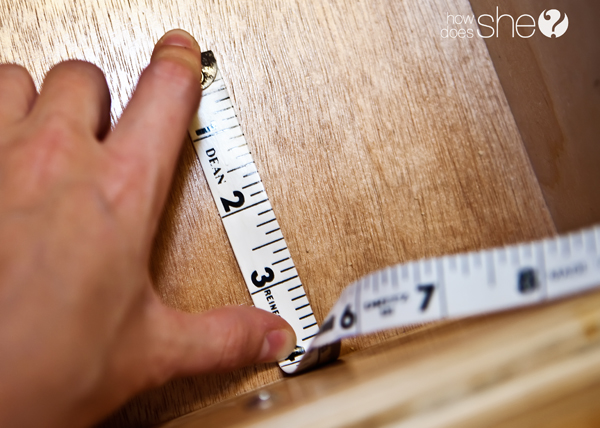
Grab a measuring tape. I preferred my flexible measuring tape that I use for sewing projects. It made it easier to get my measurements but a measuring tape or ruler would work just fine too.
My drawers are 4″ tall. I think this is pretty standard but make sure you measure your own to see.

Then I measured the width of my drawers which happened to be 12″.

Next you will want to measure how wide you want your organizer to be. I liked mine to be 4″ wide but this is all about personal preference here.
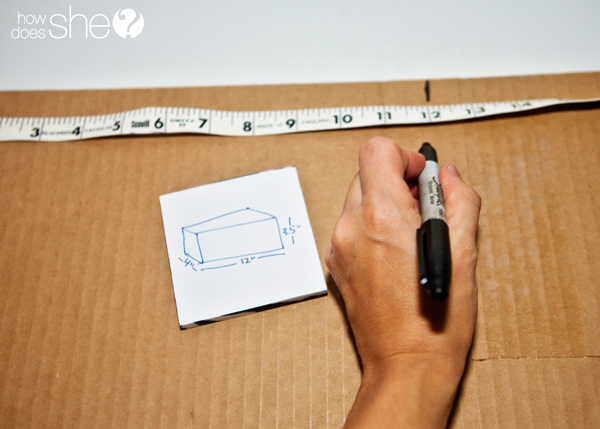
Now that you have your measurements, you’re ready to cut your cardboard. I drew out my organizer box on a piece of paper and wrote the dimensions because I’m a visual learner. You math minds might not have to do that!
You will see that I put 3.5″ tall and you might be thinking I thought she measured and her drawers were 4″ tall? This is to give room at the top to make sure your drawers close properly. So whatever you measurement is, I would subtract a half inch to it.
You will need to cut 4 pieces to make up your sides of your organizer box. It doesn’t have to be perfect (obviously – look at those crooked lines!).

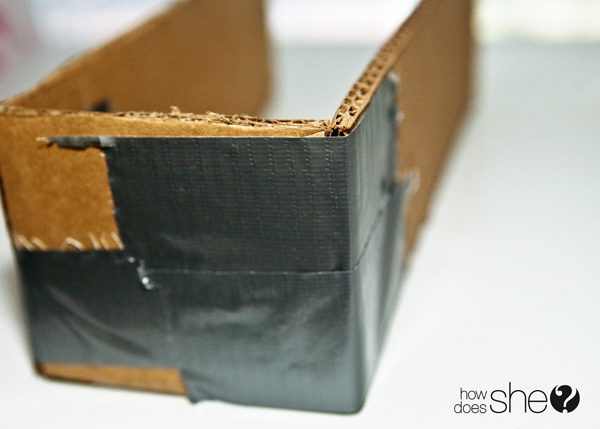
Get your old trusty friend, Duct Tape, and start taping together your corners to create your box. I taped both on the inside of the box and on the outside for extra support.

Next, you will want to measure the bottom of your box. It should be (in my case) 12″X4″ but measure it just to make sure and cut another piece of cardboard for your bottom.
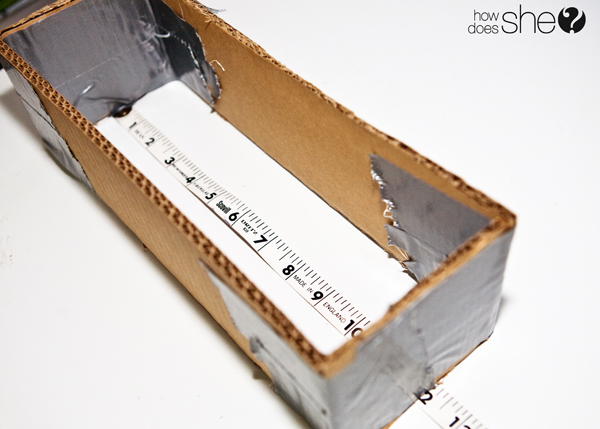
Tape the bottom of the box to all four sides.

You should have a box that looks like this. If this was written by my husband this would be the end of the tutorial. Thankfully though, I’m here to help make this not only functional but pretty. 😉

Now you will need to get the inside circumference of your box to cut your fabric. Since my box is 12″ long 4″ wide, my circumference is 32″ (simply add the length of all 4 sides of your box – 12 + 12 + 4 + 4). 32″ will be the length of my fabric and now to figure out the width.
I used my flexible measuring tape for this but it’s not necessary. Basically you need to measure the height of your box, double it, then add 2 inches. Stay with me here and I’ll explain why. Your fabric will need to cover the inside of your box (3.5″) and the outside of your box (another 3.5″) and then be able to hug the bottom of the box with the elastic that will hold the cute fabric cover to your box (that’s where the extra 2″ comes into play).

So the final measurement for the main piece of fabric will be 32″ X 9″
You will also need to cut a smaller piece of fabric for the bottom of the box. Mine is cut at 12.5″X4.5″ Basically, it’s the size of the bottom of the box plus a half inch seem allowance.

Take your big piece of fabric and iron down a 1/4″ casing for you elastic.

Run a straight stitch to create your casing.
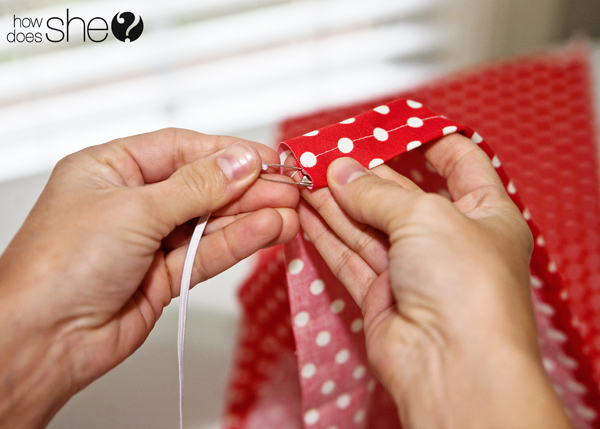
Grab some 1/8″ elastic (any smaller size will work but I prefer this size for this project). And you will want to measure out and mark a spot on your elastic. Generally I would suggest making your elastic measure 10″ less than the length of your fabric. I decided to go with 20″ of elastic for my 32″ fabric, just to make sure it was good and tight around the bottom of the box.

I like to attach a safety pin to one end of my elastic and work it to the opposite end of the casing.
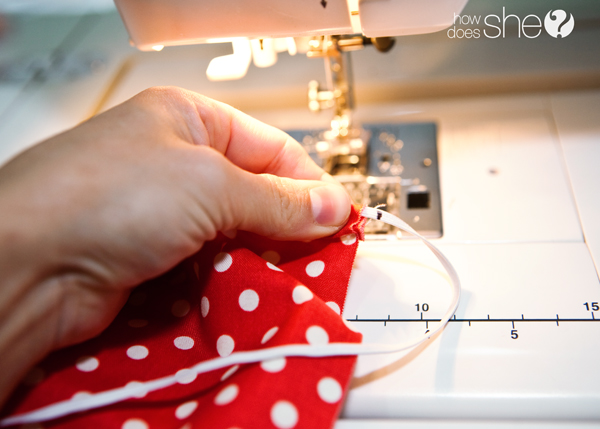
Sew your elastic to your fabric and remove the safety pin.

Pull your elastic until you find your mark and sew it down to the end of the fabric.
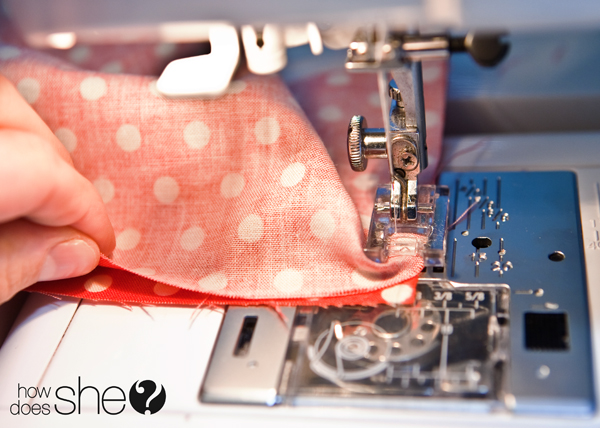
Grab your smaller piece of fabric, right side up. And then place your long piece of fabric on top of it, right sides together. You need to place the long end that doesn’t have the elastic to the bottom left corner of your smaller piece of fabric.

Start sewing your pieces together. When you get to a corner, simply work the long piece of fabric around where it will create a corner. You will go completely around all four sides of your smaller piece of fabric. Your bigger piece of fabric becomes the 4 sides to your box cover.
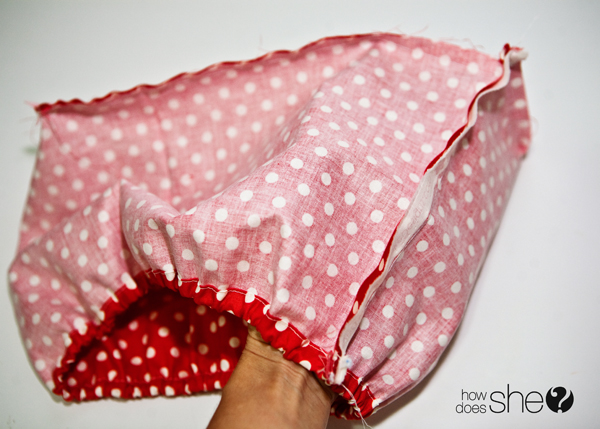
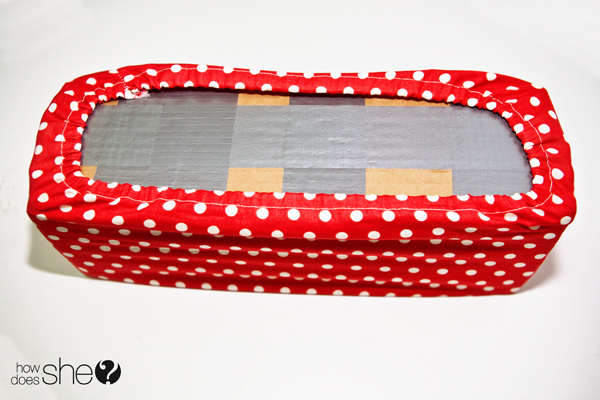
Once all four sides have been sewn, you should have something that looks like this. You will need to put right sides together on the side that’s open and sew it shut.

Place your cover inside your box and stretch it around where the elastic is on the bottom of your box. And voila!
Now go put it in your kitchen drawer and admire your hard work!

I made several and they all neatly fit together, keeping all my kitchen junk so nicely organized.
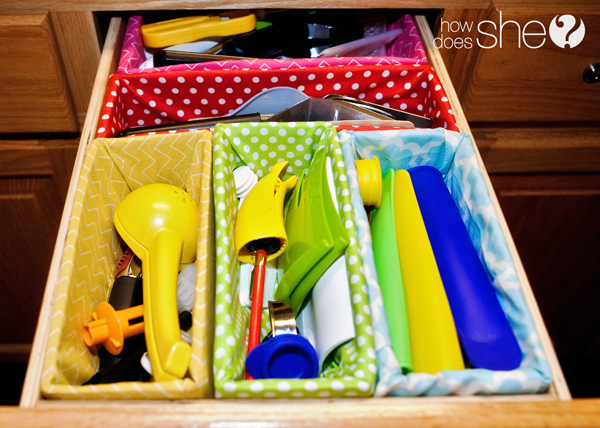
I feel totally ready for holiday guests in my kitchen now. I hope I hear Oh your drawers are so clean and cute! 😉


vanessa s says
i actually use the box to the 3lb Philadelphia cheese blocks you can get at costco or sams club. perfect size! and great way to recycle!
Alison says
These are really cute. Your pics are awesome too! Thanks Kerri!!
Katie says
Totally brilliant! I love cheap alternatives to anything! The polka dots are perfect for a cheerful kitchen.
Cathy says
I don’t know about my kitchen, I have these sorts of drawers all over my house 😉 Great post 🙂
Cathy x
http://whiskshooksandbooks.blogspot.com/