My home decorating style and interests are always changing and evolving. I try to buy classic pieces that I know I will love for a long time, but I also like to throw in something trendy and spunky- particularly on the more inexpensive side.
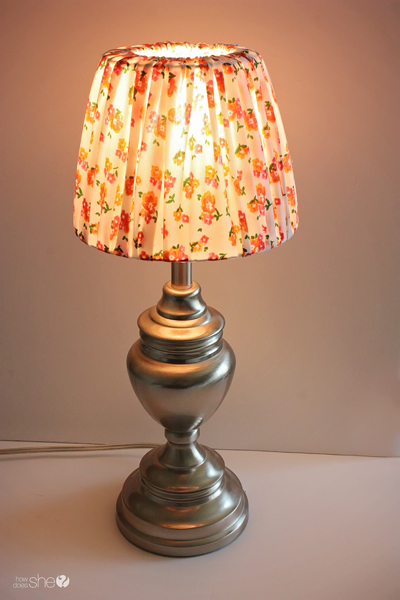
A lamp can be the perfect finishing touch to a room, and it’s even better when that little lamp can make a statement. A friend of mine was looking for a particular colored lamp shade for her daughter’s room and was coming up short. I suggested that we make our own, and in a short time, we had a wonderful result.
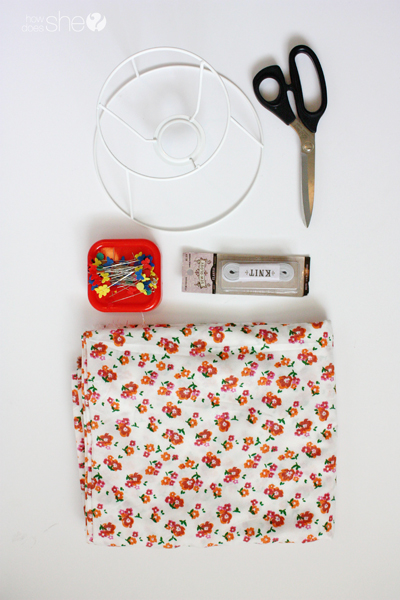
What you’ll need:
- A lamp shade form/skeleton (that’s my technical term). If you can’t find one, just cut the fabric off an old one, no problem.
- Sewing essentials, i.e. scissors, pins, a sewing machine, a measuring tape. I used a sewing machine, but you could probably do a long stitch by hand or maybe even use an iron-on fusible fabric.
- Thin elastic. I had 1/4-inch elastic on hand so that’s what I used.
- Fabric. I wanted the fabric to show a lot of light through so that my friend’s daughter could use the lamp when she reads in bed, so I chose a thin cotton fabric with white as the main color. The choice is up to you, but think about how much light you want when you are choosing your fabric.
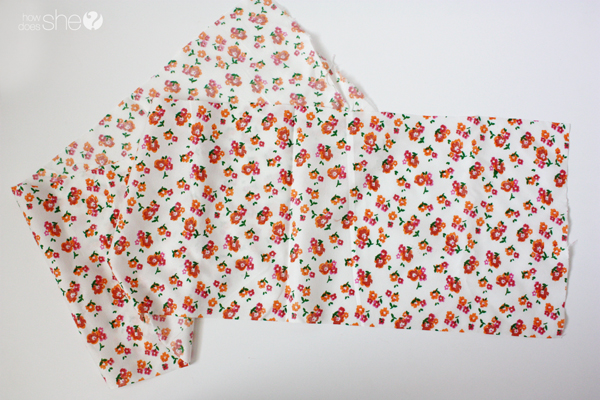
1. Measure and cut your fabric. I measured the bottom of my lampshade to be about 25 inches, so I doubled that for the length of my fabric. I wanted lots of gathering, but your length just depends on the look you’re going for. My lampshade was six inches tall, so I gave myself four inches extra to allow for seams and for the gathering.
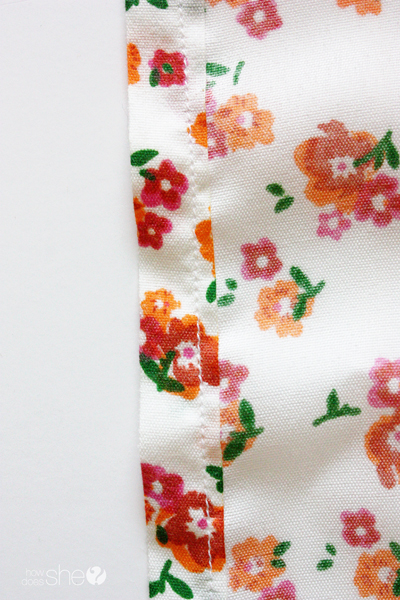
2. Measure and press the flap for your elastic. My elastic was 1/4-inch, so I made my flap just over that, probably close to 1/2-inch for seam allowance.
3. Sew your seam on both sides from end to end.
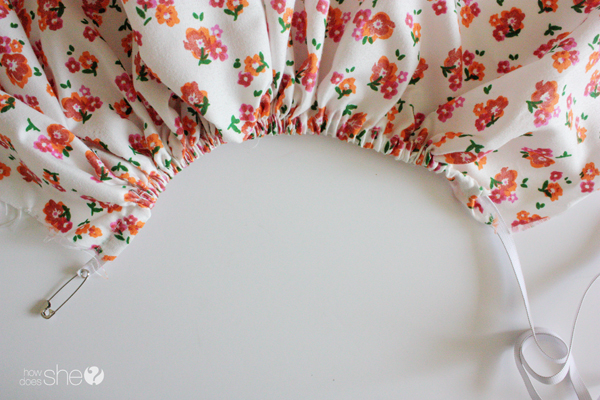
4. Using a safety pin, “thread” your elastic through the pocket you just made.
*Give yourself plenty of elastic so you don’t pull it through.
5. Thread elastic through both sides and decide how tight your elastic needs to be to still fit over your lampshade.
I pinned mine and tried it out before sewing.
Remember that the bottom elastic will be a little bit bigger than the top.
6. Pin wrong sides together and sew the length of the fabric, sewing right across the elastic making it a secure loop.
7. Try it on and you’re done! So easy and fast and totally custom.
It makes a little silver lamp so much sweeter, don’t you think?
It’s almost better when you turn it on, too! If you’re looking for a more masculine look, try a solid color and even ironing the gathers to look more pleated. Now you can customize any shade, have fun!








Reshmi says
It is pretty and easy……I really liked your idea!!
Kathy says
I love the lamp shade. Do you have to use a special material so it doesn’t get too hot and burn the material?
Jenny says
Amazing Tutorial! A great idea for covering lamp shades. Thank You
Laura says
And you can totally take theme off and wash them!! I LOVE this!
georgetta garcia says
so cute
Michelle says
Thank you soo much for this. I live in a tropical humid climate and have to deal with ( ugh) light mold issues. I refuse to buy new lampshades and I was thinking of doing this…….perfect, easy to make, hopefully to remove as well, Toss in the wash and/ or make another few, and My problem is solved! I’m off to the fabric store and Spring cleaning is going on!!!! Aloha and Mahalo👣💞🌈
Dorothy Zerbe says
I am missing something here – how did you measure and cut your fabric? You did mention that you measured the bottom of the lampshade, but what about the top? And then did you make a pattern piece first, or just measure on the fabric right before cutting? I’m definitely of the “measure twice, cut once” school. Thanks!
Mrs says
Finally i got a best n easiest way to recover my lampshade thnx dear,i will try it tomorrow INSHA ALLAH