Hello Ladies! I am so excited to share this fun project with you! I am all about being unique and quirky, having a unique sense of style, and being my own person. I love using the way I dress, the way I dress my kids, and our home, to share our personalities. I am going to show you how you can use stamps to create some fun pieces that can be used in personal style and in decoration around your home! You will go project crazy with all the possibilities custom hand stamping can bring to the table!
I am going to gear this tutorial directly toward stamping children’s leggings, but the same instructions apply to any type of clothing or fabric for any project!
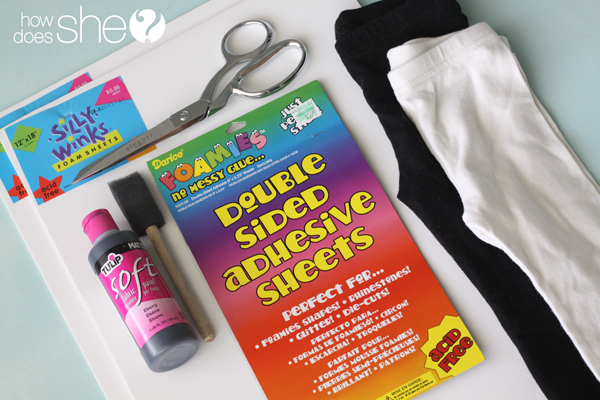
The supplies you will need for this fun little project:
– 2 Foam sheets about 12 x 18 inches and 3 mm thick
– Double sided adhesive sheets
– Tulip Matte soft fabric paint
– A foam brush
– Scissors
– Paper
– Pen or Pencil
– Leggings
I purchased the foam, adhesive sheets, fabric paint and foam brush from hobby lobby, but they should be available at most craft stores. The leggings I used for this post are from target, they are the circo brand. These particular leggings come in size 12 months – 5 years, and a whole assortment of colors! This project would work on any legging, pants, shirt, dress…. you name it!
First decide what kind of pattern you want to use. Trace or draw several sizes in that shape.
Cut the different sizes out and place them on the item you wish to stamp. This will give you a good visual to decide which size is best for you!
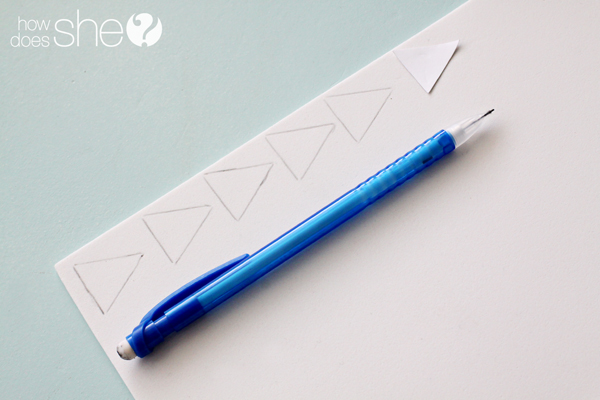
Once you have come to a decision on the size, trace the shape onto your foam sheet 5 times. Drawing them close together makes the next step much easier.
Cut a strip from the double sided adhesive sheet, big enough to fit behind the traced shapes on the foam. Once you have cut it make sure it covers the shapes completely. Remove one of the paper sides from the double sided adhesive to expose the sticky sheet. Then turn the foam over and place it on the back where you have traced the shapes.
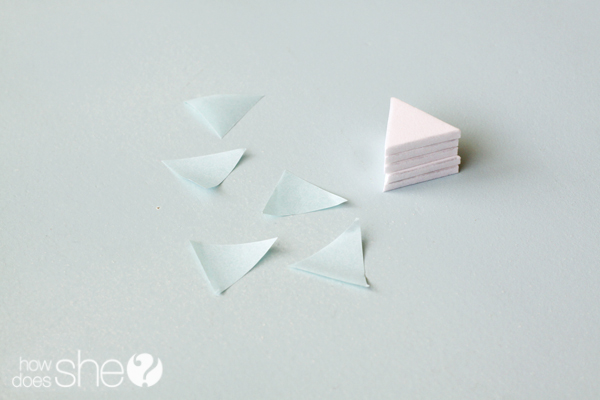
Cut the shapes from the foam and peel the remaining paper from the shapes.
Stack the shapes on top of each other. The top of the stamp should be sticky with adhesive, over time the sticky will dull, but it is really handy when the stamp sticks to your fingers while you work. It will never slip or fall from your fingers while you are stamping!
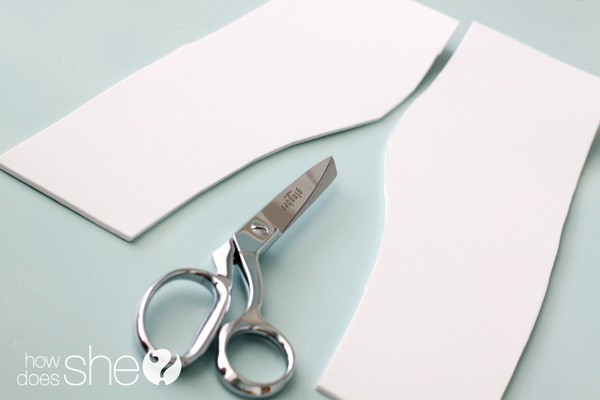
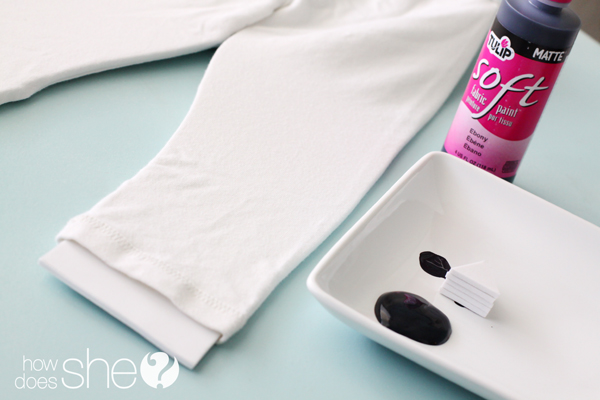
From the second sheet of foam cut two inserts for the legs. Trace the leggings and cut the foam down till it fits snugly inside the leggings. This will prevent the paint from bleeding through the fabric and it gives you a solid surface to stamp on.
Hold on to those pieces of paper you peeled from the back of the shapes. They will make a great guide for where you want to stamp. Play around and lay them out. Once you have found the spacing you think will look best you can begin stamping!
Pour some paint onto a plate and lets get ready to stamp!
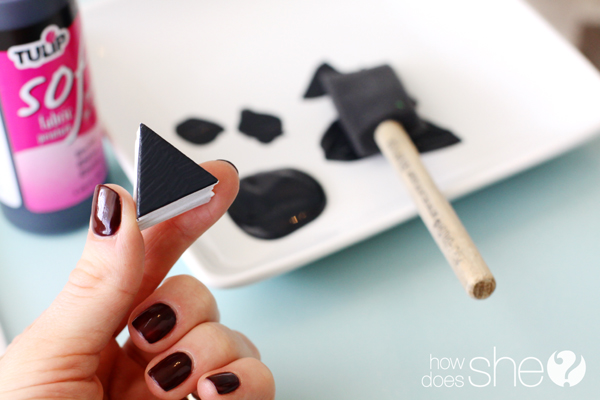
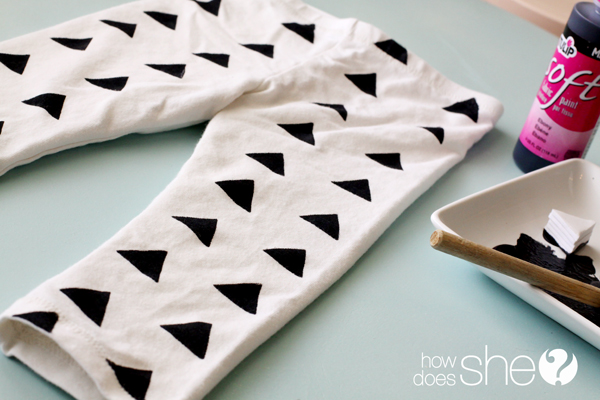
I like to use a foam brush to apply the paint to the stamp, it gives a lot more control over how much paint is transferred between the plate, stamp and leggings.
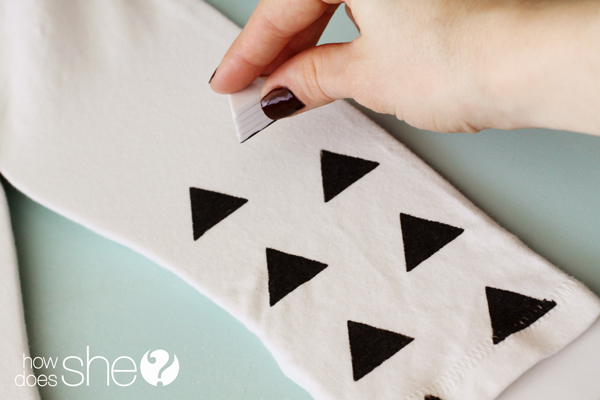
Use those paper shapes as a guide at first and you will begin to recognize the pattern as you stamp. Start from the bottom and work your way up the first leg.
I like to start at the top on the second leg so I can continue the pattern and offset the stamp evenly with the first leg. Once you have finished the first side of the leggings you need to wait for the paint to dry. I, being very impatient, like to use the hair dryer on the cool setting to help speed up the process. As soon as the paint is not tacky and and doesn’t leave paint on your finger you are ready to flip it over. I would recommend using a garbage bag or some sort of easy clean up surface under the leggings just in case. Stamp the other side of the leggings just like the first. MAKE SURE you offset the stamp from how you did the first side. So for example: if you start the stamp all the way at the bottom of the legging on the first side you want to start the the second side just one step up. Does that make sense? That way when you look at the leggings from the side the stamps wont be placed in the exact same spots, you want them offset. So as you work on the second side of the leggings periodically check to make sure you are offsetting your stamps from the front side of the leggings!
Let them dry completely. The Tulip fabric paint needs to dry for 72 hours before it can be washed, so I recommend not wearing them till at least 72 hours after they are finished. Wash them inside out in cold water every time and hang dry if possible, this will keep the paint from wearing over time. If the paint does end up fading too much for your liking you can just re-stamp them!
Save your stamps, they will last through many, many projects, and they are so fun to have on hand!
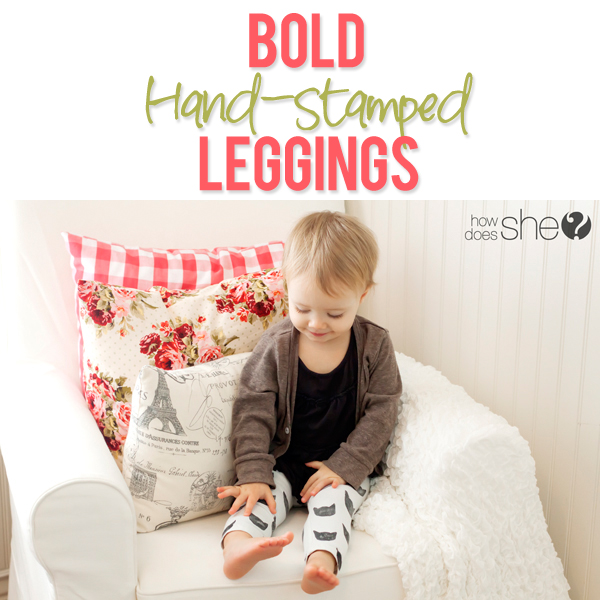
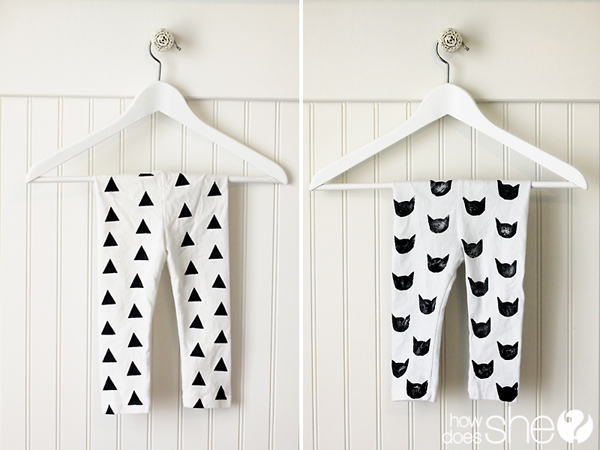
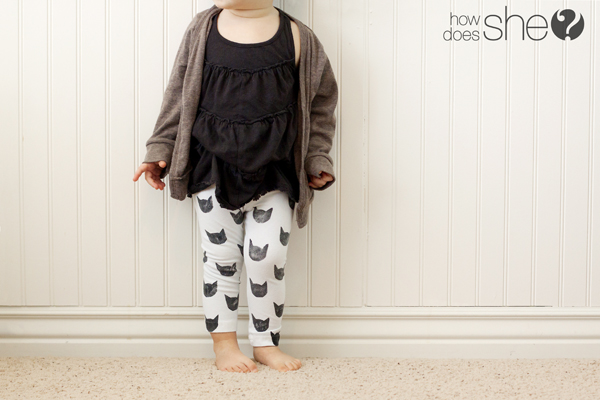
My daughter loves her kitty cat leggings, she begs to wear them almost every day! They are definitely a favorite at our house
Shapes like triangles are totally gender neutral! I love that I will be able to pass these down no matter what the order of children I have!
I created a little page of shapes to start the creative juices flowing. The possibilities are endless for this fun project! Shapes, colors, sizes… ooo la la.
Some of leggings I want to make include:
– Grey leggings with black plus signs
– Black leggings with white stars
– Grey leggins with white double chevrons
– White leggings with black elephants
Just a few that I have on my list! To download the full sized image for these shapes below click HERE
I hope you all have fun with custom stamps and making custom clothing for your kids and yourself! You could even stamp fabric to be used for curtains, pillows and bedding! The possibilities are endless!
If you complete this project and happen to take a picture tag us on Instagram @howdoesshe and hashtag it #handstampedleggings. I can’t wait to see all of your amazing work!
What are some creative stamping ideas you are having? I would love to hear your inspired ideas!









Kristin says
My daughter and I made mustache leggings using your tutorial… thanks so much for a super fabulous tutorial!
http://www.finleygray.blogspot.com/2013/07/diy-hand-stamped-mustache-pants.html
anon says
Theres a mom on instagram that sells stamped leggings like these for $22 each…crazy
Nikki Howser says
Omg these are so cute!!! Seriously love these, and thanks for the printable! My daughter has a pile of plain leggings that are just begging to be jazzed up 🙂
laarc crafts says
Super cute idea!!!
Check out these fun frames:
http://www.kickstarter.com/projects/770529161/framing-fun
Stephanie says
I really appreciate how you celebrate individuality and uniqueness in this way. Creativity can express so many things and this is one I have never thought of!
Richelle says
Yay!! you’re so creative 🙂 I can’t wait to try these!
Gina says
Cute! I could cut out hearts and make some V-Day leggings for my toddler!
nikki says
love this. loads.
Jess at Me Sew Crazy says
These are so cute! Thanks for sharing!