Happy Monday! I’m excited to introduce to you one of my very good friends…she’s a new mother of two, has an obsession with texture and scrapbook paper, loves to travel, prefers writing with Sharpies, has very curly hair, and loves the bohemian style. Meet Dawnelle!

She’s here today to share one of her most recent {and beautiful} DIY projects with us! I just know you’re going to love it! 😉
>>>
I recently acquired these fabulous table lamps at our local auction the husband and I frequent quite regularly… okay we go like every week. How can you not want to go see what kind of treasures they’re selling for incredible prices??
Aren’t they beautiful lamps? The detail in the brass bases and the large drum shades just scream the perfect amount of vintage-ness for me. Now that I have them the question is what to do with them?? I love the base just the way it is, don’t want to change anything about them. The shades are in great condition as well but they’re a little boring… for my taste. I am looking for something with a little more color. I am always up for some fabulous pattern and color!
I decided on painting a thick chevron pattern on the shades for a number of different reasons. One, who doesn’t love a good chevron right? Two, I like the idea of the stark contrast between the vintage feel of the base and the trendy chevron. Three, my living room has a lot of natural feeling prints and motifs going on and I love the idea of the geometric pattern juxtaposed with them. I really wanted to bring in some contrast.
I must admit though, painting your own chevron pattern is much harder than it looks! You have to take into consideration the width and the height of the space you are painting to make sure the pattern is centered in the space. Plus, you don’t want to end up with half a motif (the upside down “v” shape that when put all together creates that fabulous zig zag chevron pattern.) So, if you are looking to paint your own lamp shade, here’s how I did it!
Planning out the pattern is the hardest part. First, decide how many rows of chevron you want in the space. I decided that I wanted four rows of chevron plus a space at the top and the bottom to give the pattern room to breath. To figure out where to start my pattern, I took the number of rows I wanted and decided how wide they should be with a proper amount left over for margins at the top and bottom.
Let’s use real numbers to help clear that mess of instructions up a bit. So the total height of my shade was 16-1/2 inches. I knew I wanted four rows, so I divided 4 into 16-1/2. This allowed for a 4 inch high pattern but only left me 1/2 inch for margins at the top and bottom. I wanted the pattern to be able to breath a little more than that. So I decided on 3-1/2 inches for each row. This gave me a total pattern space of 14 inches. This left me 2-1/2 inches to split between the top and bottom margin, which I liked much better.
Next you will need to figure out how wide you want your motif to be. Remember that you want a nice upside down “v” shape, so you don’t want the width to be too different than the height or it will end up looking like a sad little hill instead of a fabulous powerful mountain.
For me, since I was painting a round lampshade, I started with the circumference of the shade. The total circumference of my shade was 50″, so I made each motif 5″ wide so that the motif repeated 10 times. I didn’t want to end up with half a motif.
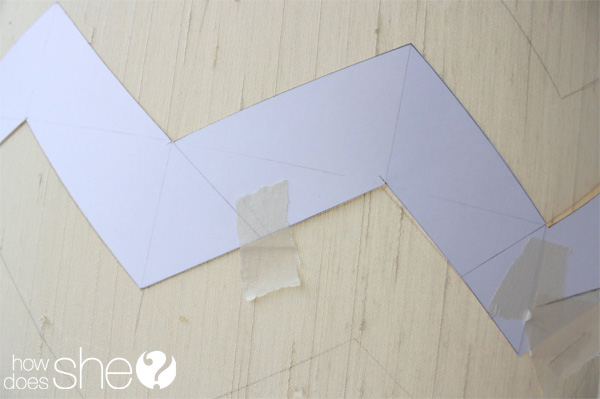
Now once you have all your measurements, it is time to draw the pattern out so you can create your template! I drew the total height of the patter (3-1/2 inches) and found the center. This is where the bottom of the motif would be located with the top of the motif going to the top of the 3-1/2 inches giving me a nice thickness. I marked the width of each motif (5 inches) and went from there. It is much easier to see in the picture of my template below.
I cut the template out, taped it all together and used it to trace the pattern onto the lampshade! Be sure when you are tracing your template that you measure the proper amount up from the top and bottom of the space to leave your margins.
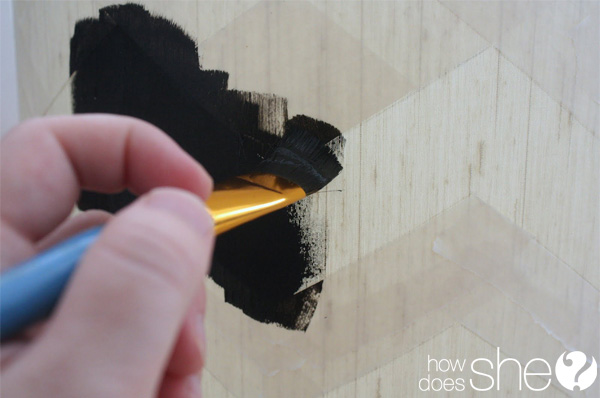
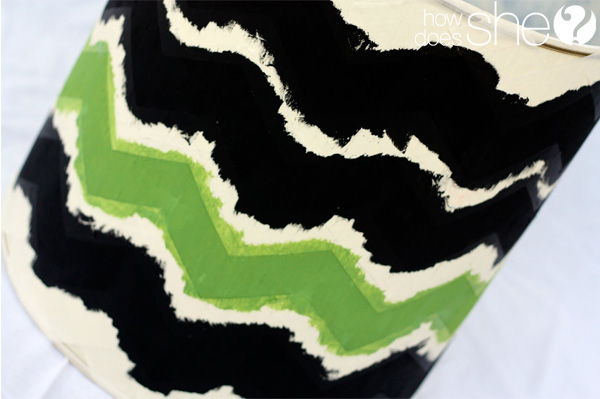
Once it is all traced it is time to bust out the painters tape! Oh glorious painters tape, how useful you are! I know you want the crispest and straightest lines possible so you will want to tape all the spaces that are not to be painted. This makes painting super easy! Be sure the tape is on there tight so you can paint with out any worry of seepage.
When everything is all taped up, time for the fun part!! Get our your paints and brushes and lets add some color. I used an acrylic paint, black and green. Have some fun with it! I painted each row black except for one, which I painted green to add a little spice to the overall feel of the shades.
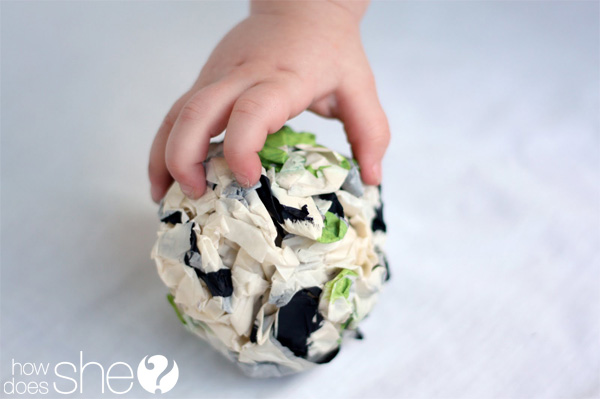
Once the paint is good and dry it is time to take off the tape! Make sure it is dry though, you don’t want to muff up those perfect little lines. It’s like magic taking all that tape off. All of a sudden you go from a painted mess to a clean crisp chevron pattern. Looks marvelous right?? Plus all that tape, great little toy for a little one!
Now to spice up those edges at the top and the bottom with some fabric trim. I used a batik fabric I had in my collection and made bias tape out of it. To calculate how much you will need, measure the circumference of shade and double it, for the top an bottom. Be sure to add a few extra inches so it can over lap where the edges meet.
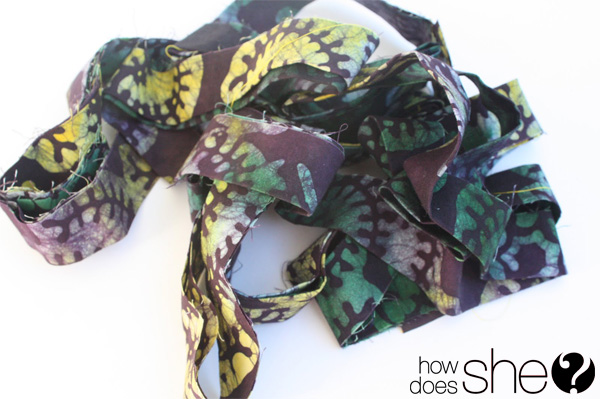
To make the bias tape, I cut strips of fabric 2-1/2 inches wide and sewed them together on a diagonal to create one long strip of fabric.
Once it is all sewn together and your seems are pressed open, fold the two sides down into the center. This will give you a finished edge on both sides so that when it is applied to the lampshade there are no unfinished edges. No unfinished edges means fabulous craftsmanship, great quality, and no fraying!! Sounds great right?
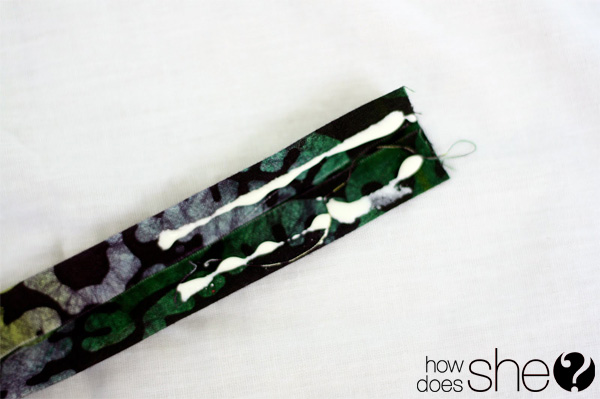
Okay, now that all the ironing is done (slightly tedious right?) it is time to put the trim on. I went through a number of different options to apply the trim, hot glue, fusible tape, but I settled on good old fashion fabric glue. It is easy, dries fairly quickly, works fabulously, and I knew it would seep through the first folded layer of fabric and adhere the trim nicely with out any bubbling.
Apply the glue to both sides of the trim and start putting it right onto your shade. When you get to the end, be sure to fold the end under and over lap the beginning so that you don’t have any unfinished edges. Easy peasy right??
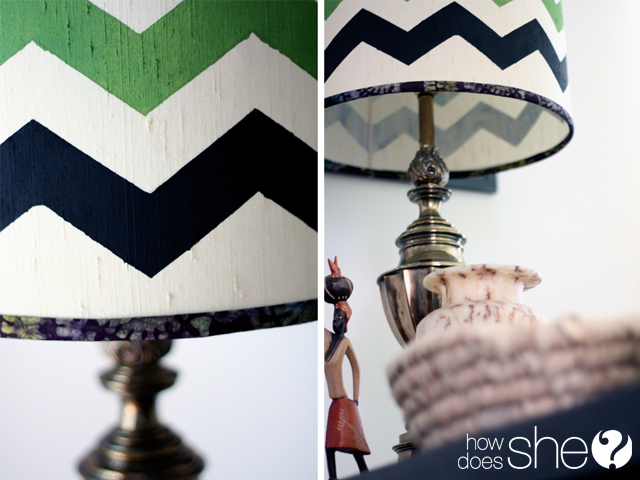
I was more than thrilled about the way things turned out than I expected and absolutely love the juxtaposition of the fabric trim and the geometric chevron. What do you think? Isn’t the contrast between the chevron print and the ikat patterns on the ottoman and organic patterns fabulous? Are you now ready to bust out those old lampshades and spruce them up a bit?
Aren’t t those so fun?! I could definitely use a couple in my living room and with that step-by-step math tutorial, I’m now on the search for my own lamps! You too? Awesome!
See more of Dawnelle’s projects at Just Dawnelle!
Don’t forget to check out OUR PINTEREST BOARDS for tons of DIY, beauty, holiday, and recipe ideas!
{We’re linking up to THESE parties!}












Shelley says
Ooo! I love this. Such a fun eclectic look!
Missy says
Great transformation! Love the pop of green.
Sarah says
This looks great. I love the complementing fabric on the edges of the lampshade. I am a follower of your blog on Facebook and would love if you could hop over to my new blog (http://sarahsaturdiy.blogspot.com/) and share the blog love. Have a great weekend!
planetforward.org says
Wow that was unusual. I just wrote an extremely long comment but
after I clicked submit my comment didn’t appear. Grrrr… well I’m not writing all that over again.
Anyways, just wanted to say superb blog!