We are so happy to welcome a guest contributor today who is here to share such a cute idea for you dog owners out there. Can I see a show of hands? Mine is raised. I love my little furball. Susie is here, from Pins And Procrastination, to share a cute DIY dog leash hanger idea to keep those dog leashes organized and on hand. Let’s give her a warm welcome!
DIY Dog Leash Hanger with Two Hooks
If you have a dog, you know there are two things you always need near the door: a leash, and a towel to wipe messy paws. Now that it’s spring, my dog Biscuit is a mud magnet. So I knew I wanted to make something to hang by the front door that could hold both my dog’s leash and towel. I wanted it to be cute and practical- and I think I achieved both! (P.S. Here are some of my favorite retractable dog leashes.)
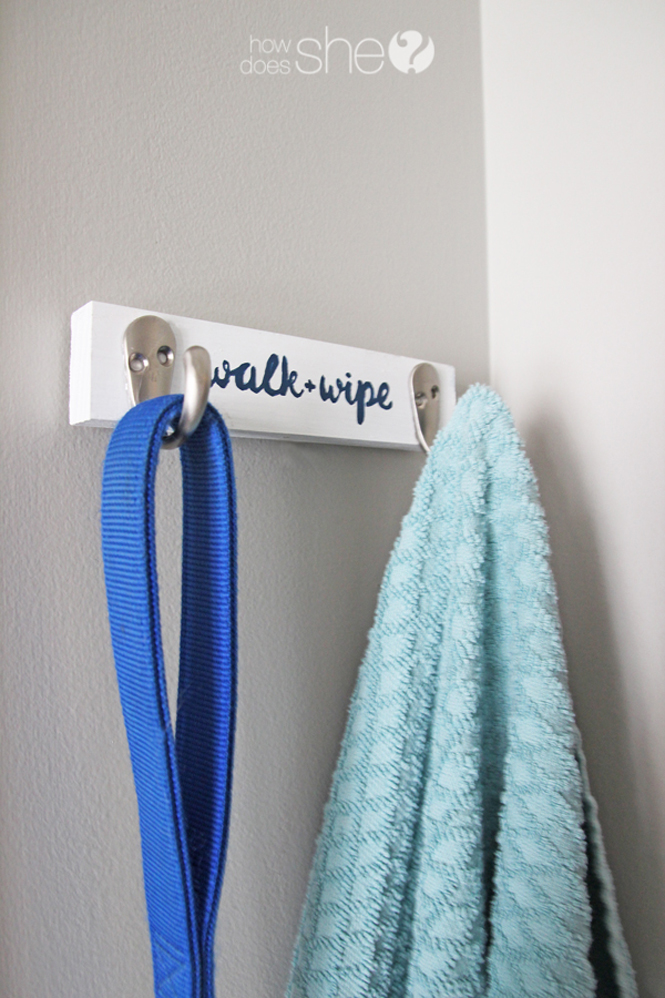
Getting Biscuit inside and sitting still long enough to have his paws wiped can be a struggle! I knew I had to keep his towel on a hook because it needed to be easy to grab and quick to put away as well. So that’s how I planned this project: a cute walk + wipe hanger with two hooks.
I used a method to paint words on wood that I have described before in detail on my blog, Pins and Procrastination. I will describe the method here as well, but if you want a little more detail, head over to read that post!
How to Make Your Towel and Dog Leash Holder
To add the words to the board:
- Craft paint
- The words “walk + wipe” printed out in the size and font you want them
- A ballpoint pen
- Masking tape
To make the hook itself:
- A piece of wood that will fit your space
- Two hooks
- Elmer’s probond glue
- Clamps
- Whatever hanging hardware you will use
Ready to start?
Step One: Paint the Board for the Dog Leash Holder
The first step is to paint the piece of wood the color you want the background to be. I chose white because I’m a sucker for white decor. Let it dry and proceed to the next step!
Step Two: Add the Words to the Board
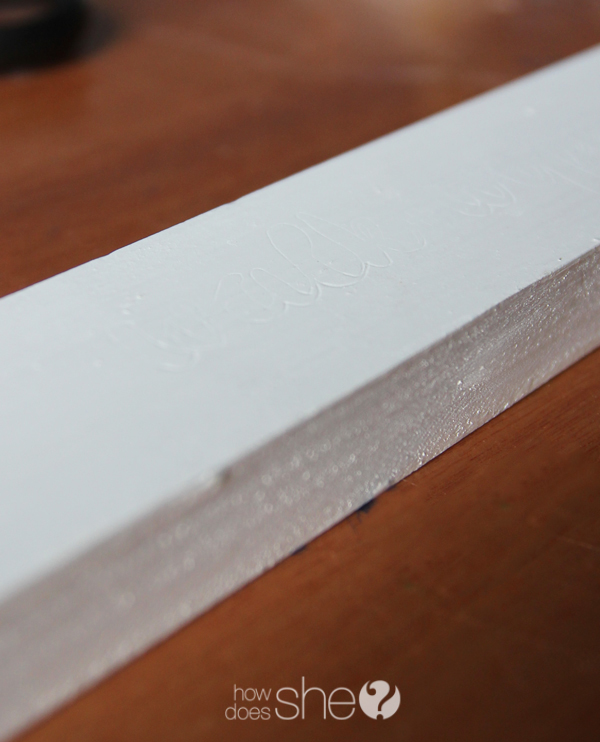
This step will describe how to add the words walk + wipe. Take your printed “walk + wipe” in your desired font and size. The font I used for this project is Botanica. I chose a handwritten brush font because I’m not always the neatest painter and it leaves a little room for messiness. Using masking tape, attach the “walk + wipe” where you want it to be placed, and trace over it with a ballpoint pen. You can see in the picture below that this will give you an outline with which to paint.
Step Three: Paint the Words
Now you will fill in the paint within the traced boundaries you created in the last step. Slow and steady wins the race here, and you will likely need to do multiple coats. You can see in the picture below what my sign looked like after one coat, so I did two to give it a clean look.
Step Four: Attach the Hardware to the Board
Next, you will want to attach your hardware. There are different ways that you can choose to hang your leash hanger on the wall. I used two sawtooth hangers. You should add the hanging hardware before attaching your leash and towel hooks because it will be easier to do if you can lay the wood flat. You could always hang it with command picture strips if you don’t like adding nails to the wall.
Now to the hooks. I could have attached them with the screws they came with, but I didn’t want to risk splintering the wood, so I chose to use ProBond multi-surface adhesive. I’ve used it before to make a magnetic vanity, and it was easy to use and effective. So I chose to use it for this as well! All you need to do is add the glue to the back of the hooks, place them where you want them, wipe away any excess glue, and clamp them for about 12 hours. You can clamp them for shorter according to the ProBond directions, but I’ve found doing it for longer to be more effective.
Step Five: Hang your Dog Leash Holder on the Wall
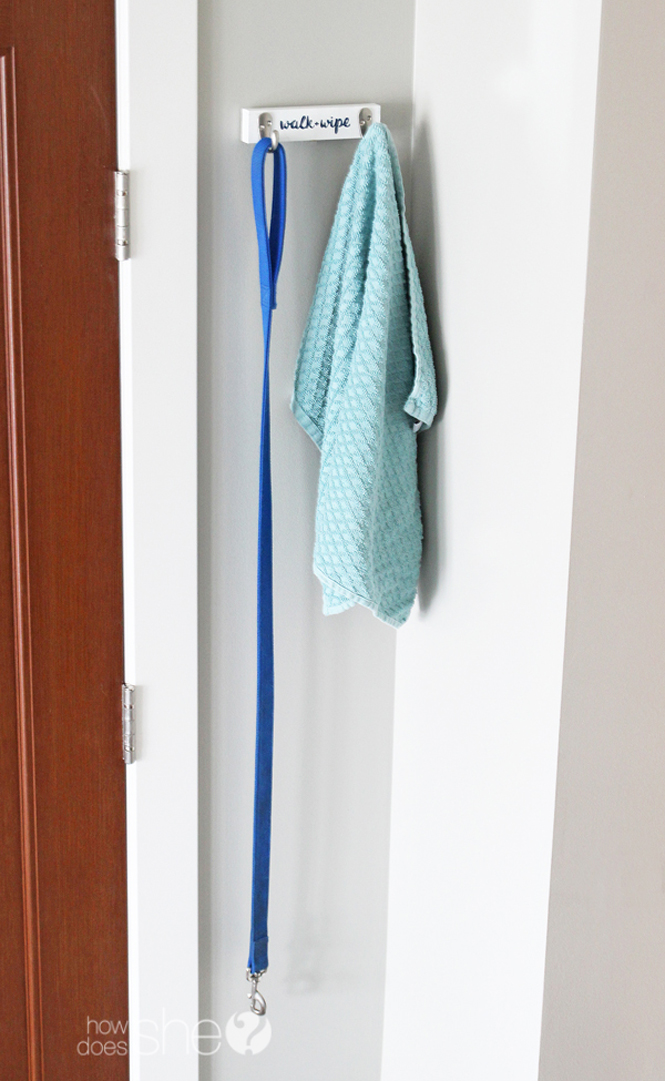
The last step is to hang your new dog leash hanger on the wall! And appreciate how adorable and efficient it is. My favorite combo.
The words turned out lovely, I really love the font I chose for them. Walk + wipe has a cute ring to it, don’t you think?
I have been very pleased with my dog leash and towel hanger so far! I think it looks great and it has made cleaning up after Biscuit a breeze. He’s such an energetic pup, so you really have to be quick to get the towel out or he will bolt off to something else more fun.
And because I couldn’t resist, here is the adorable pup himself with his new leash and towel hanger. Biscuit approves!
I hope you like this DIY dog leash hanger as much as Biscuit and I do. Enjoy your new leash and towel holder!
Thanks, Susie! What a cute and simple project to make. Now that you’ve mastered this adorable hanger why not try your hand at one of these DIY home decor items?


Kim Santini says
Thanks for sharing – cant wait to d this with my little boy xx