There is just something about wrapping gifts. I love spending time creating the perfect gift wrap and making each package perfect for the person who will receive it. It just makes me happy! Not to mention, I love seeing all those pretty packages under the tree. When I get started with wrapping gifts I like to collect everything I have, check my inventory, and go from there. I like to make a list of a few extra things every year that I can add to my ever growing gift wrap collection. Someday I want a space dedicated to gift wrapping! In general I like to stick with neutral wrapping paper: solid colors, white, black and of course.. the classic brown butcher paper (that one is my favorite). That way year round, I have gift wrap for every occasion and I never have to worry about giving a birthday gift wrapped in Christmas paper… yada yada yada. SO, check what you have, use what you’ve got, and pick a few new things to add to your wrapping stash. A few of my favorite gift accessories are: doilies, feathers, twine, stamps and tags. It’s all about the “accessories” ladies!
First up.
TAGS:
I love using my silhouette for tags, especially around the holidays when I need to make them in bulk. I usually make enough tags to last me through the rest of the year all in one sitting!
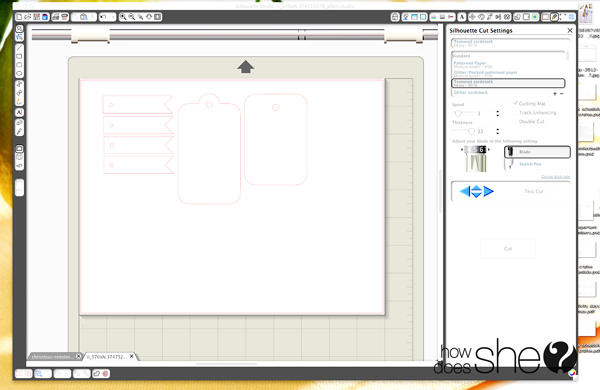
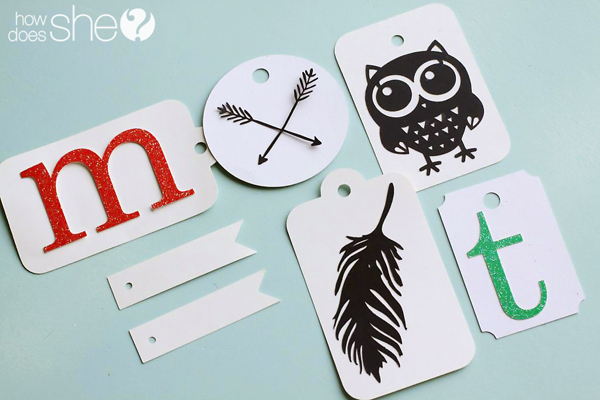
I have purchased a few gift tag designs from Silhouette online. To find the online store open the silhouette program, click “File”, then click “Purchase Online…”. A few of my favorite tag designs include: 5 Piece Gift Tag Set & 4 Piece Gift Tag Set. I have also created a few of my own designs as well! They are simple. The 4 small tags in the picture below are simple to create. Drag a rectangular box, double click on the right side of the rectangle, and drag the right side in to create that v shape! Then add a circle to complete the tag! You can also save your own designs so you can reuse them in the future! The other two tags below are from the 5 Piece Gift Tag Set.
Set up your page, and cut your tags! I usually fill an entire page to get the most out of every sheet of paper. This is just an example so I only cut a few tags.
If you want to add designs to the tags with different paper here is how I like to do it. Use the same template and size of tag when determining the size of your extra designs. This way you will be able to see just how big to make them!
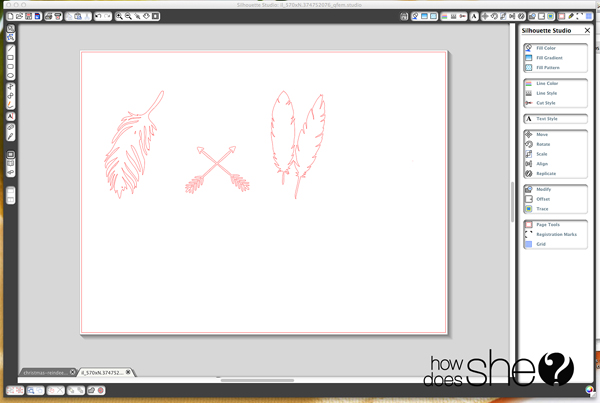
Once you have them sized properly delete the tags, leaving you with just the extra designs.
Move the designs around till you fill the page and can fit as many as possible!
Then cut away! I am always amazed at the tiny details the silhouette can cut. Forget scissors! I could never make these by hand!
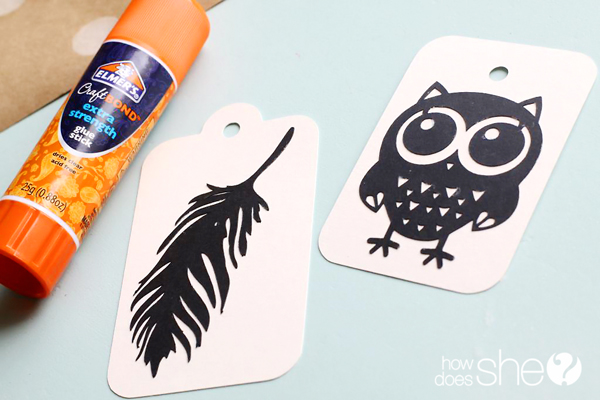
Then you have some beautiful little designs to add to your tags!! The crossed arrows were done by the trace tool in silhouette design, I found that image in my clip art and traced it! The feathers and owl can be found on the silhouette online store. Flowing Feather, Feather Set, and the adorable Owl Cutout. You can search the online store for just about anything, and the best part is.. the designs are only .50 cents!
Use a glue stick that dries clear, and attach the designs to your tags! I like to place a piece of paper over the top once I have placed the designs on the tag, and rub on top of the paper to make sure the entire design is well attached to the tag, then any extra glue sticks to the paper, not my fingers and it doesn’t get smeared.
There are so many fun design options! These are just a small few I have created with my silhouette!
To make your little tags a bit more fancy (totally optional) you can add a brad!
Then write a cute little message to finish it off!
Next accessory..
STAMPS
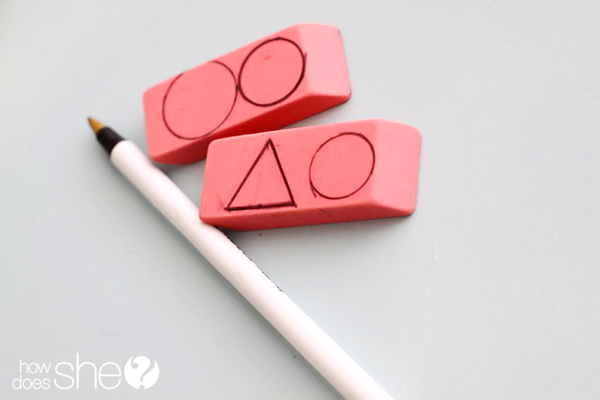
If you have stamps, then great. I searched the stores and could not find a simple shape stamp anywhere! All the stamps were $4-10 a piece anyway! I decided to just create my own, for .97 cents! YES!!! All you need is a couple erasers, something to trace and an exacto knife!
Trace, or draw the shapes with a pen onto your erasers.
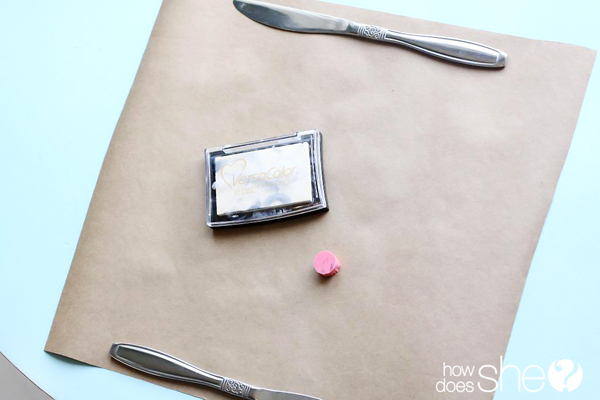
Using the exacto knife cut the design! Now, the only part that needs to be perfect is the top of the stamp. Who cares what the side and back look like, you won’t be inking them anyway 😉
I love stamping black and brown butcher paper with a white stamp, or a white paper with a black stamp. You can create so many fun designs!
I just created a polk-a-dot pattern, it takes some practice, so try on a piece of scrap paper first. Then when you are ready, cut the paper to fit the present you are wrapping, and get stamping! Let the ink dry completely before wrapping the present, so you don’t smear the ink!
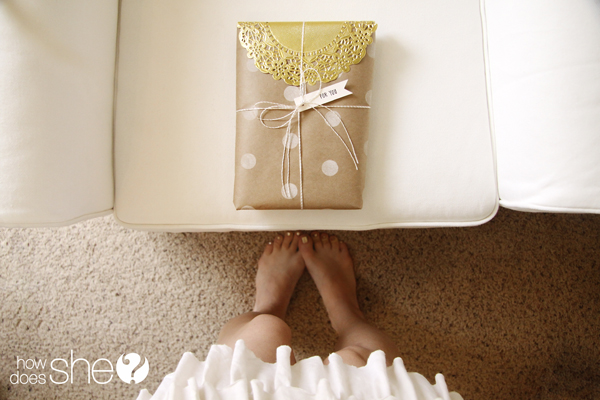
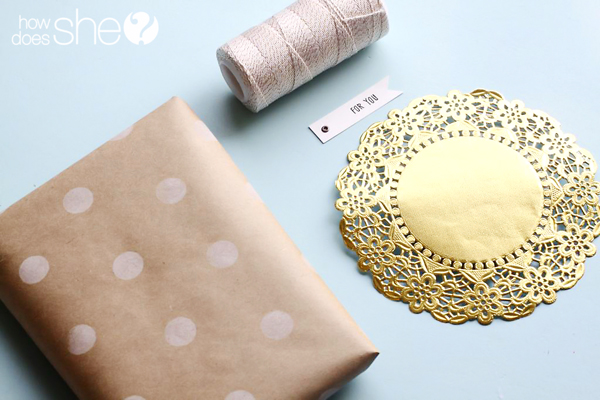
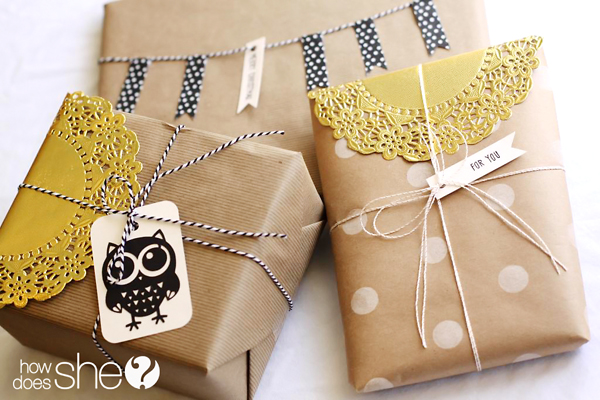
Gift wrap #1 includes:
Hand stamped polk-a-dot paper
Gold doily – Found online or at your local party stores. The one below came from Zurchers
Gold twine – Found at Hobby Lobby by the embroidery floss, or another option online
Tag – Cut by the silhouette, customized by you!
Gift Wrap #2 includes:
Spritz striped brown butcher paper gift wrap – Found at Target
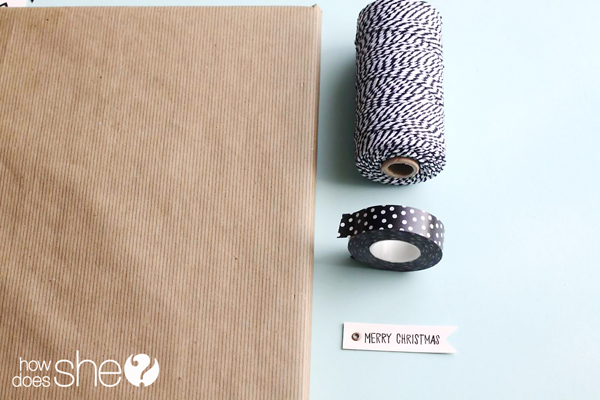
Black and white twine – Hobby Lobby or Online
Designer tape – Found at Target or search amazon for “washi tape”
Tag – Cut by the silhouette, customized by you!
Gift wrap #3 includes:
Spritz striped brown butcher paper gift wrap – Found at Target
Black and white twine – Hobby Lobby or Online
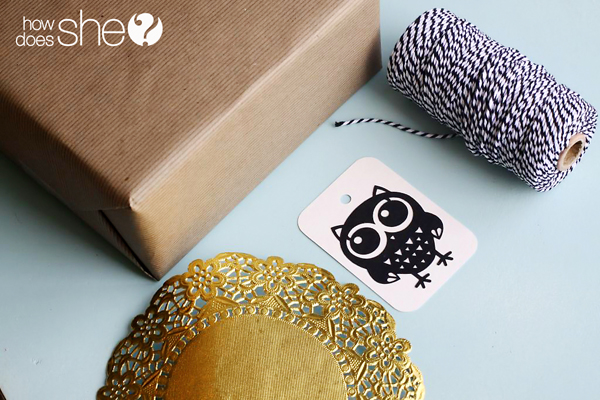
Gold doily – Found online or at you local party stores, the one below came from Zurchers
Tag – Cut by the silhouette, customized by you!
And there you have it! A few easy ways to make a gift extra special!
What are some of your favorite gift wrapping secrets?
Happy Holidays!













Missy says
So pretty! I don’t care what is inside – I just want one of those presents! Fun ideas Lara…thanks!
Nicolette says
Too cute! I’ve been needing to up my wrapping game; thanks for the ideas!
Bobbi says
I would LOVE to receive a gift packaged like that. Off to find some butcher paper! YAY!
Runt says
I love wrapping gifts too but I have to admit that I’m not very good at it.
Heather Lynne says
I love this!
and I love gift wrapping 🙂
Oh man, I need to get out my Cricut & see if I have a cartridge that will do tags!
carrian says
Love this!! I’m all about the sweet gift wrapping
Caley says
Goodness these packages are beautiful. I wouldn’t want to open it and mess it up! 🙂 Thanks for sharing these secrets!
Stephanie says
Love the polka dot & striped brown paper – too cute! I had no idea that elmers made a craft bond glue – So thanks for that tidbit… you really do learn something new every day (-:
Loretta | A Finn In The Kitchen says
Aaaahhhhh! I need some of your creative juices! My best gift wrapping secret is to make sure there are no holes…Sad, I know.