I am so excited to welcome our friend, Morgan, from “The Dime Diary” who is back with another fabulous tutorial for us ladies! This time, she is sharing her tips and tricks for creating those soft, luscious, natural-looking curls! I have always wanted to know how to do this! Take it away, Morgan!
Soft curls and wavy hair is so hot right now, but not everyone has that effortlessly beautiful beach bum hair naturally, some of us have to fake it. But I have good news for you! Soft curls are easier to achieve than you ever thought possible. If you need some guidance on how to create those perfect lightly curled locks without them looking too…umm…curly I suppose, than you have come to the right place! Everyone has their own way of creating those luscious locks, but I’m going to show you how I get mine!
(Sorry in advance if the pictures are not super amazing, I did them on my iMac so I could easily snap pictures of the process all along the way!)
So lets get started!
Here is what you will need!
-Hair clip
-1-1 ½ inch curling iron or curling wand
-Hairspray of your choice
- First of all, you are going to want to start with straight hair, a little trick I have learned is that if you use little to no conditioner before curling your hair, it can make the curl hold a lot better because conditioner can weigh hair down. If you skip conditioner make sure you use some sort of hair oil like Argan oil on the mid-shaft of your hair and down to protect your tips!
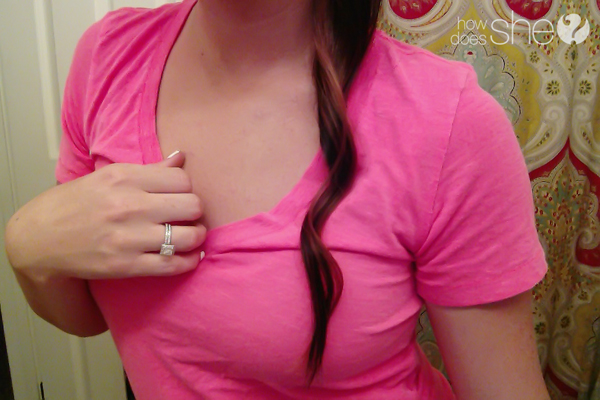
- Separate your hair into 2 sections right above your ears. Clip up the top section on top of your head with a ponytail or a hair clip.
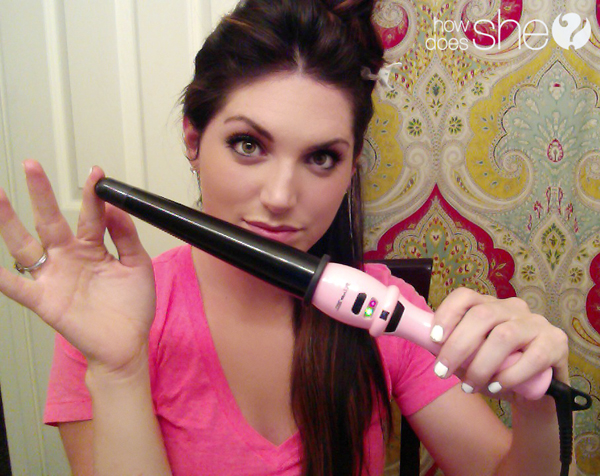
- Choose your curling tool! I use a 1 and ½ inch curling wand from Sally’s Beauty Supply called Plugged In. It is only $30! I found that wands give the best wave over a curling iron. You can most certainly use a curling iron just make sure to not use the clamp! Just pretend like its not even there 🙂
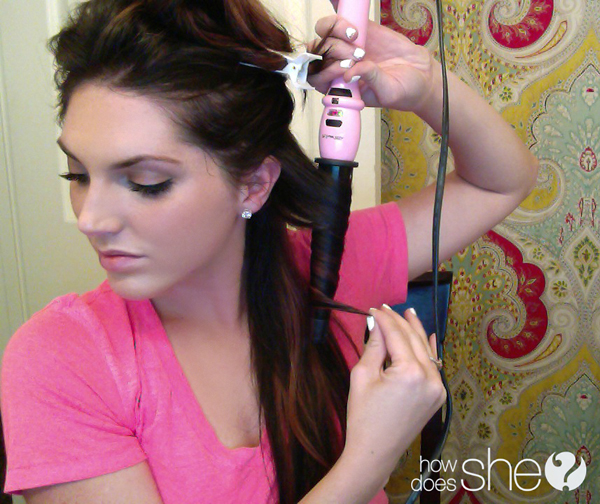
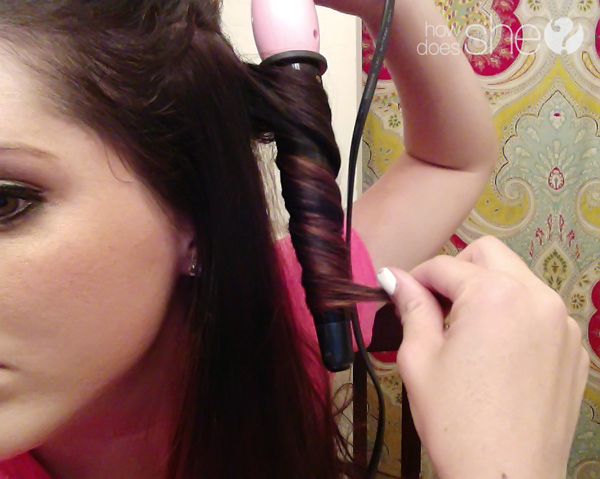
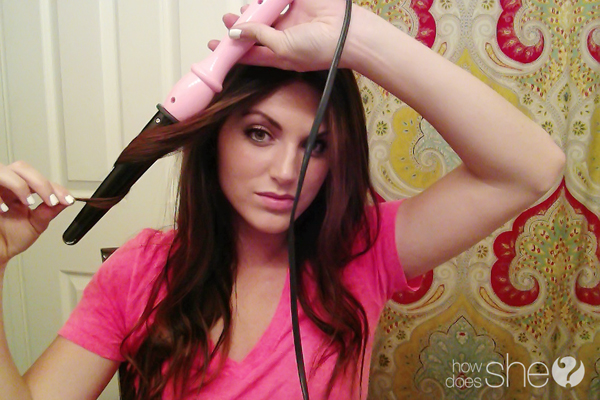
- Next take 1-2inch sections from your hair and wrap them around a 1-1 ½ inch curling iron or curling wand laying your wand behind the piece of hair being curled and wrapping the hair towards your face (or backwards) starting at the top of the wand (closest to the handle) and spiraling it to the bottom. Make sure to leave the ends out, I usually hold about an inch or 2 out away from the base.
- Now here is the magic trick to creating this look. Once you have released the hair from the wand, grab that hair and pull it. Yup, just pull it straight down and hold it while it cools off. What this is going to do it allow for your curl to cool down in a much more relaxed position and loosen it making it look more like a soft wave than a spiral curl.
- Once it cools run your fingers through the curl to loosen it even more and give it a messier appearance.
- Continue to wrap your hair all the way around your head taking 1-2 inch sections each time. Once the bottom section is all curled, pull down another section about 2 inches above your ears. Continue to curl the hair the same as the last section, remembering to pull the hair and run your fingers through it each time.
- Once done with the above ear section, pull down that last crown section. How you curl this part is going to depend a lot on whether or not you have layers and how long they are. If you have long top layers or no layers at all feel free to start your curls a little higher just as you have been doing. If you have shorter layers on top like mine that fall slightly below my chin, I opt for curling the hair only halfway down the shaft, or sometimes not at all, and just blending it into the already curled hair. I do this because I don’t want the hair to look too “done” and sometimes if you don’t curl the top hair it can make your layers look longer.
- After you are done with all your curling, pulling, and finger raking, feel free to set it with whatever hairspray you like! I currently use Garnier Fructis’ in Full Control.
10. If you like you can backcomb the crown to give you more volume, and part your hair as you normally would, and that’s it!
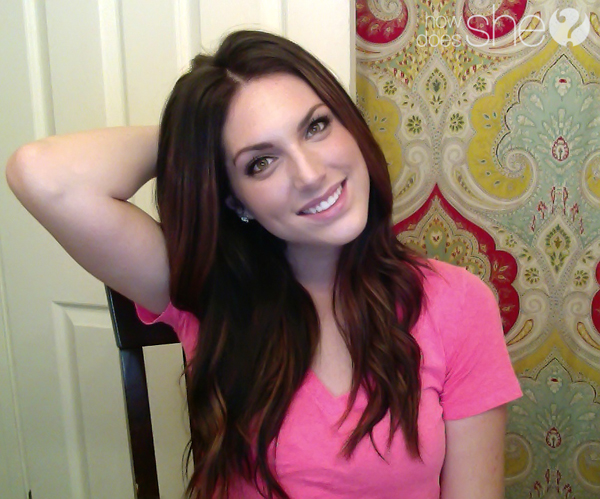
Isn’t the pulling the curl secret awesome? I swear it makes all the difference between looking like a low maintenance beach goddess, and looking like your ready for a cheerleading competition. Best of all it loosens up even more after sleeping on it. These curls with 2nd day hair is even better! Try it out this week! I’m sure you will love the results:)





Emily says
Love this tutorial 🙂 Her makeup was perfect
Cara says
I must ask, what mind of makeup and facial care products do you use? Your skin is flawless!
Gloria says
You are so beautiful!!!
Jillian {Her Split Ends} says
You make it look so easy! 😉 i am totally curl challenged…but am going to give this one a shot!!
Cheers
~ jillian
http://www.hersplitends.com