Happy day! We are thrilled to welcome Ashley, from Simply Designing, who will be sharing a fun bath bomb recipe that you might be tempted to eat, it smells so amazing. Let’s give Ashley a warm HowDoesShe welcome!
Hi everyone, I’m Ashley! I love to craft, DIY, bake and design and I am absolutely thrilled to be here today! I love finding ways to keep things simple yet create a wonderful life without spending a lot of money. And I get so excited when I find a simple way to create something amazing at a fraction of the cost! So today I am sharing a really fun and luxurious recipe for Citrus Bath Bombs! These are similar to what you would find at a specialty store without the high cost. Plus you can completely customize them with your own scents and colors! These homemade bath bombs will fizzle in your bath and smell amazing!

I tweaked my DIY Bath Bomb Recipe here to come up with this amazing smelling recipe! I personally love citrus scents and I really love the combination of lemon and orange that I used for this bath bomb recipe, but you can completely customize this using whatever scents you prefer!
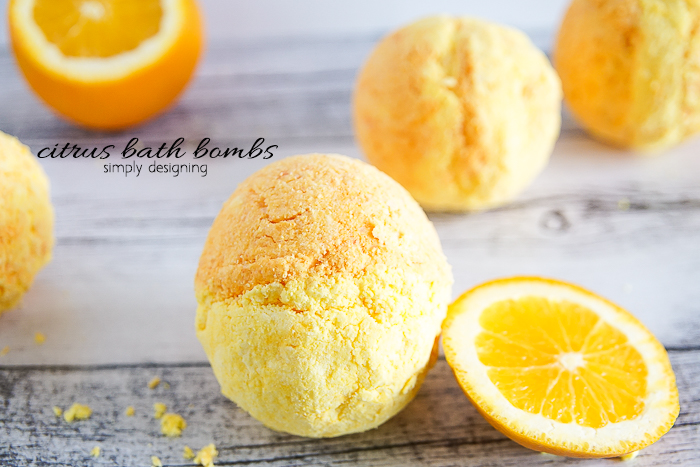
Citrus Bath Bombs
This recipe will make (4) 2.75″ in diameter bath bombs.

Ingredients: (affiliate links included for your convenience)
- 1 cup Cornstarch
- 1 cup Baking Soda
- 1/4 cup Epsom Salt
- 1 cup Citric Acid
- Lemon and Orange Essential Oils or Fragrance Oils (or other oil scent of your choice)
- Yellow and Red Food Coloring (optional)
- Water in a Spray Bottle
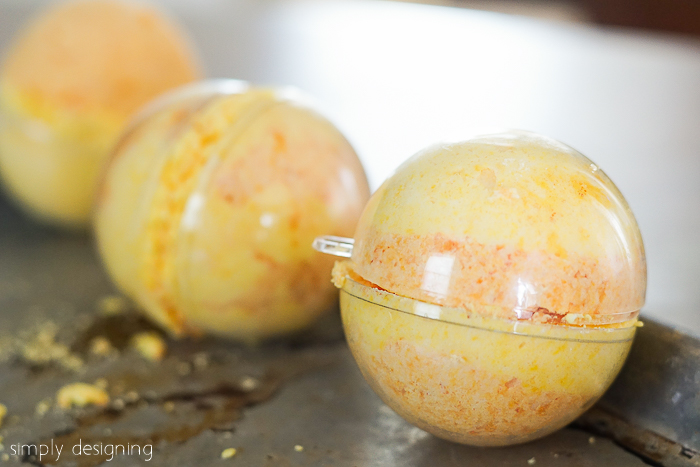
- Bath Bomb Mold or Plastic Ball Ornaments (2.75″ in diameter is the size I used)

Directions:
- Combine all dry ingredients into a bowl and mix. For this project I divided the ingredients into two bowls so that I could scent one half orange and one half lemon.
- Add scented oil and food coloring to the mix and stir well. It should smell amazing, but you might not see much color yet. I used about 10 essential oil drops per scent and about 15-20 food coloring drops per color. (To make orange I used a 1 : 5 ration of red to yellow food coloring.) But please modify this to fit your preference!
- Spray mixture with water and stir until barely moist. You want this mixture just wet enough to barely hold together when you press it together, it should still be very dry. If you put too much water in it will fizzle and foam and expand. So go slowly and add just a little water at a time. Adding water will also help the food coloring come to life so you will really start to see your colors show through during this step. You can add more coloring at this time if you like.
- Press the mixture firmly into the molds and then place two halves of the mold together to form a sphere. You can keep the different scents separate, layer them, create half and half balls or mix it all together! That is completely up to you! If the mixture is not too wet, this should begin to set fairly quickly and you can remove it from the mold to finish drying. It will take several hours and even up to a day or two to dry completely depending on how wet and large the bath bombs are.
These are perfect to package up and give as a gift! Or to keep and use all yourself! They are a simple way to turn an ordinary bath into a luxurious, relaxing time.

You might also enjoy this other diy beauty post of mine as well:


Ashley, from Simply Designing, is an interior designer turned DIY, Craft and Food Blogger located in the Indianapolis area. Her passion for interior design grew into a love of creating and one day she simply knew sheI needed to blog about it! And it has changed my life in many amazing ways: I absolutely love it! I love power tools and my hot glue gun, and I love to bake too! I love life and I try my best to find joy in the simple things! I love my family and friends and I am a firm believer that a good cup of hot cocoa or bowl of ice cream can cure most things. I am grateful for all I have been blessed with every single day.

Darleen says
Good way to invigorate the body!
Nicolette says
These look heavenly. What a great gift!