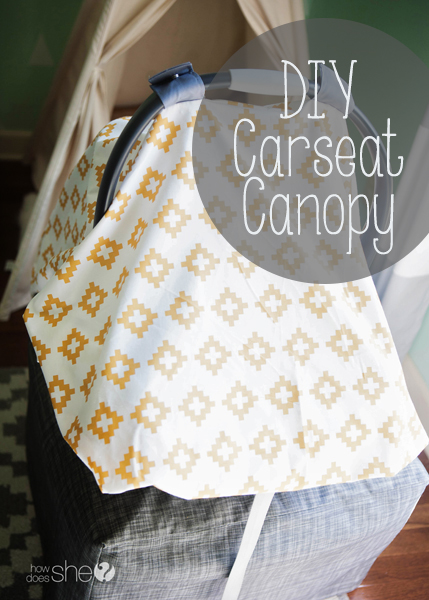
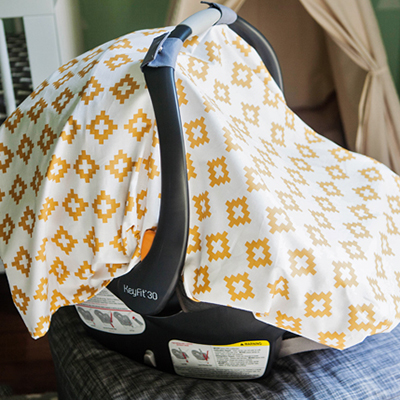
Car seat canopies are all the rage these days and now that I’m about to have another baby, I can see why. First off, it keeps baby nice and shady for naps on the run. I can remember tossing a blanket over my older girl’s car seats when they were infants and it never stayed in place, always falling off and waking up my sleeping babe with all the sudden stream of light and commotion. And secondly, I’m having a fall baby this time around so yucky germs are heavy on my mind right now. I think having a barrier between baby and the outside world is a great idea, especially since we will be on the go a lot during flu season.
I can’t even begin to explain how easy it is to make one of these. Or maybe I can?! I couldn’t believe how fast it came together. I’m all about quick projects with big impact.
OR if you are short on time, you can get one here for FREE!. Just use code: 4HowDoesShe
You will need:
- 2 yards of fabric
- (4) 3.5″X9″ pieces of fabric for the handle attachments
- package of snaps fasteners (or you could use velcro)
So, let’s get started!
Start off by measuring your car seat. There’s not much variation in size between one car seat brand and the next, but I wanted to measure my specific car seat just to make sure.
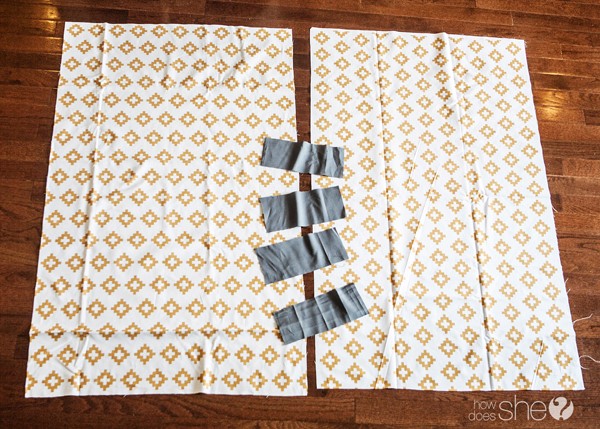
I ended up with my measurements being 42″ (this is from the bottom of the handle release on the left side to the handle release on the right side) and 26″ (this is from the handle grip on top to the front). So I cut 2 pieces of fabric at 26″X42″ each.
Here’s my pieces of fabric straight off the cutting board and pre-ironing.
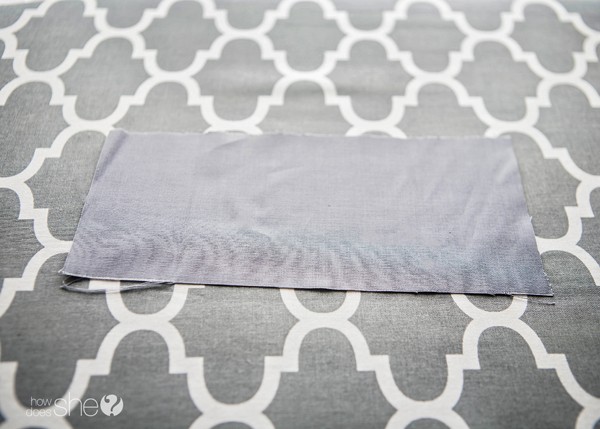
Start off by grabbing your 4 small pieces of fabric. You’ll lay it on the ironing board.
Fold in half so that both ends touch with equal amounts of fabric on either side.
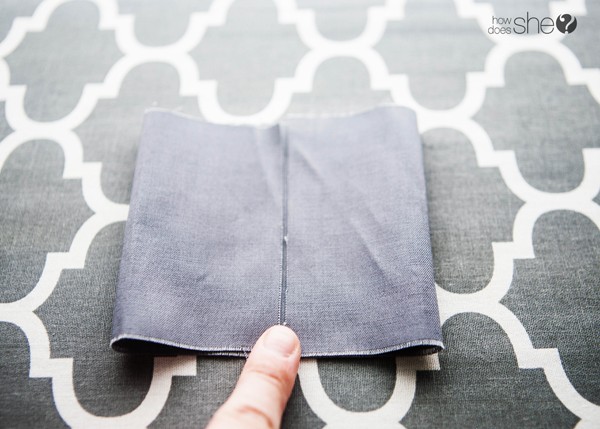
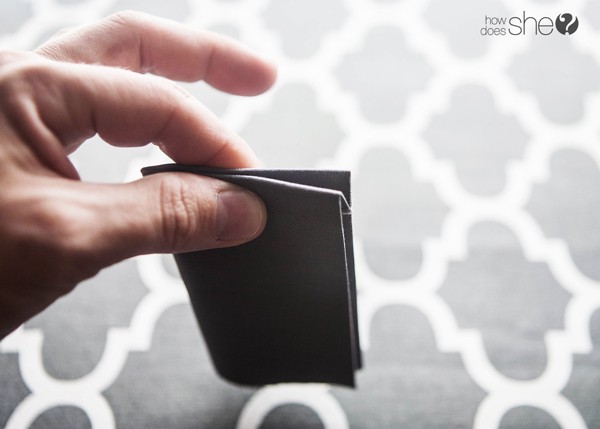
Fold down 1/4 inch at the top and fold in half again so that it looks like this:
Iron in place. Repeat with the other 3 small pieces.
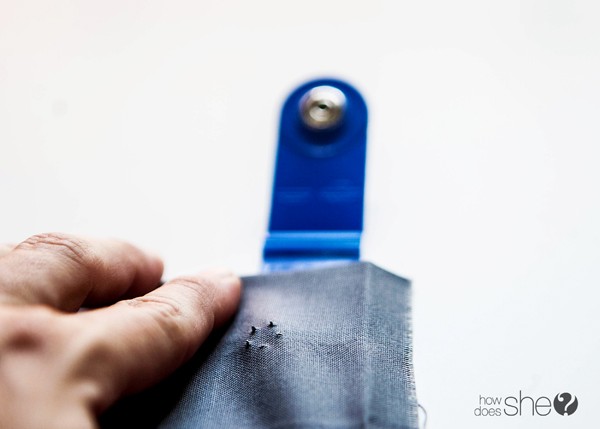
Next, grab your snaps. You’ll need 2 of the prong ones, 1 plug and 1 socket. The blue thing pictured below comes with the snaps. It helps push them into place.
Grab one of your ironed small fabric pieces and open it up (pictured below). Mark a spot 1 inch from the center point and 1 inch from the top.
Push the prongs through the spot your marked where the prongs show through on the other side.
Use your snap fastener to attach the plug part of the snap.
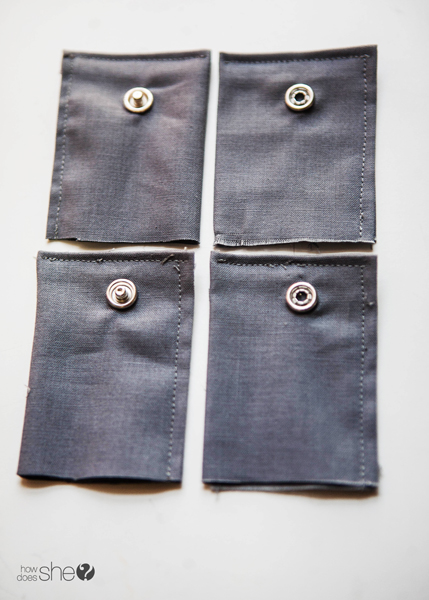
Repeat this step where you have 2 fabric pieces with plugs and 2 fabric pieces with sockets. Now, refold the fabric piece like it was when you ironed it earlier and sew the seams closed with the exception of the bottom. The bottom can stay as a raw edge.
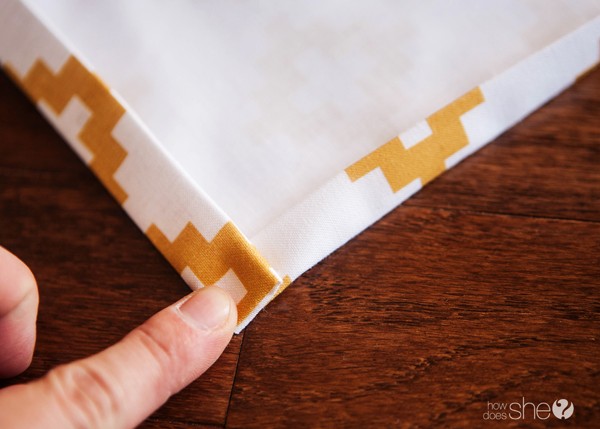
Lay your snap fabric pieces aside. Now, grab your main fabric pieces. Iron down 1/4 inch then fold and iron down 1/2 inch of the 2 shorter sides (26″ sides) and 1 longer side (42″ side).
Sew around all 3 sides of your fabric to close your seam. Repeat the same process with other piece of fabric.
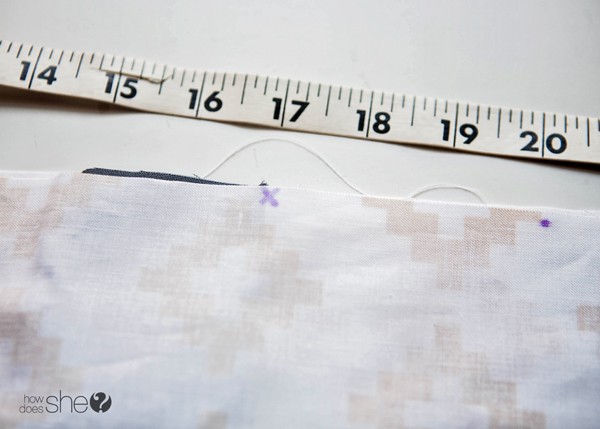
Next, lay out one of your main fabric pieces, right side up. Lay your other main fabric piece on top of it where right sides of your fabric are together. Grab your measuring tape and find the center point of the top piece of your fabric. The center point for me was 20″. Place a little mark. Now, you’ll want to mark a X 3 inches away on either side of your center point.
Grab two of your small snap fabric pieces. You’ll want to make sure you have one socket piece and one plug piece. Place one on top of the other so that the socket and plug aren’t touching. See photo below:
Sandwich your snap pieces in between your two main fabric pieces, making sure that the side of the snap fabric pieces line up with the X mark to the right of the fabric piece.
Take your remaining snap fabric pieces, placing them together in the same manner as the first set and sandwiching them in the main fabric, making sure that the X spot is to the left of your snap fabric pieces. Pin in place.
Sew your raw edges closed using a 1/4″ seam allowance, making sure to back stitch as you sew over the snap fabric pieces. Flip your fabric right side out and you’re ready to attach to your car seat! Snap into place on either side of the handle grip and you’re done!
Remember: you should always monitor your baby when using a car seat canopy. The great thing about these covers is that they can be adjusted a little to allow for air flow while still keeping most of the light out of baby’s face.
Can’t wait to try this out for my new little one! Hoping we keep the germs away and the light out of his sweet face so he can snooze away!
Really make a statement by sewing your own coordinating nursery linens with Kerri’s other fun and EASY tutorials. Your friends will all be wondering where you got all your matching items! Shhhhh… it will be our little secret 😉













Bobbi-Jo Grunewald says
I WISH I had seen this post when my kids were babies. It would have solved so many problems! At least now I can make them for baby shower gifts and save some other new moms some headaches ?
Chelsea says
love it! Where is that fabric from?
Nicolette says
This is super cute Kerri. I love the print that you found. This would make an easy and great baby gift. Thanks for the tutorial!